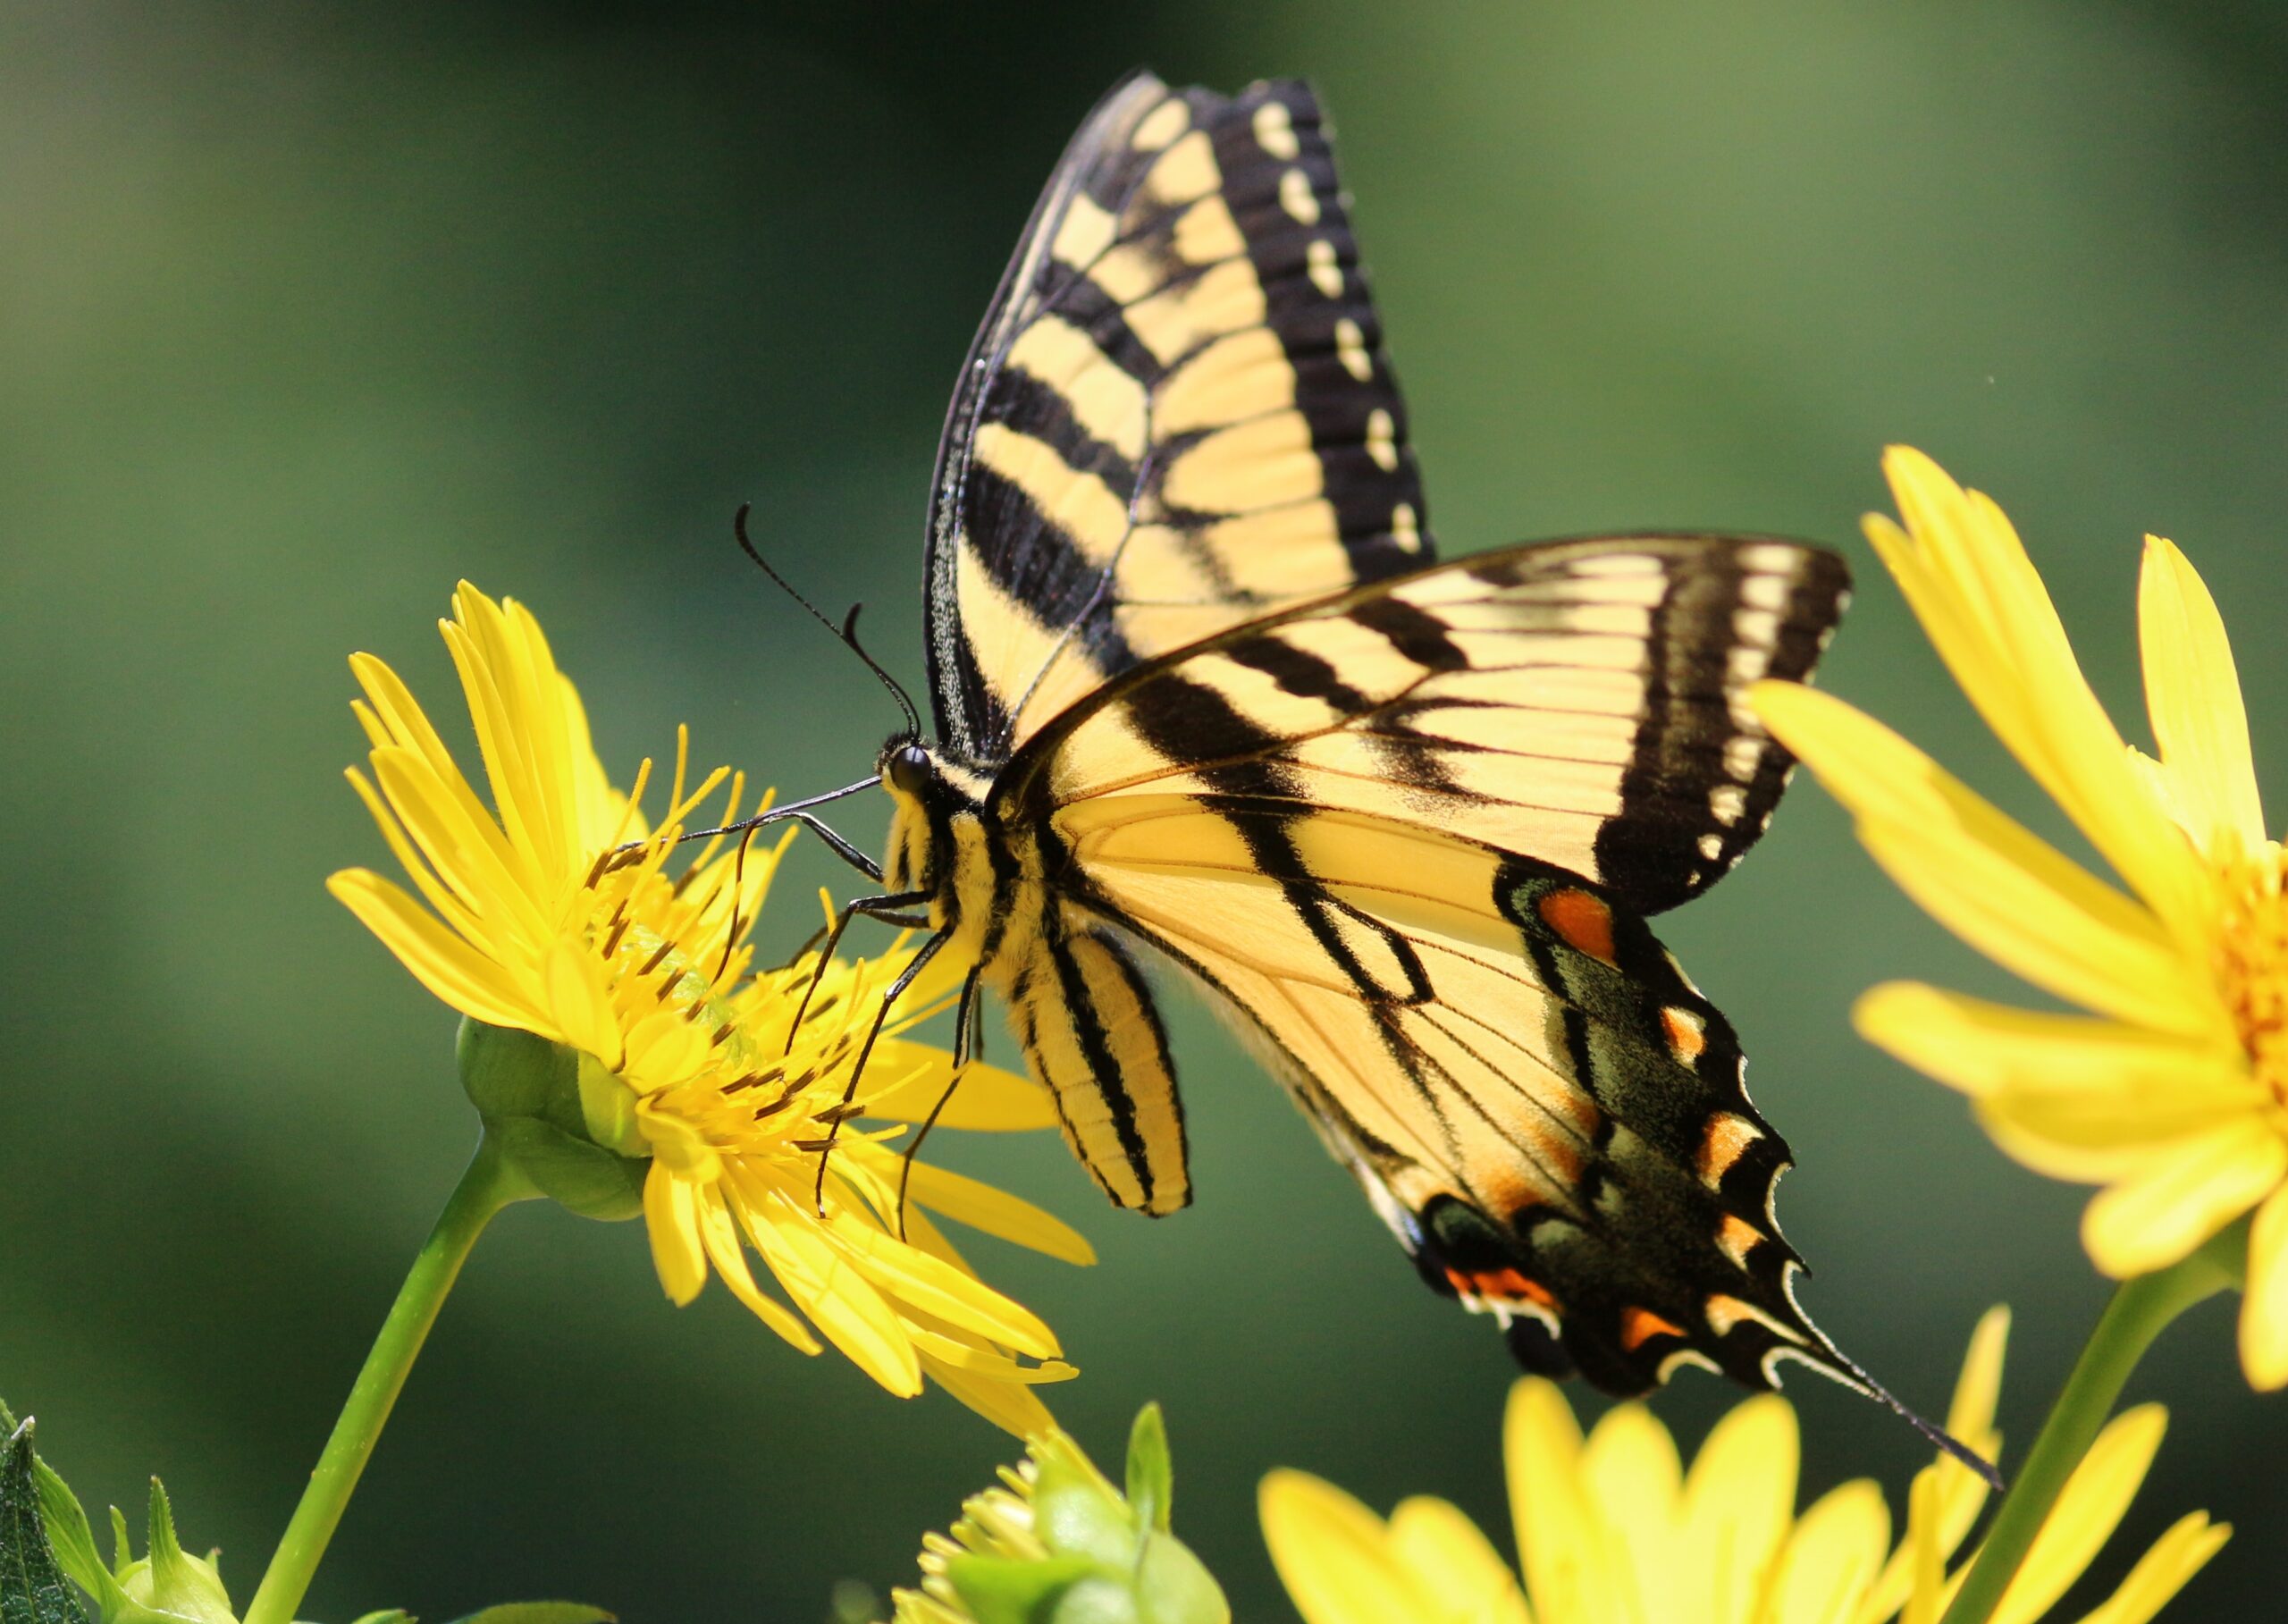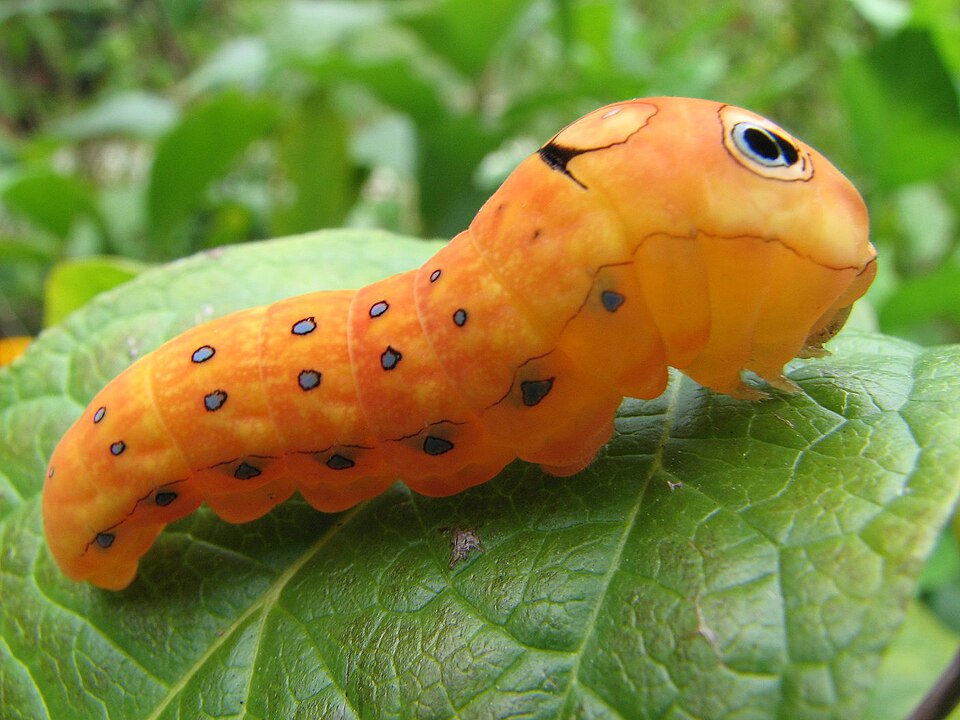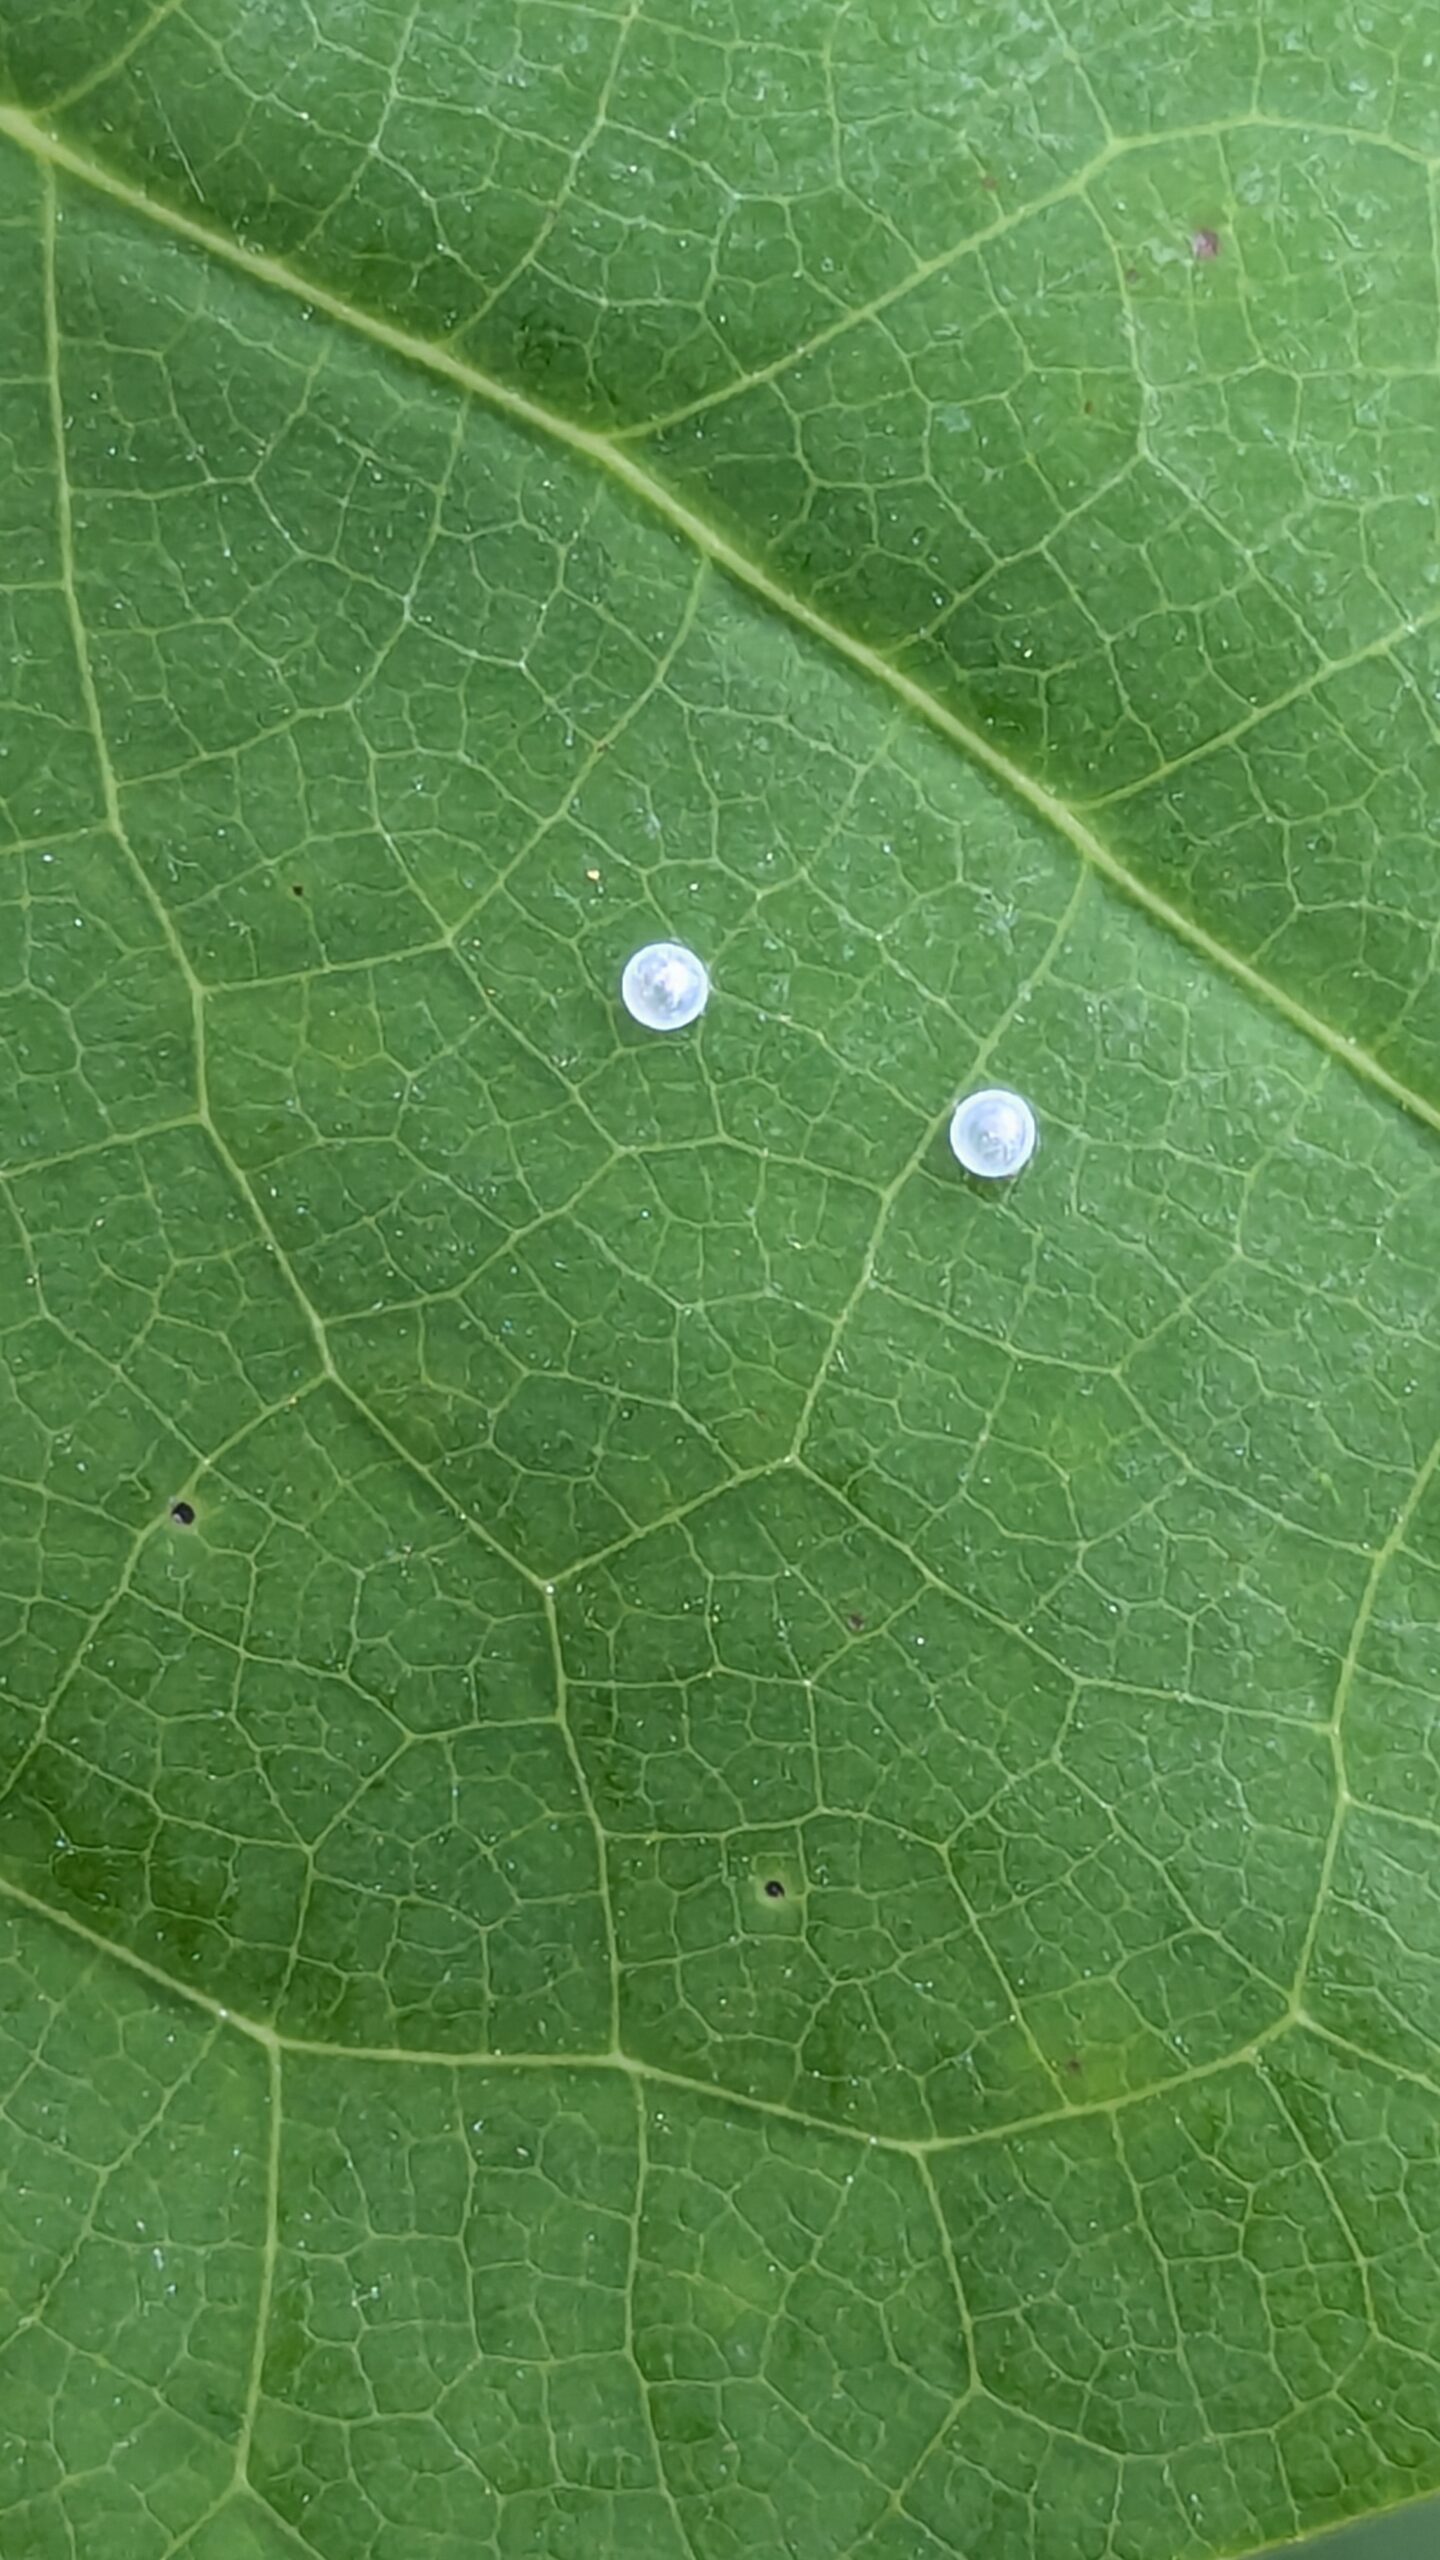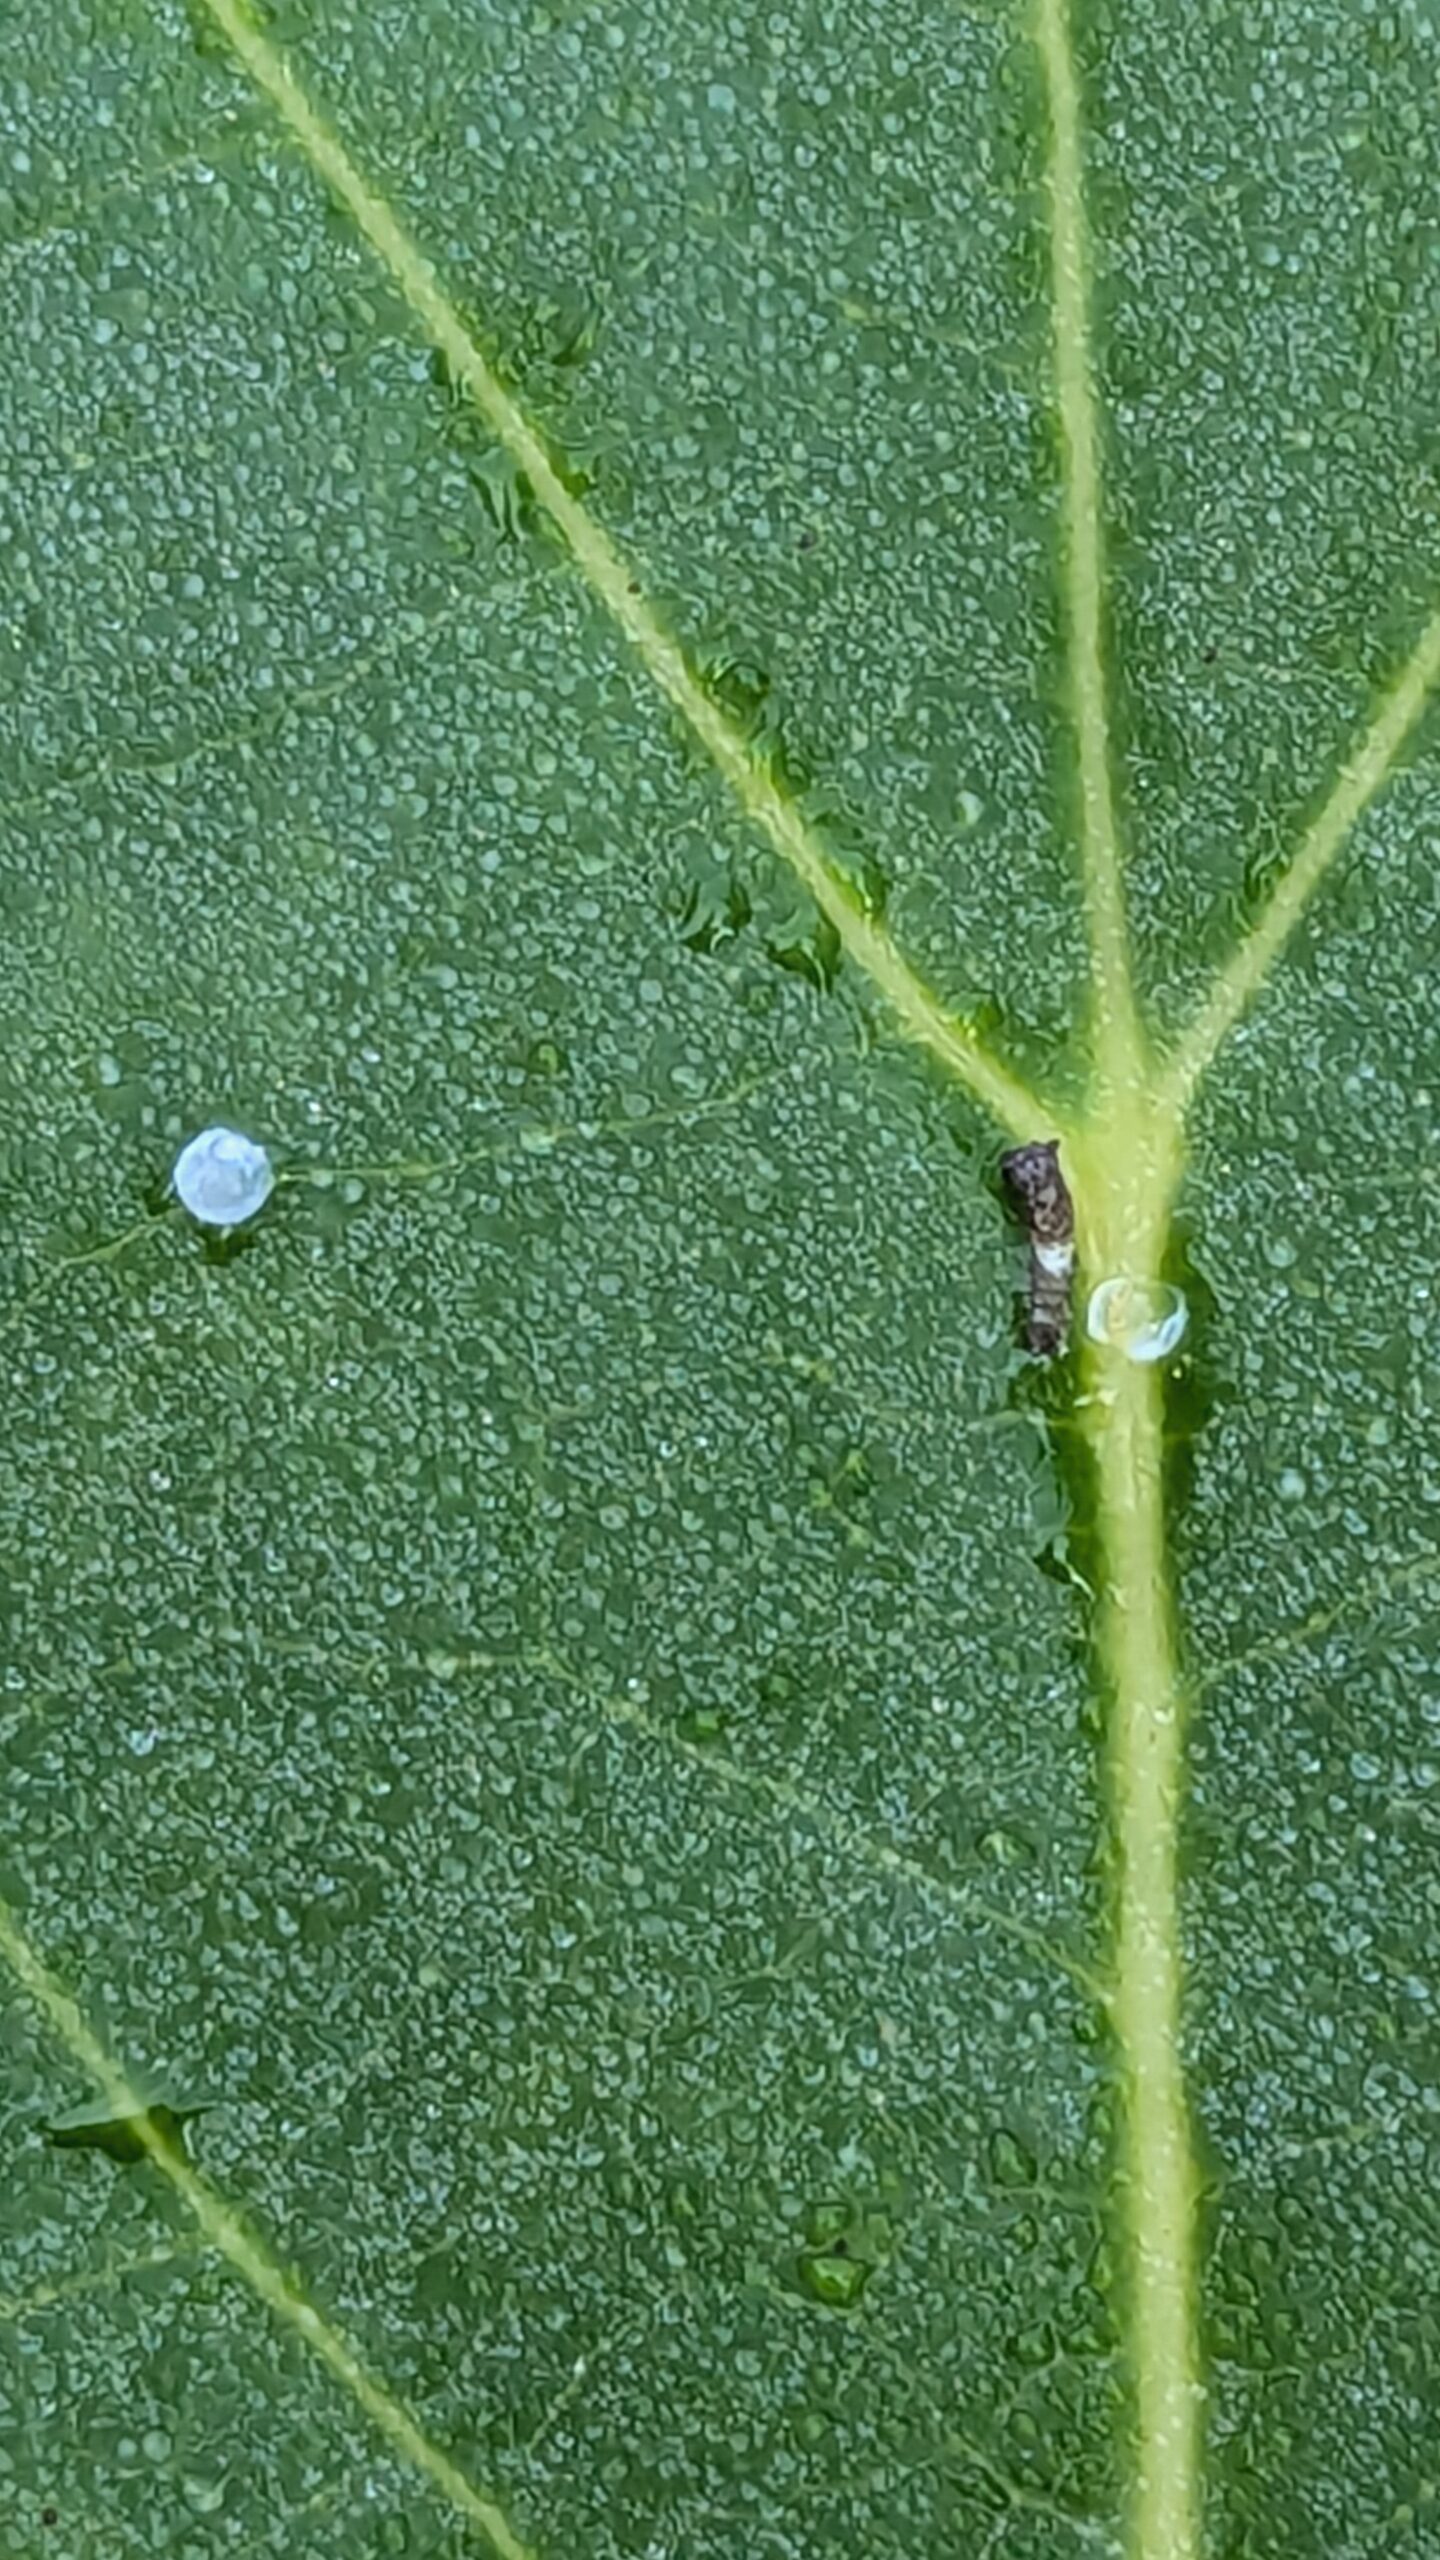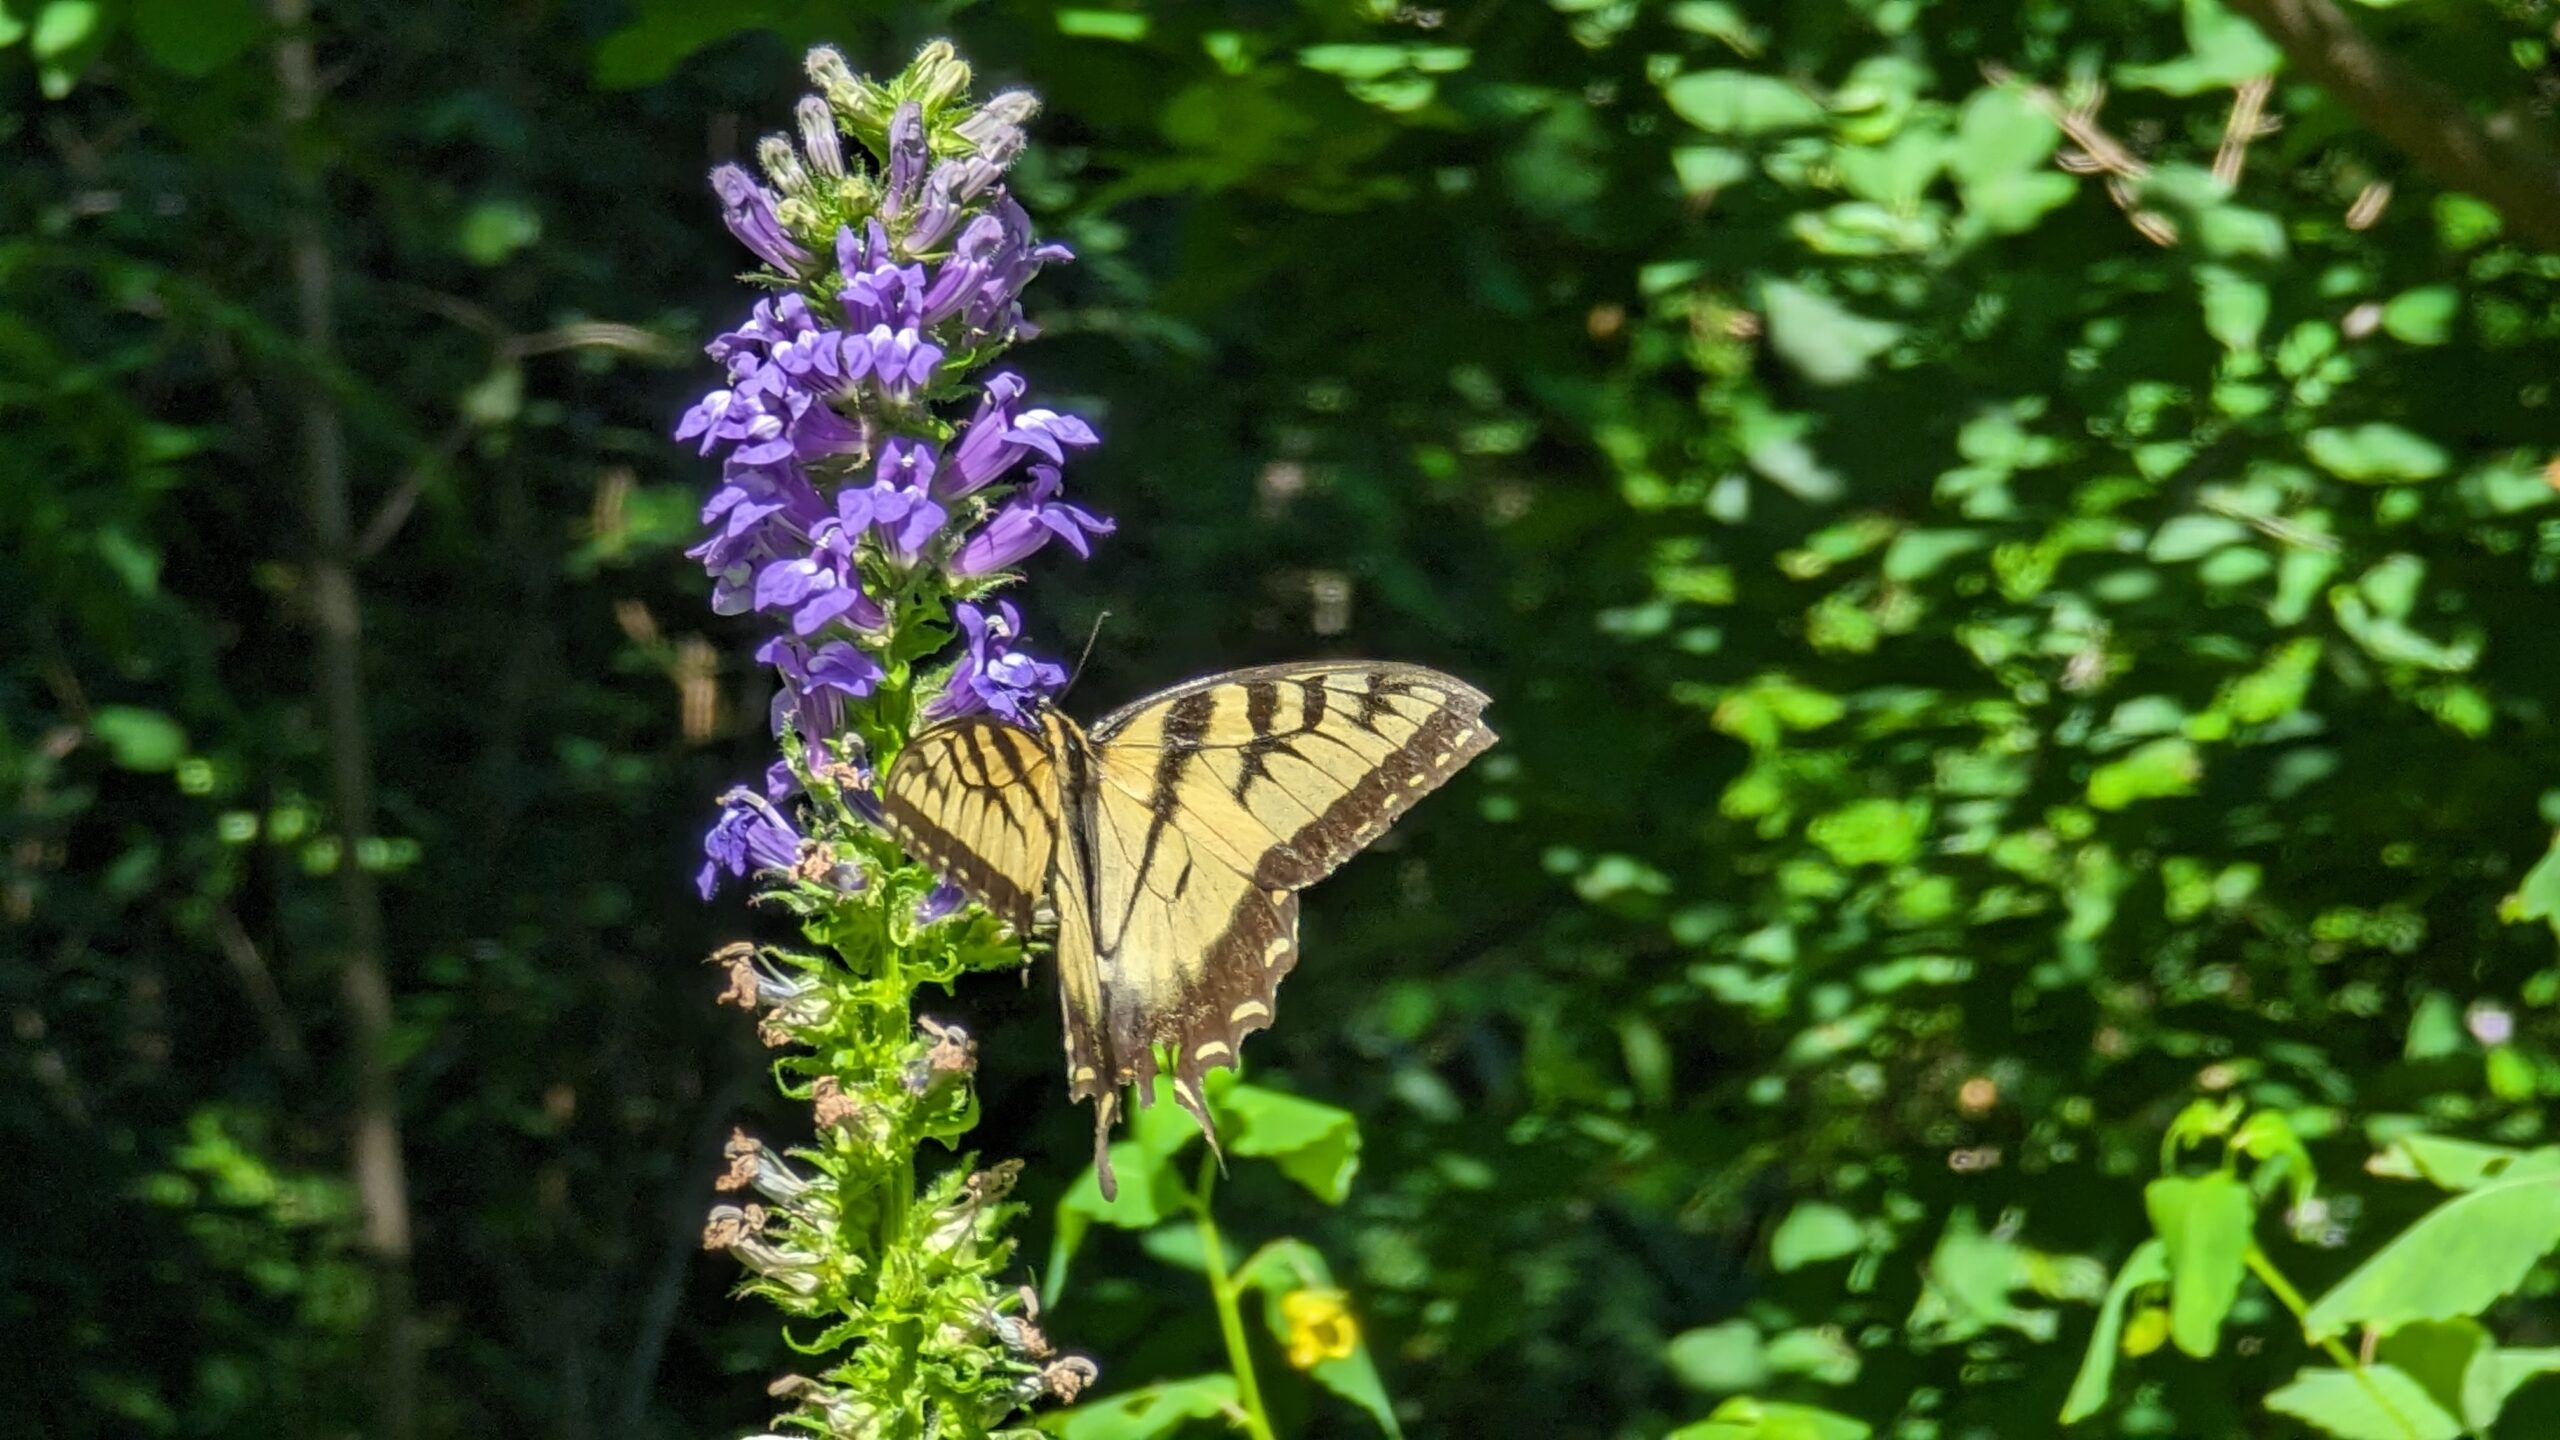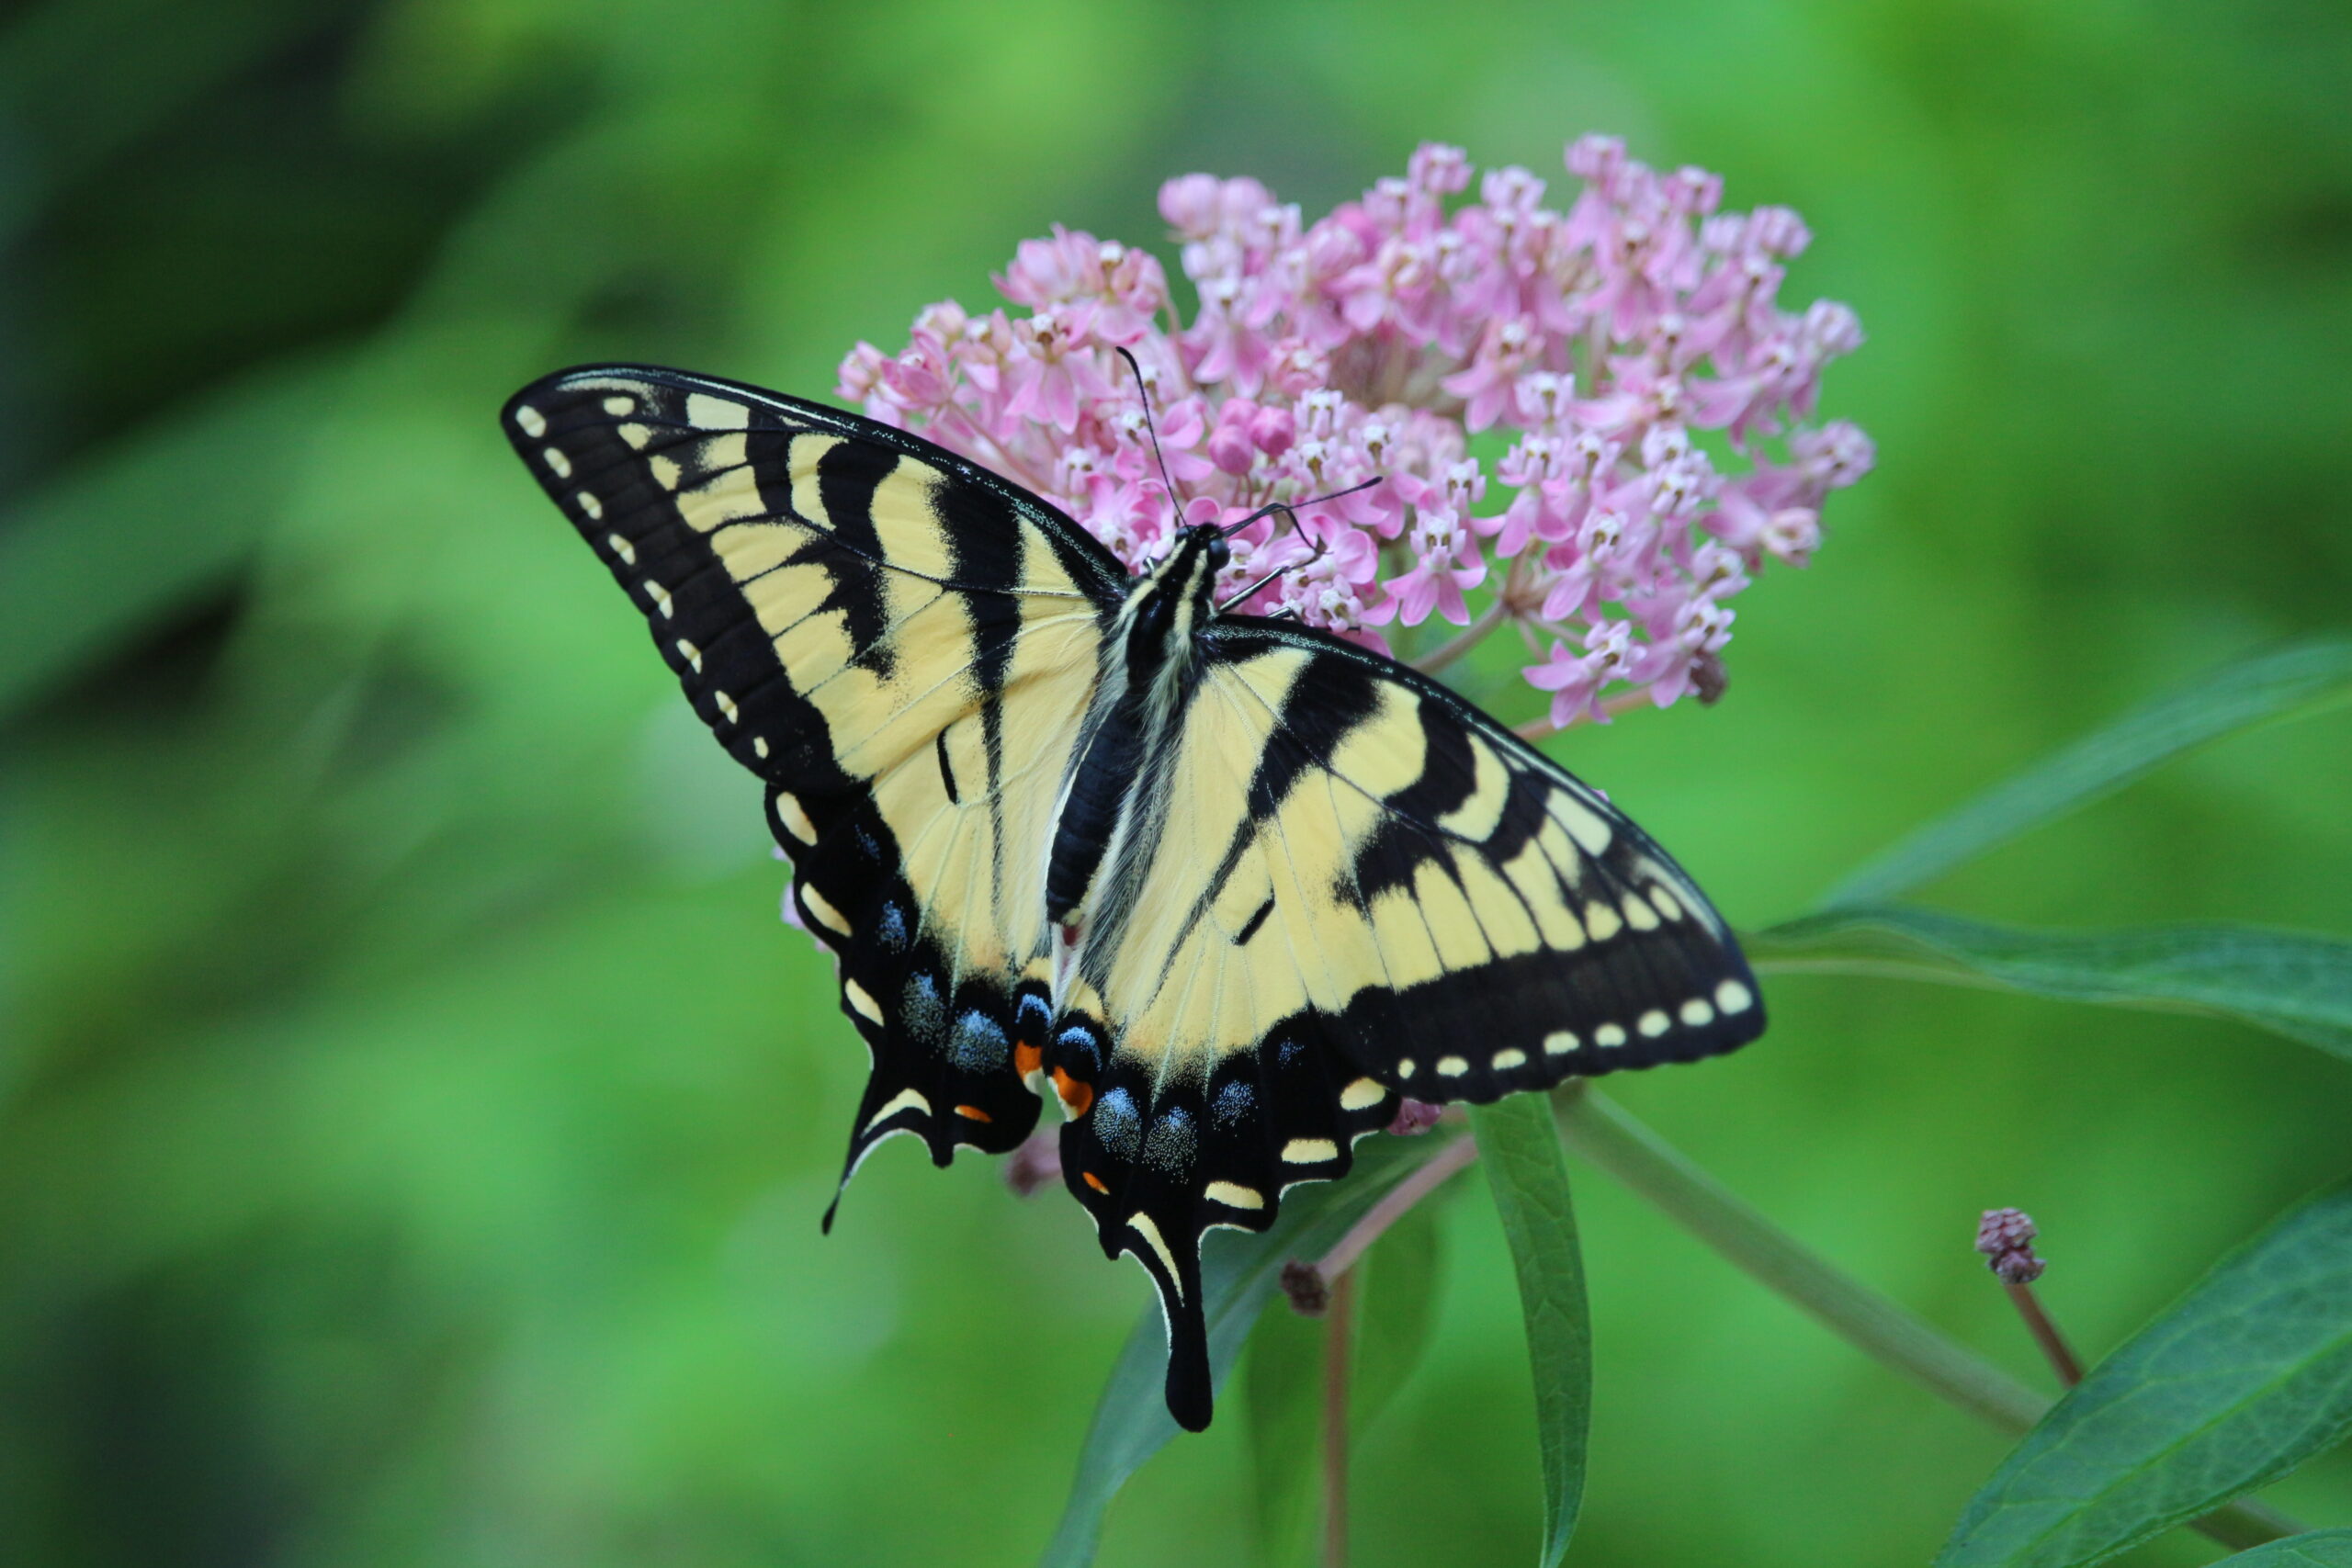
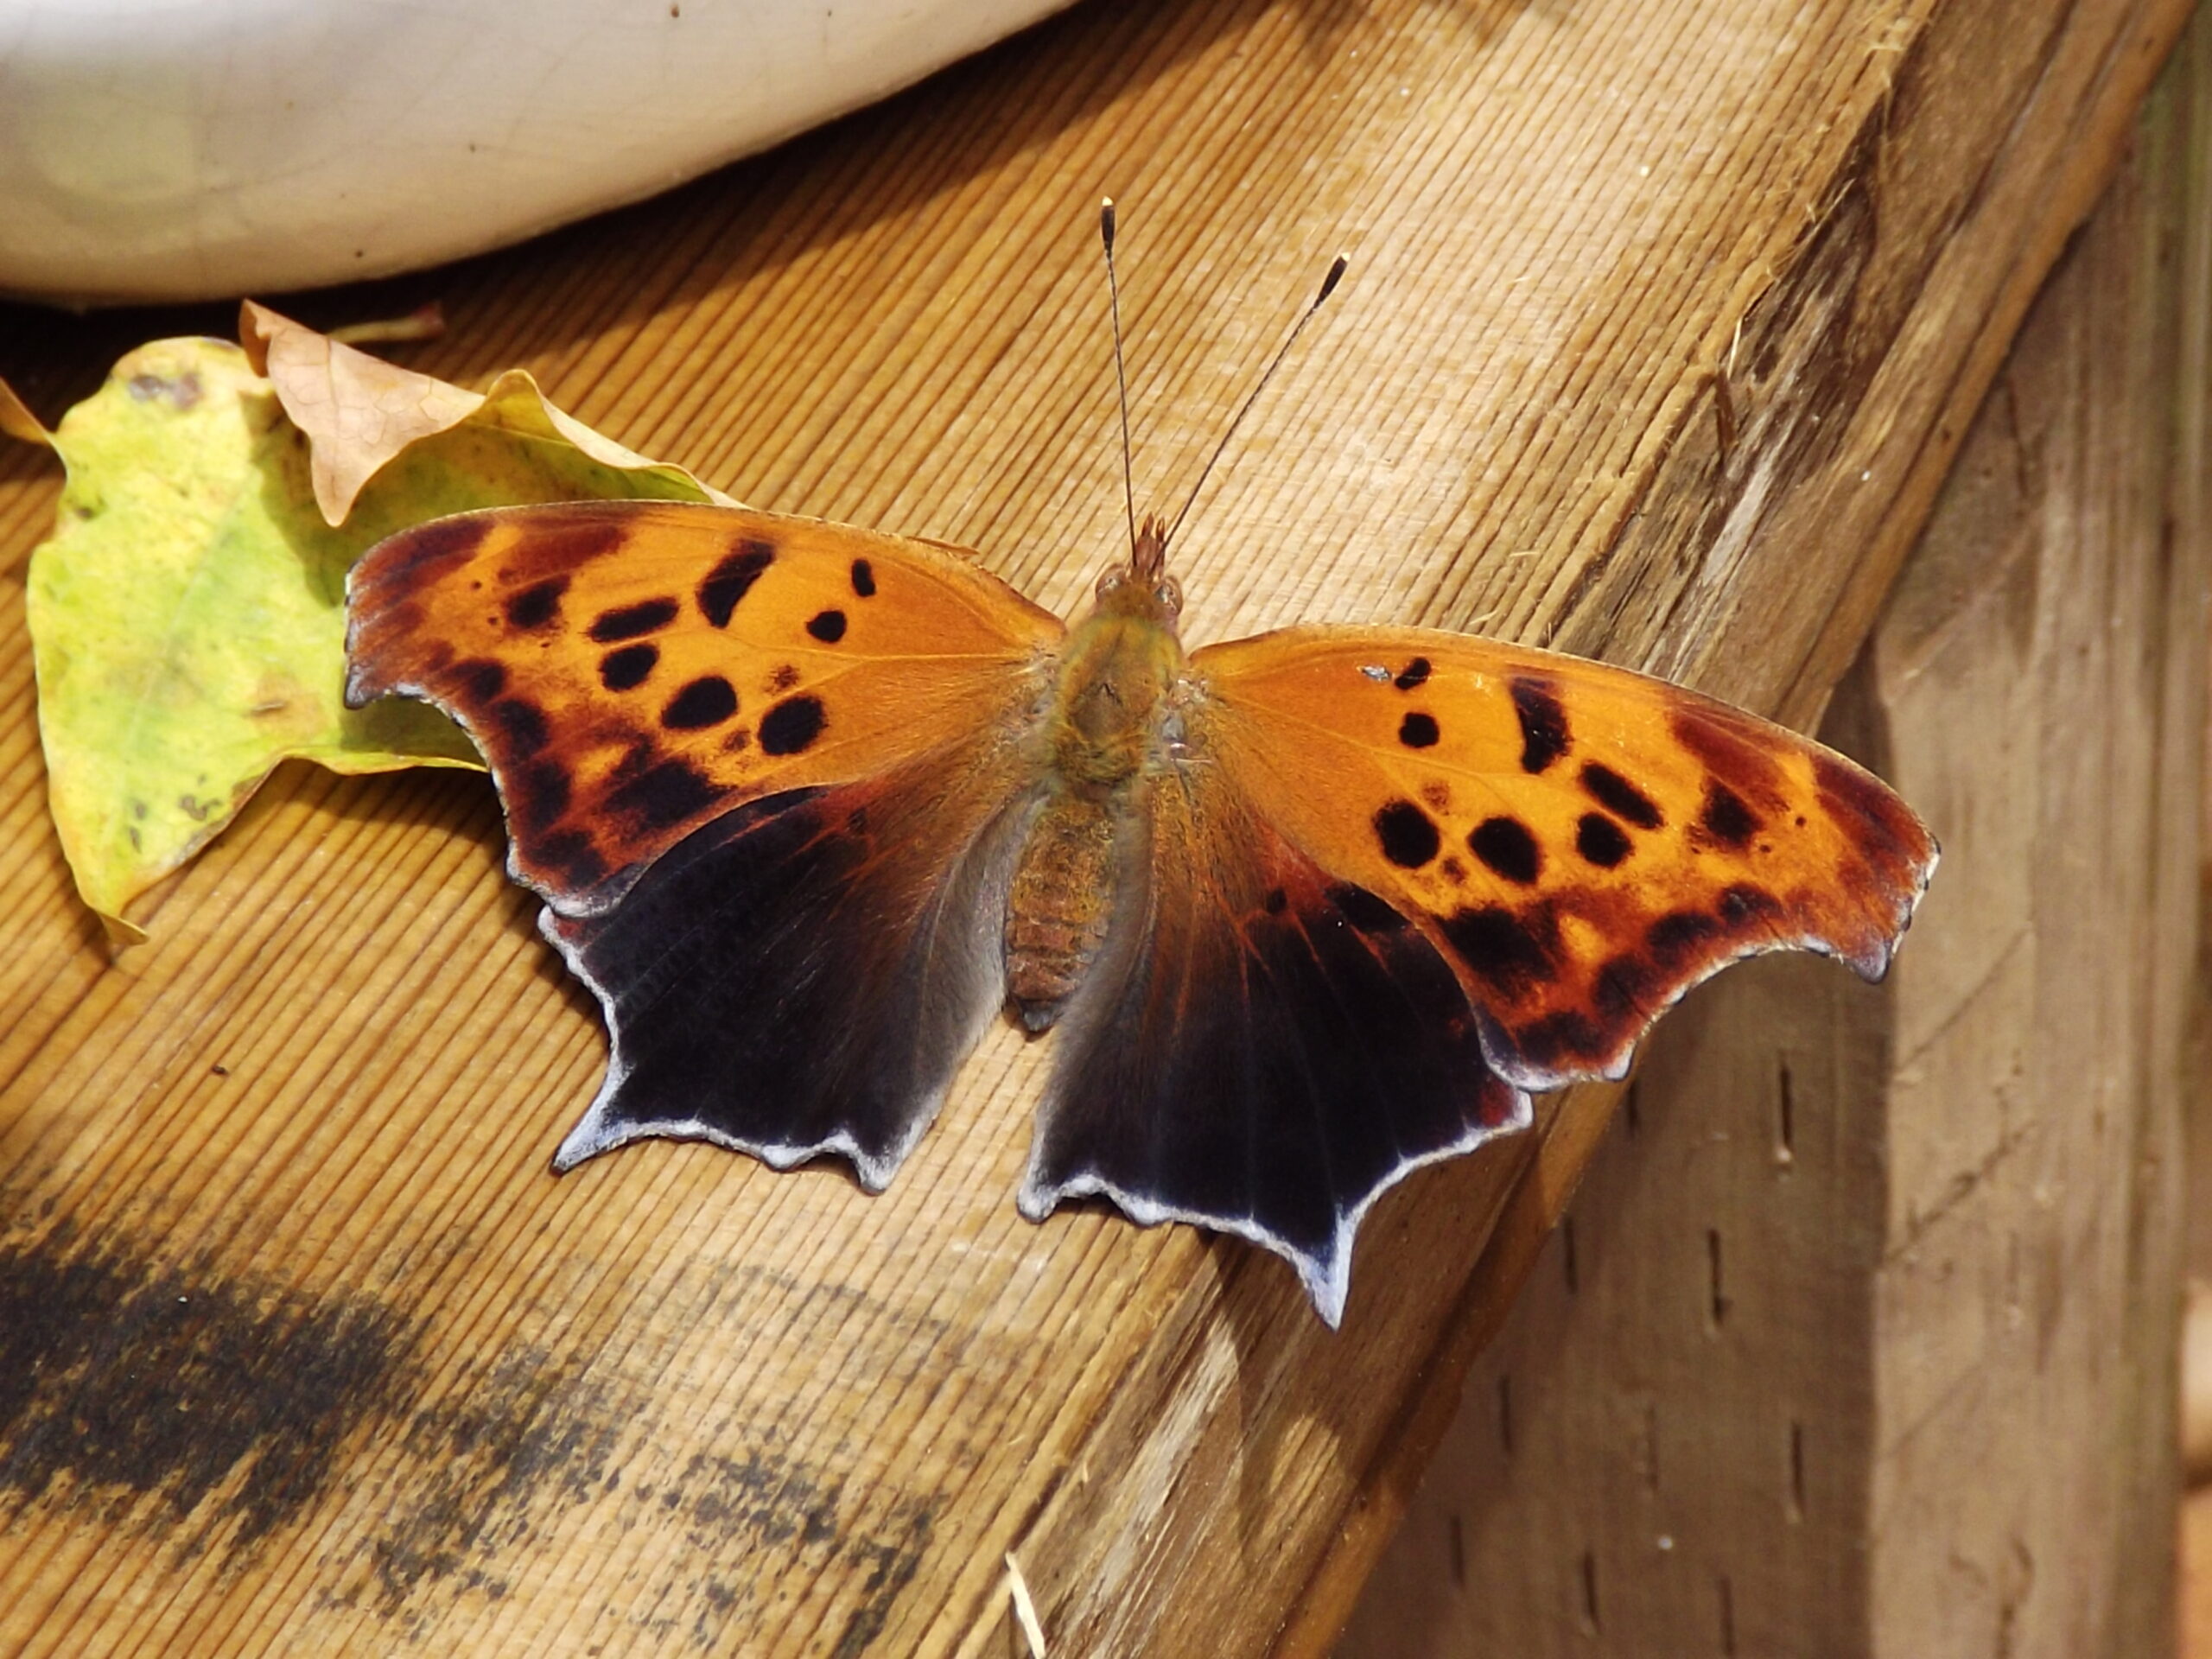
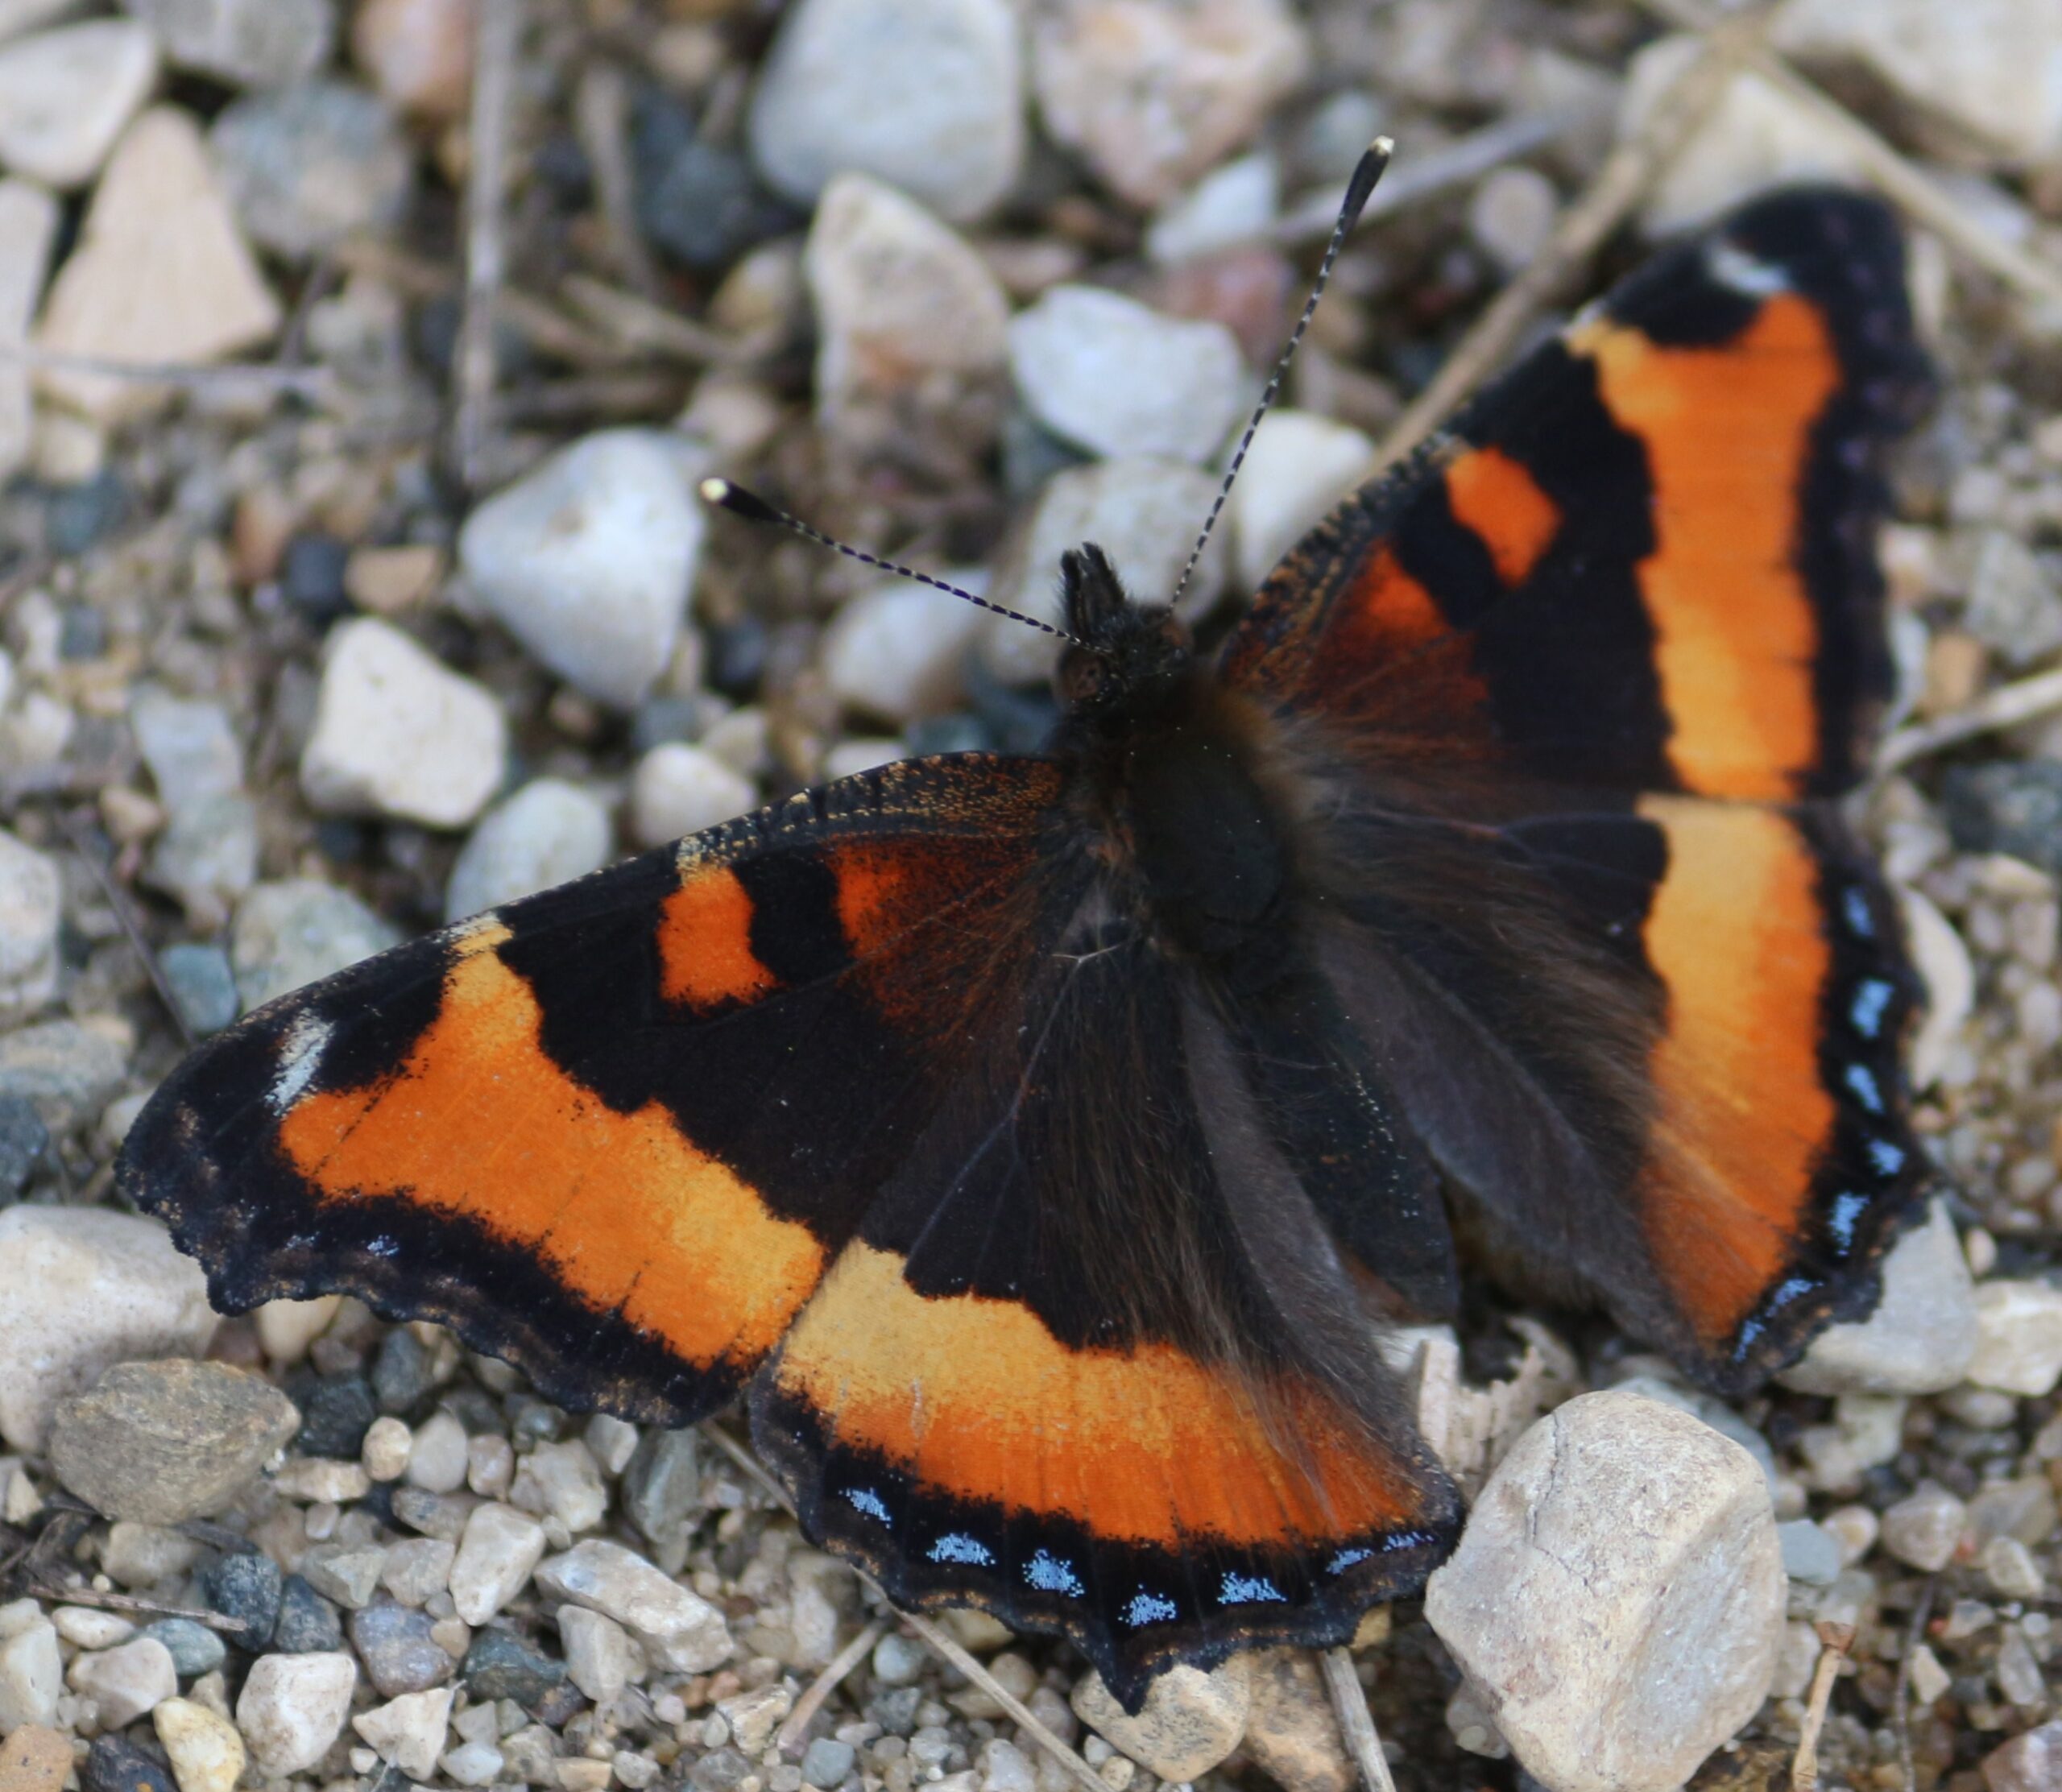
What do Admirals, Commas, Question Marks and Tortoiseshells all have in common? No, it’s not a love letter written by a shipwrecked seafarer on a desert island. These are all butterflies that are commonly found in the southern Great Lakes region and they, along with a few interesting moths, all use members of the nettle family (Urticaceae) as host plants.
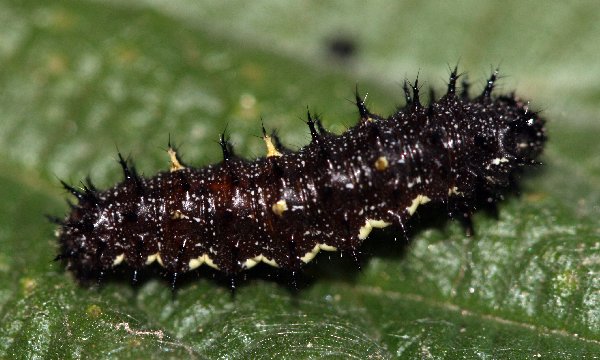
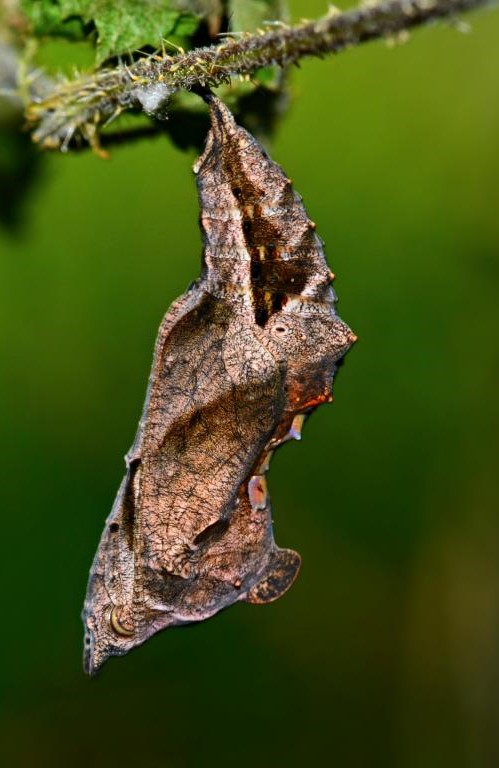
(C) Todd Stout
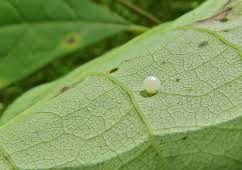
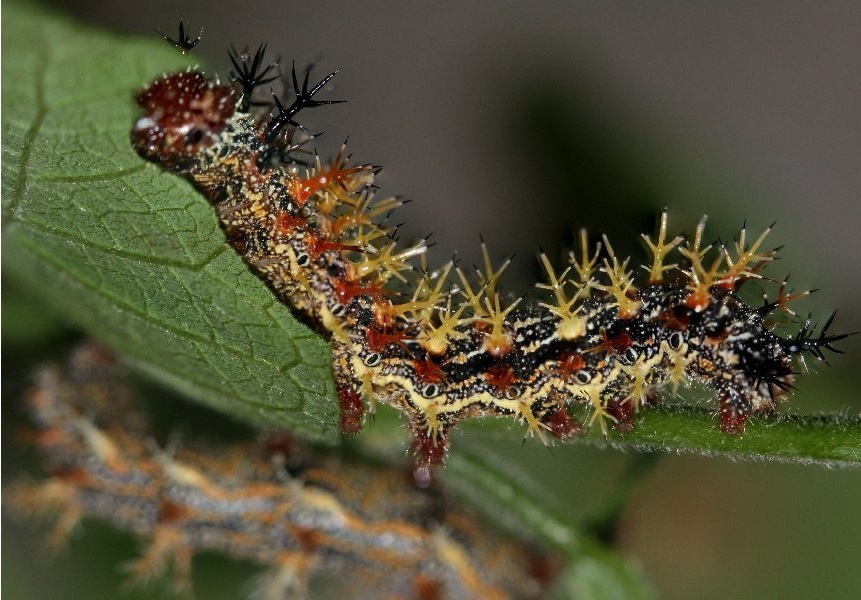
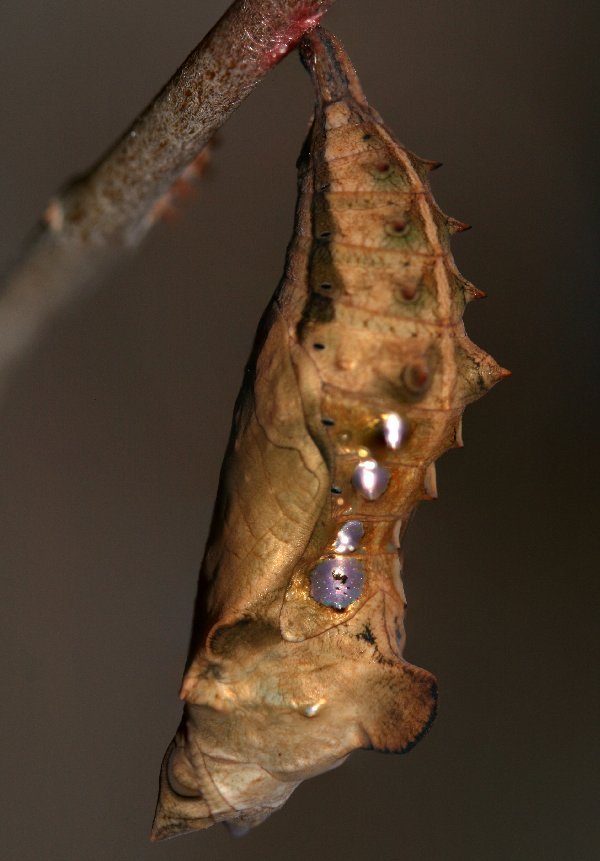
(C) Butterfly Conservation – Giles San Martin

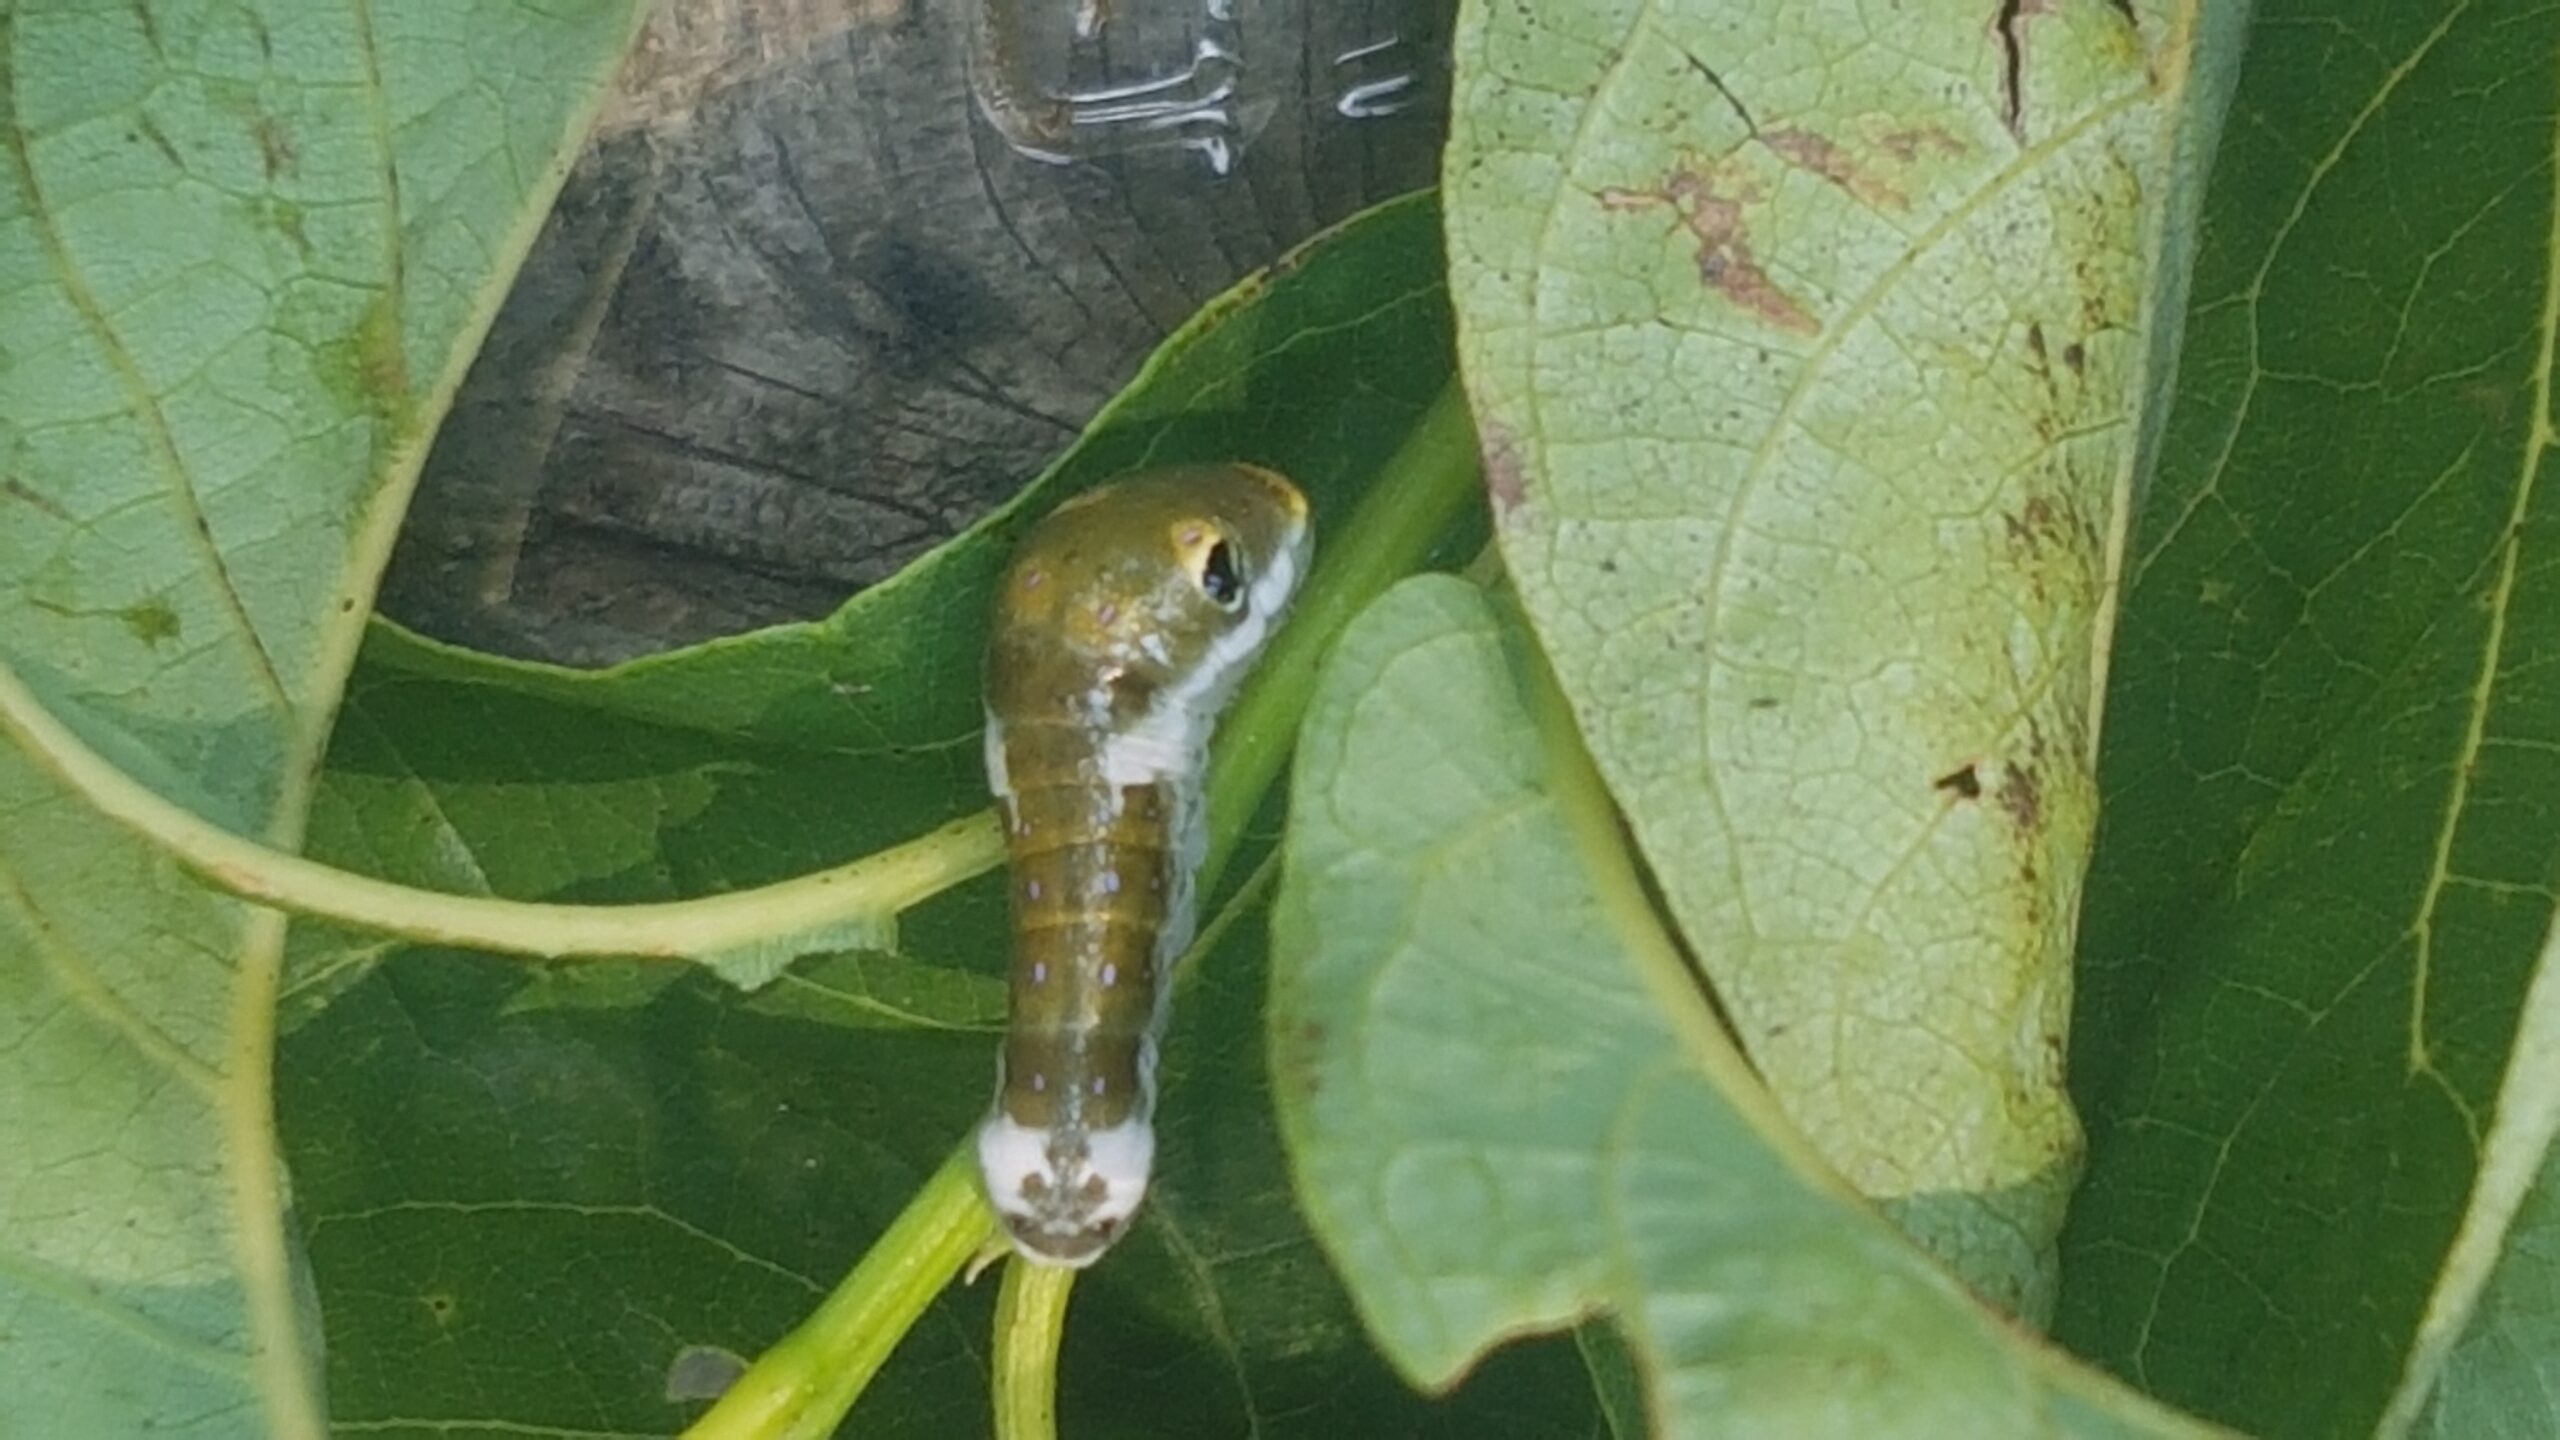
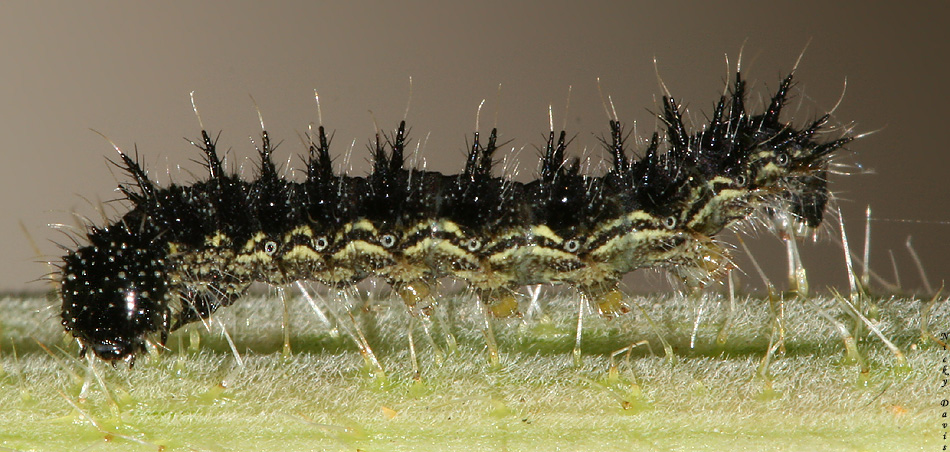
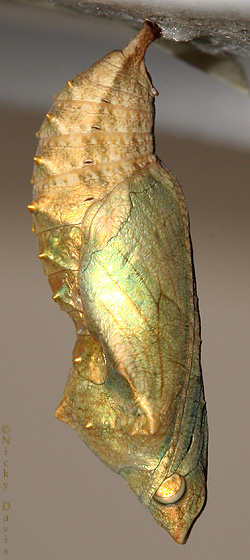
(C) Butterfly Conservancy – Steve Palmer
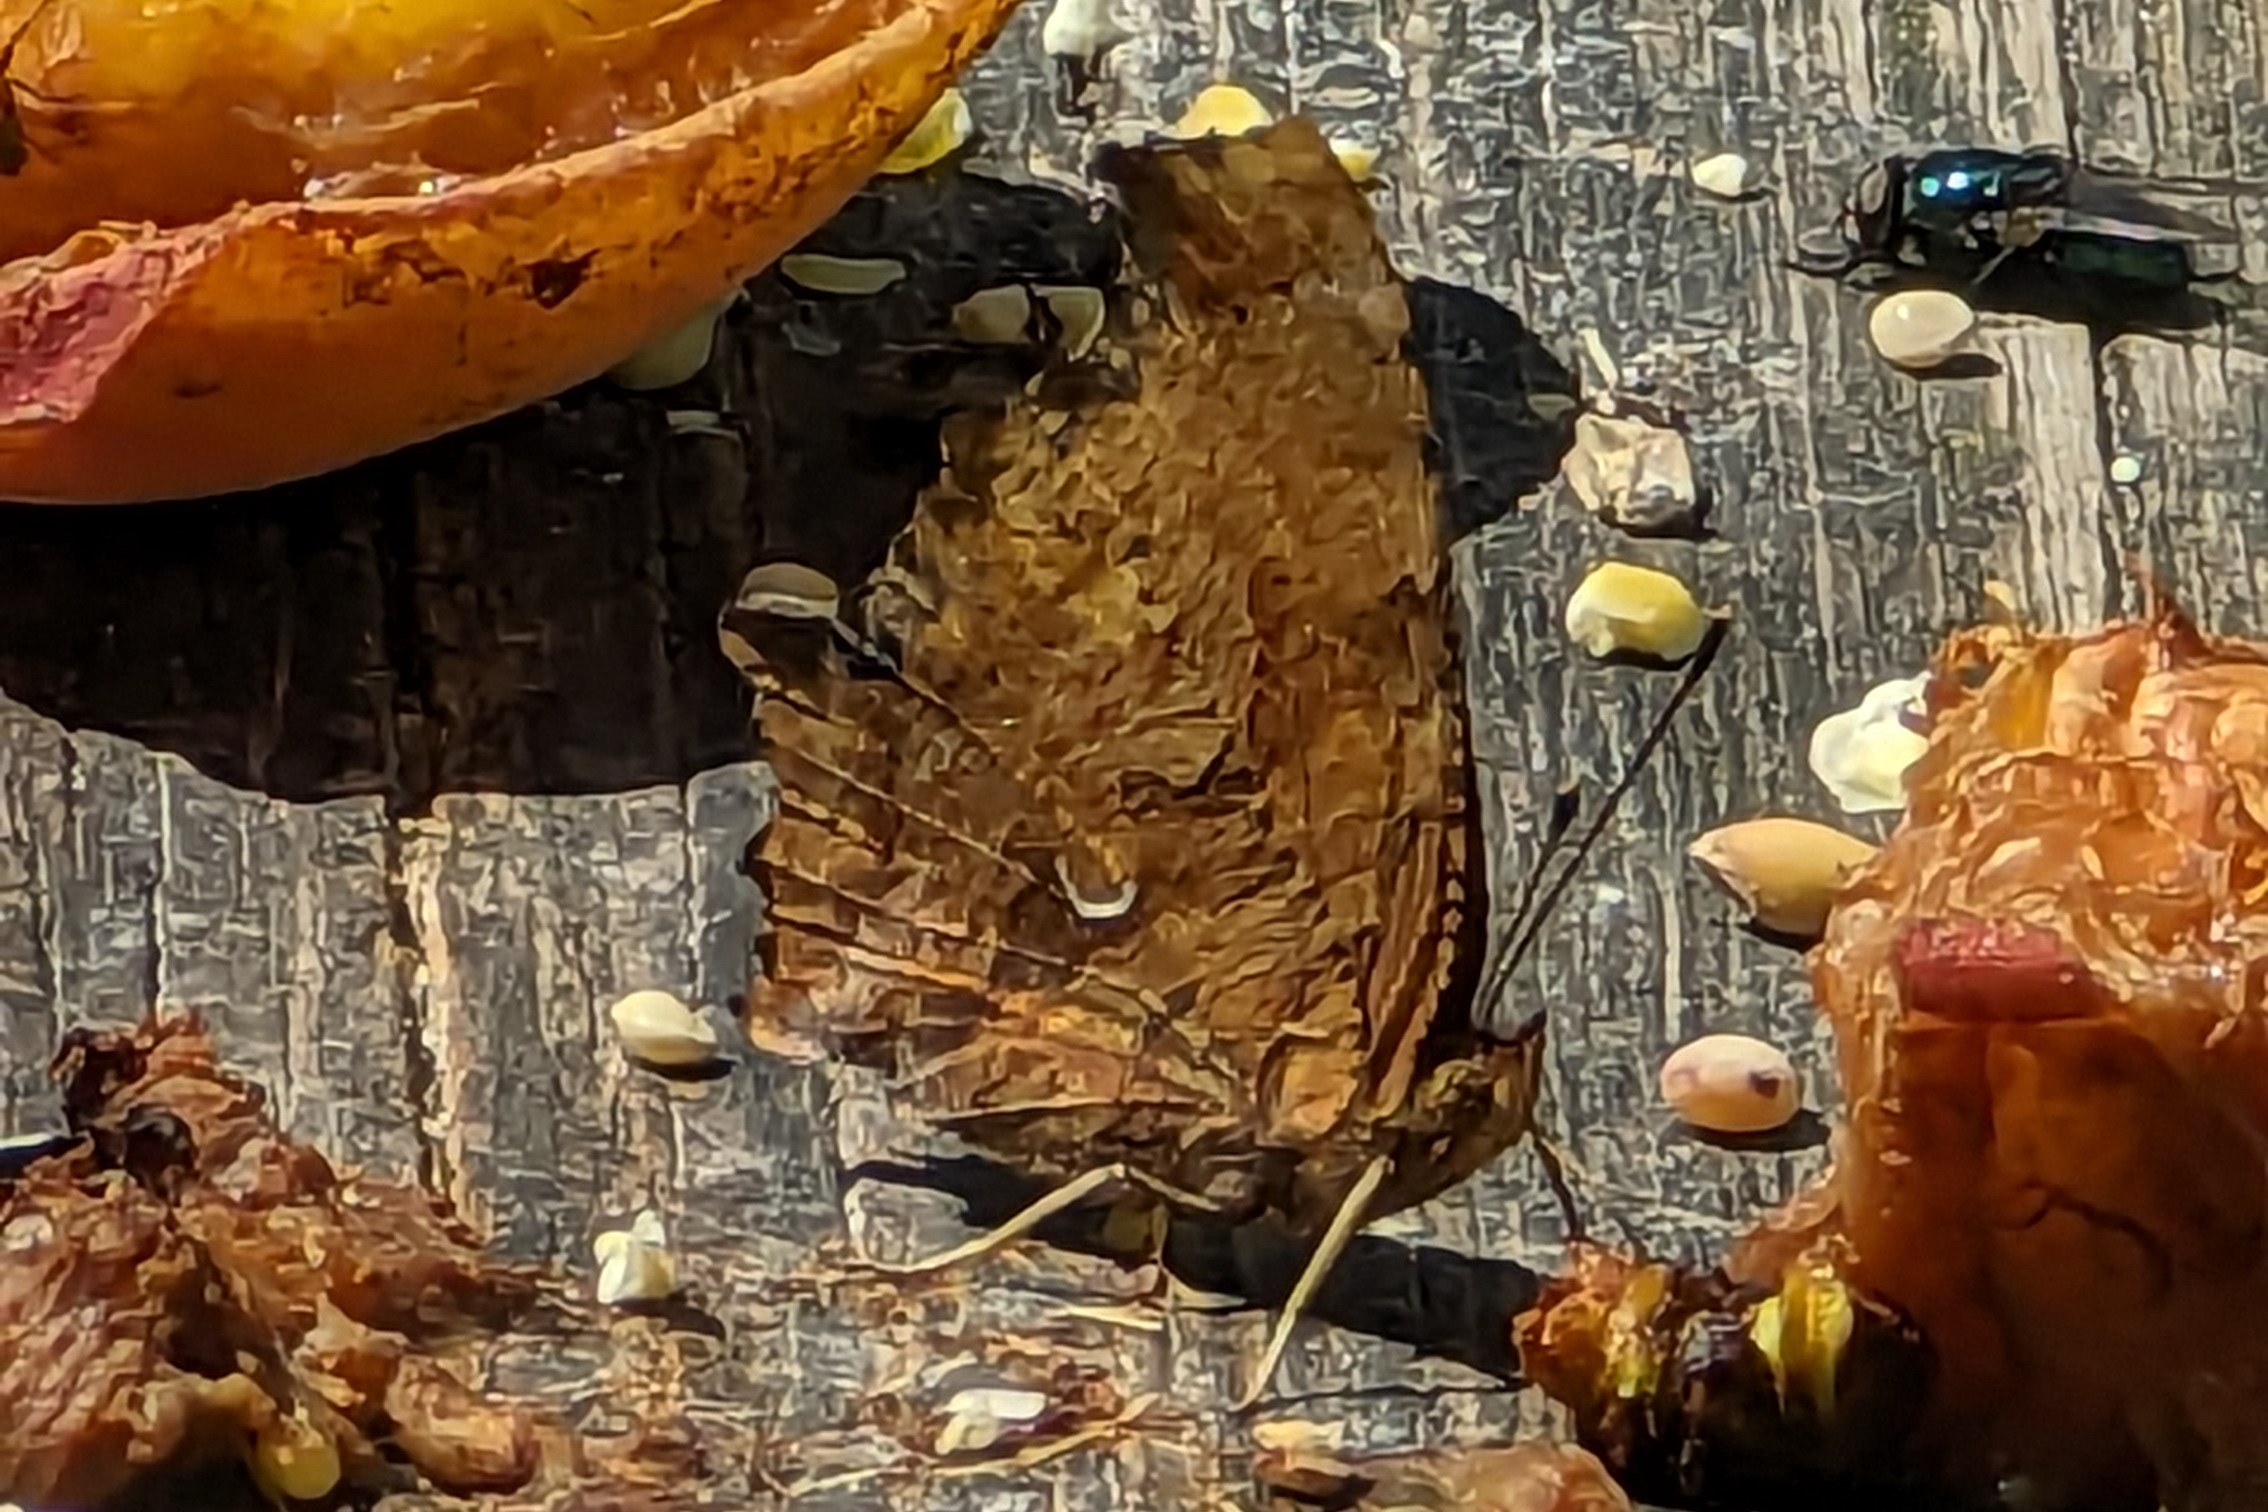
(C) Todd Stout
(C) Todd Stout
(C) Todd Stout
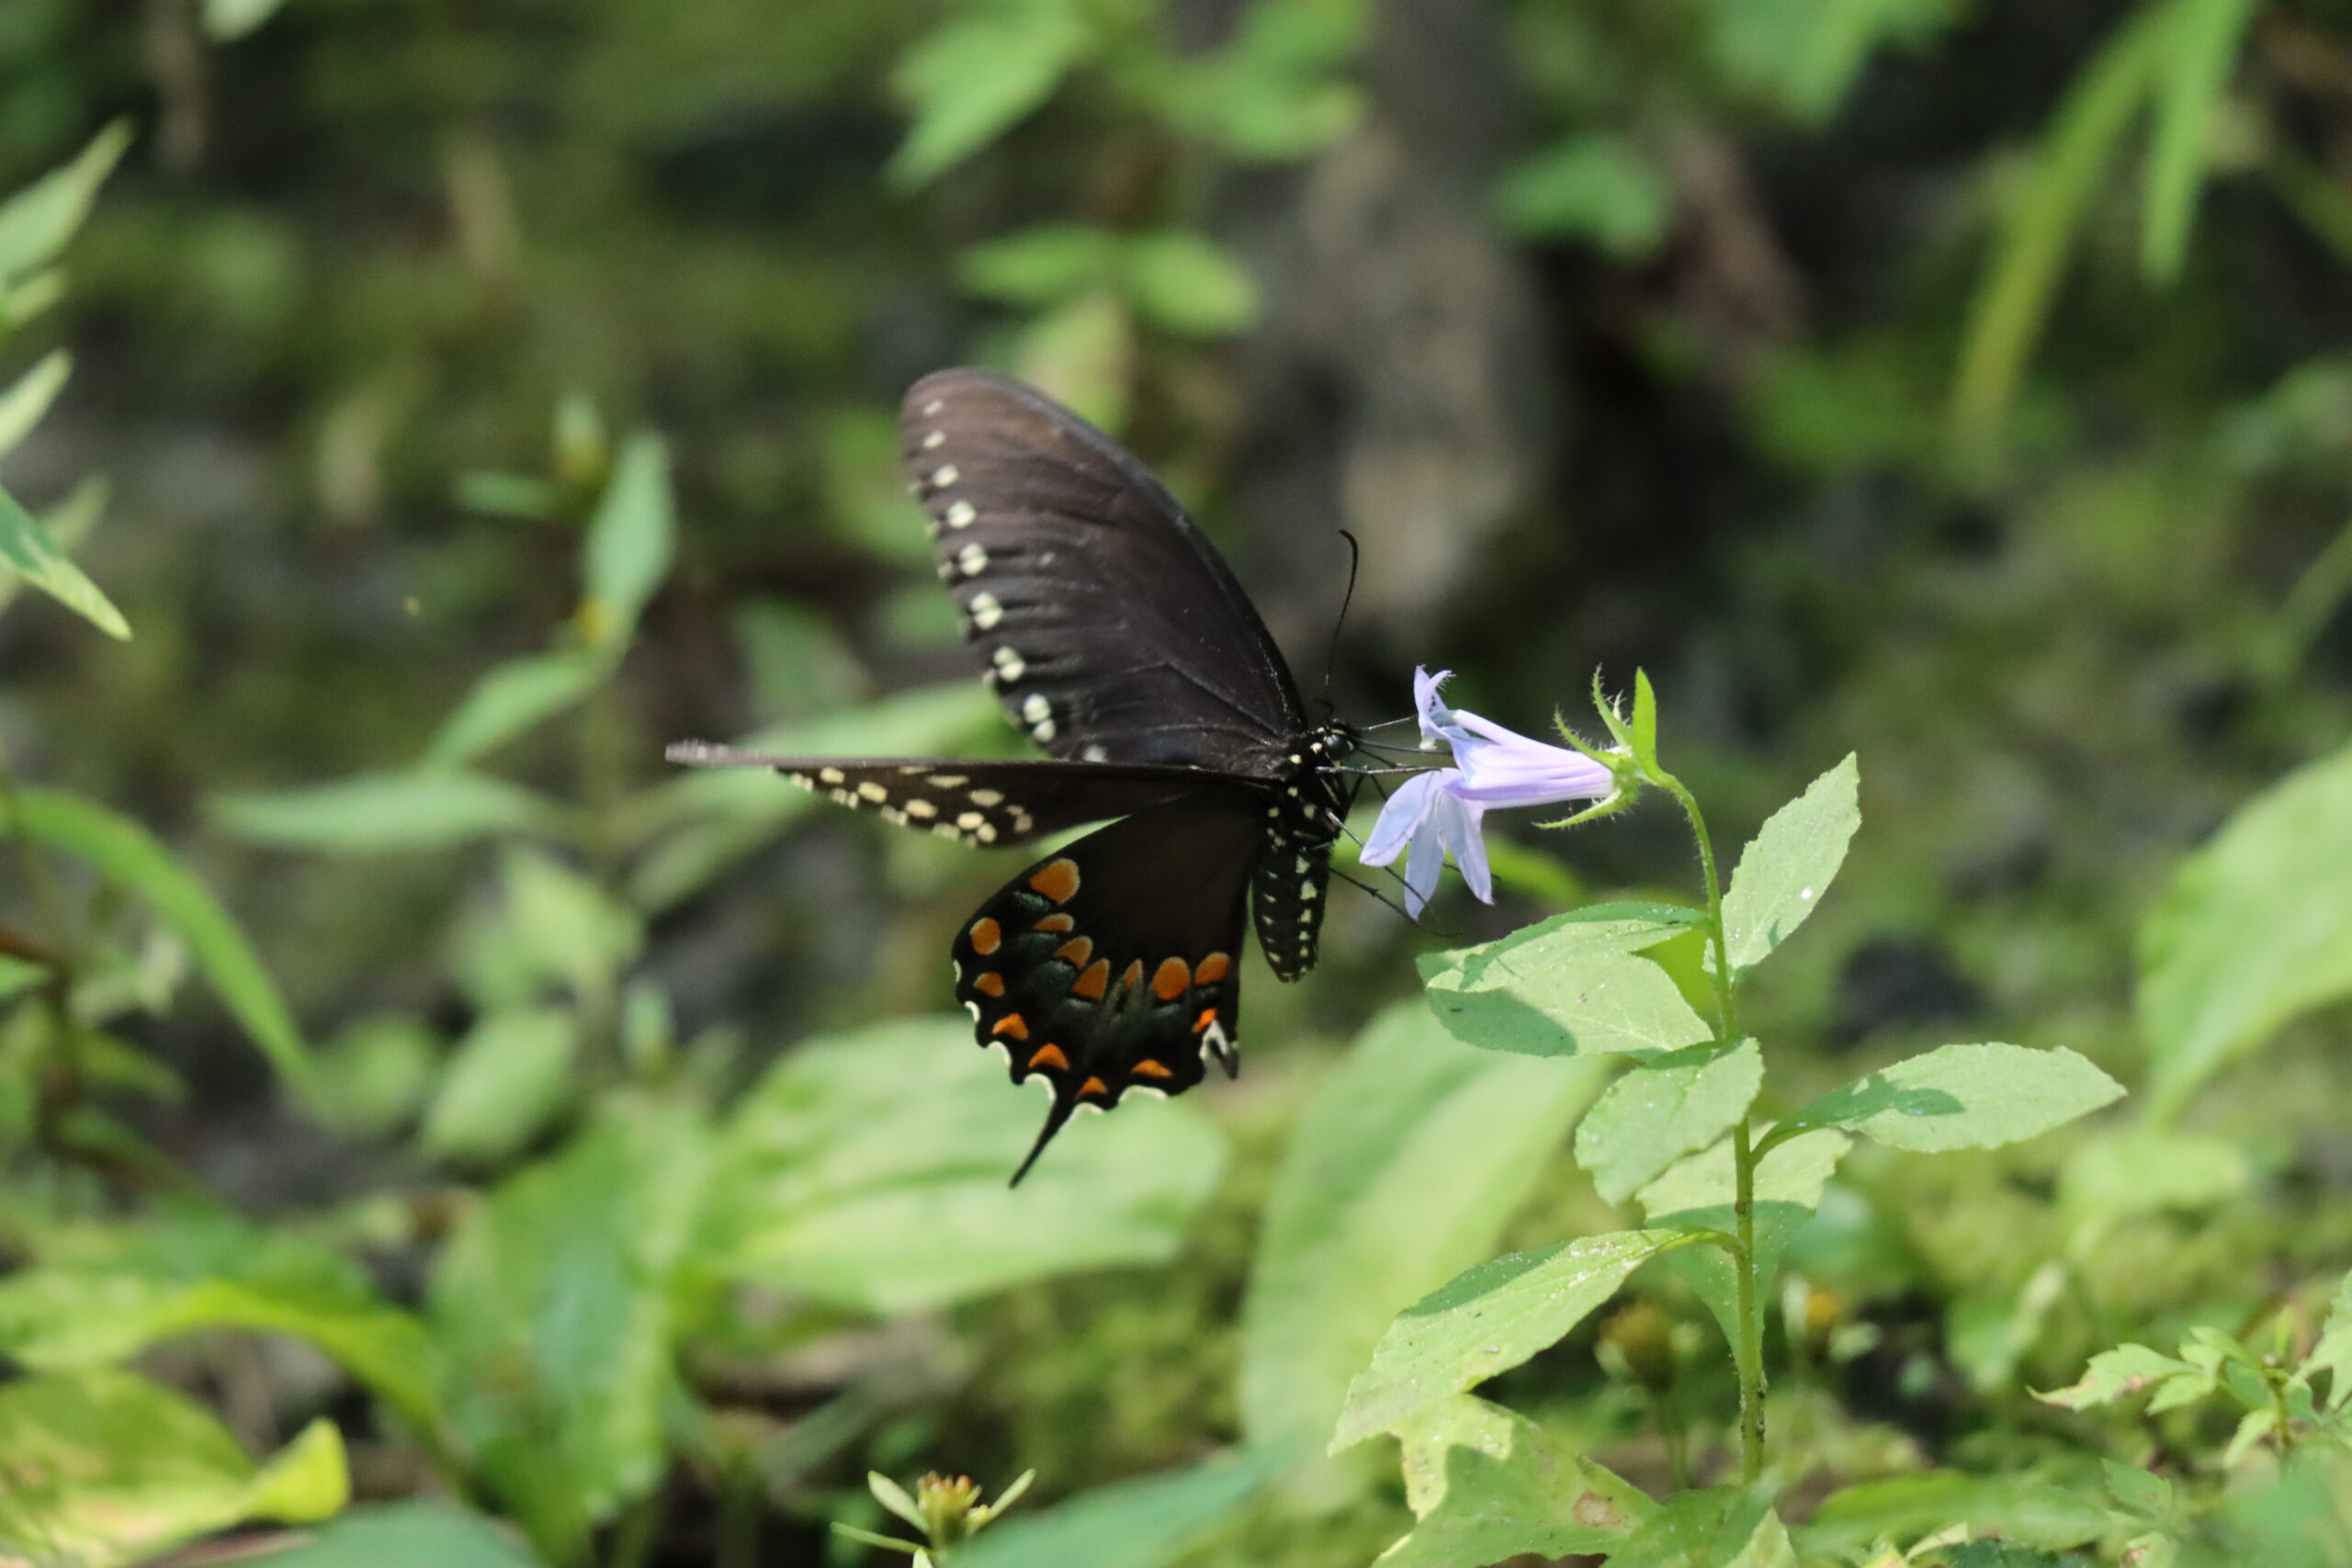
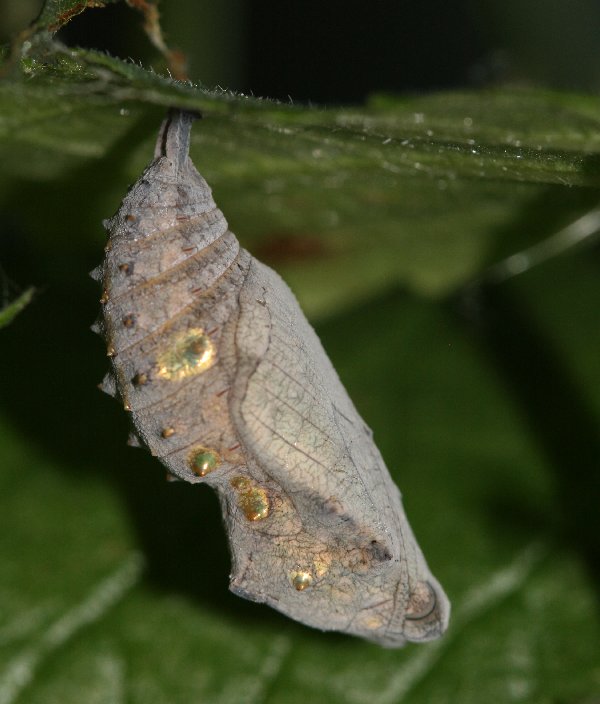
(C) Butterfly Conservancy – Andrew Cooper

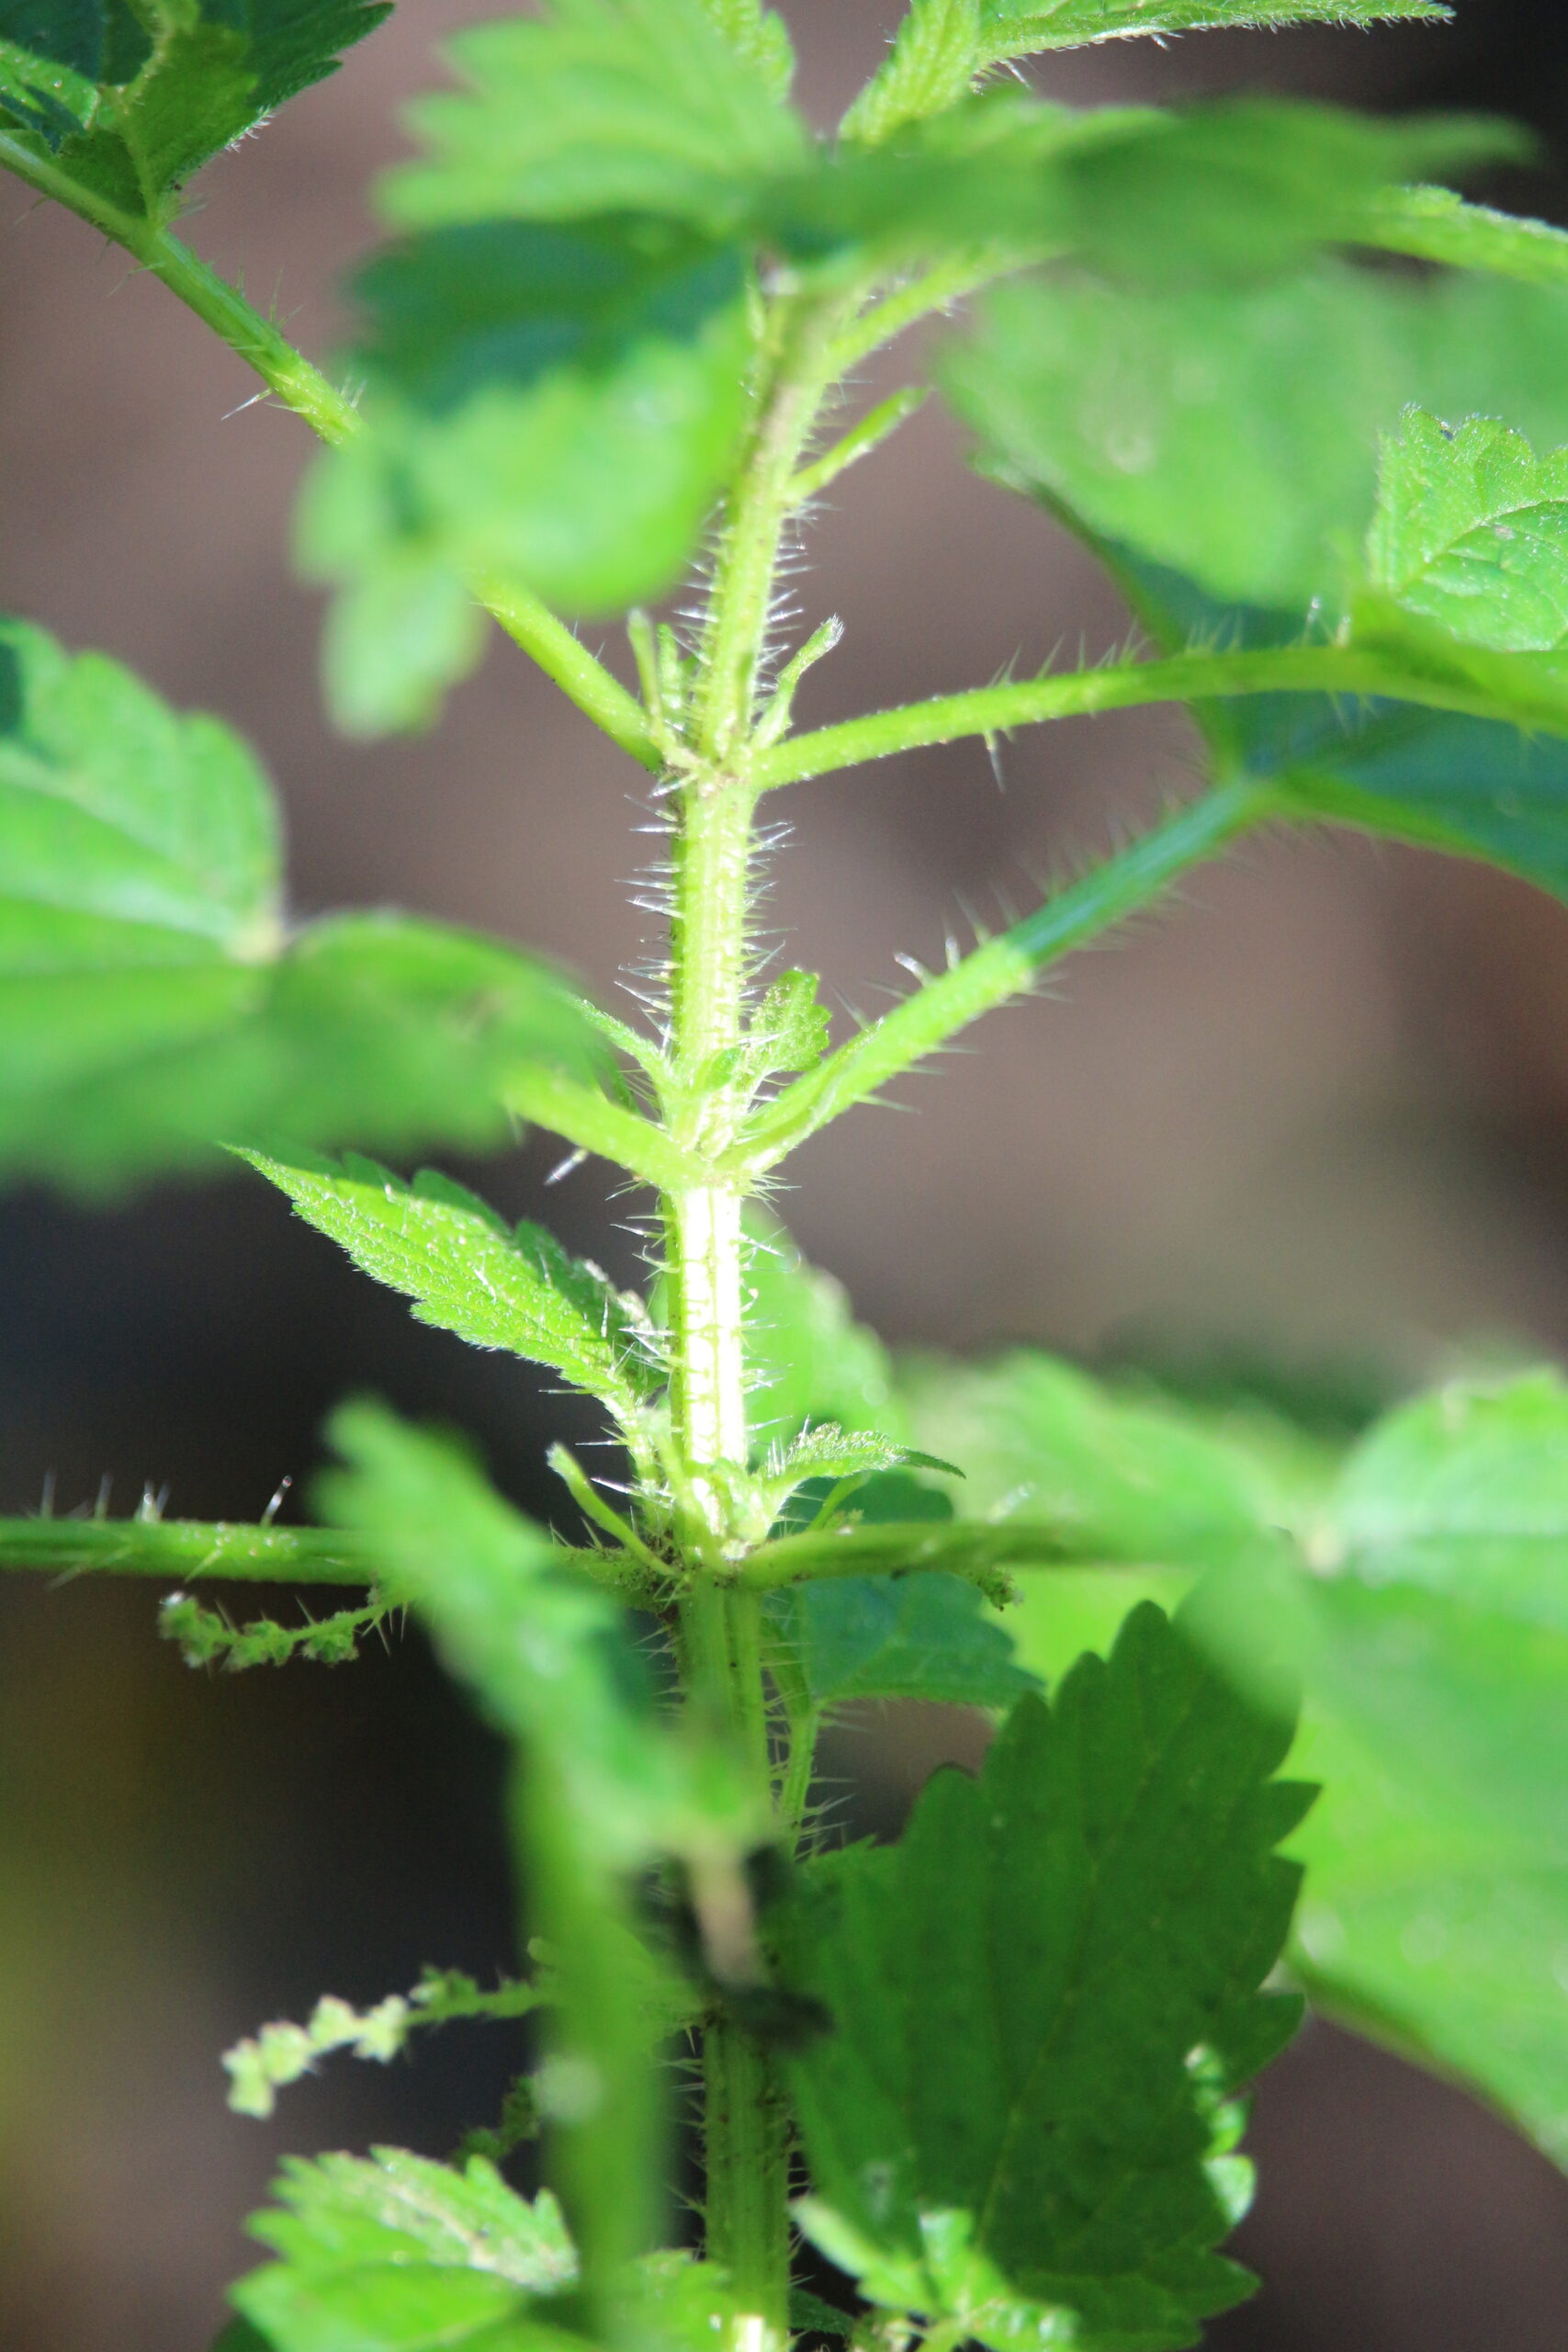
Many of us are familiar with that not-so-lovely burning sensation when we inadvertently brush a bare leg or an arm against some Stinging Nettle (Urtica dioica). This happens because the stems and leaves are covered with a lot of tiny, brittle, needle-like hairs called trichomes that easily break off when touched. At the base of these hairs is a potent mix of histamine, acetylcholine, serotonin and formic acid. And it is this chemical mixture that provides the stinging sensation that can last anywhere from a few minutes to a few hours, depending on your sensitivity level and the size of the dose you get.
Stinging Nettle is not native to our region – it is naturally found in Europe, Asia and North Africa. Fortunately, we have several members of Urticaceae that are native to the southern Great Lakes region that we can grow in our gardens as host plants, and some of these are even non-stinging if you really don’t want to get stung.
Nettles and Relatives in the Garden
Stinging Nettle (Urtica dioica)
Let’s start with the non-native Stinging Nettle. You COULD choose to grow this though personally I find it pops up unwanted in my garden without any help. (Apparently it makes a great cooked green, tasting a lot like spinach and loaded with vitamins A and C – the sting is removed with cooking – but always read up on the potential side effects before eating any wild plants). If you really want this plant, consider growing it in containers to help prevent its spread as it grows vigorously from rhizomes and can quickly overtake a garden. Deadheading can reduce the likelihood of seeds, which can remain dormant in the soil for decades.
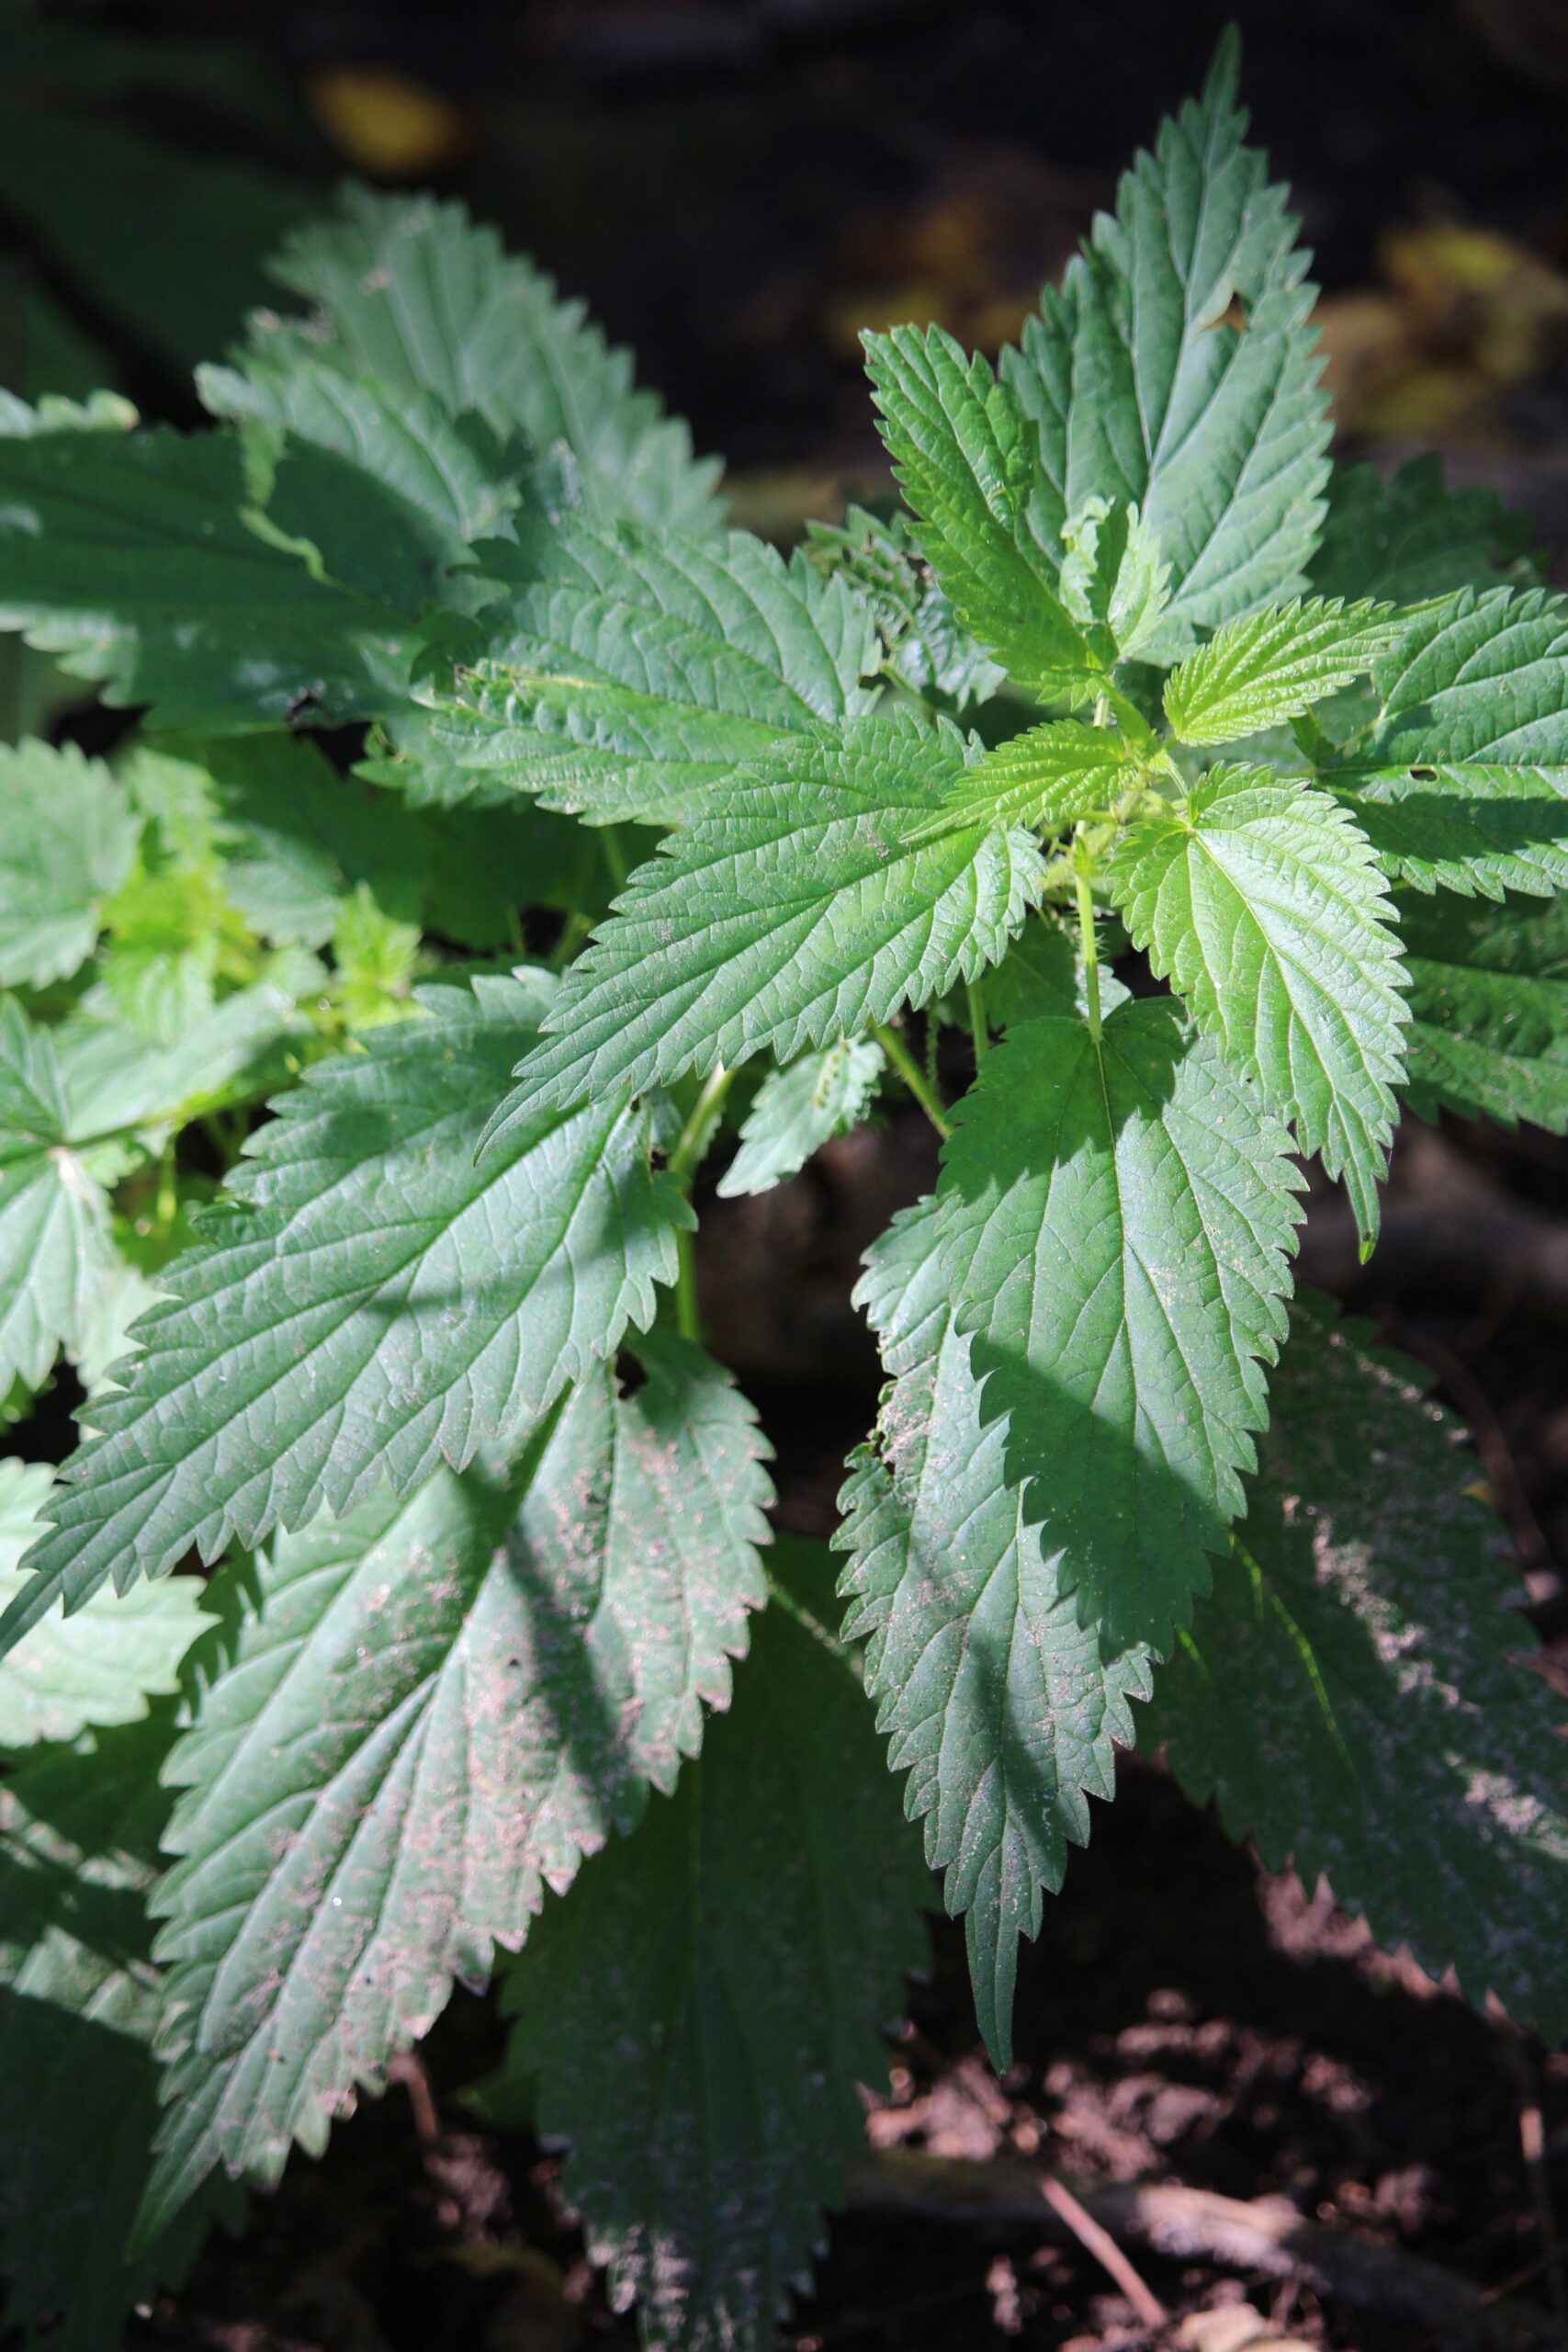
This plant typically grows from 3-7 feet tall and 1-3 feet wide. It thrives in full sun, but will also tolerate a fair bit of shade (in my garden, it happily grows in full shade under large walnut trees). It’s not fussy about soil type and likes anything from very moist to relatively dry soils.
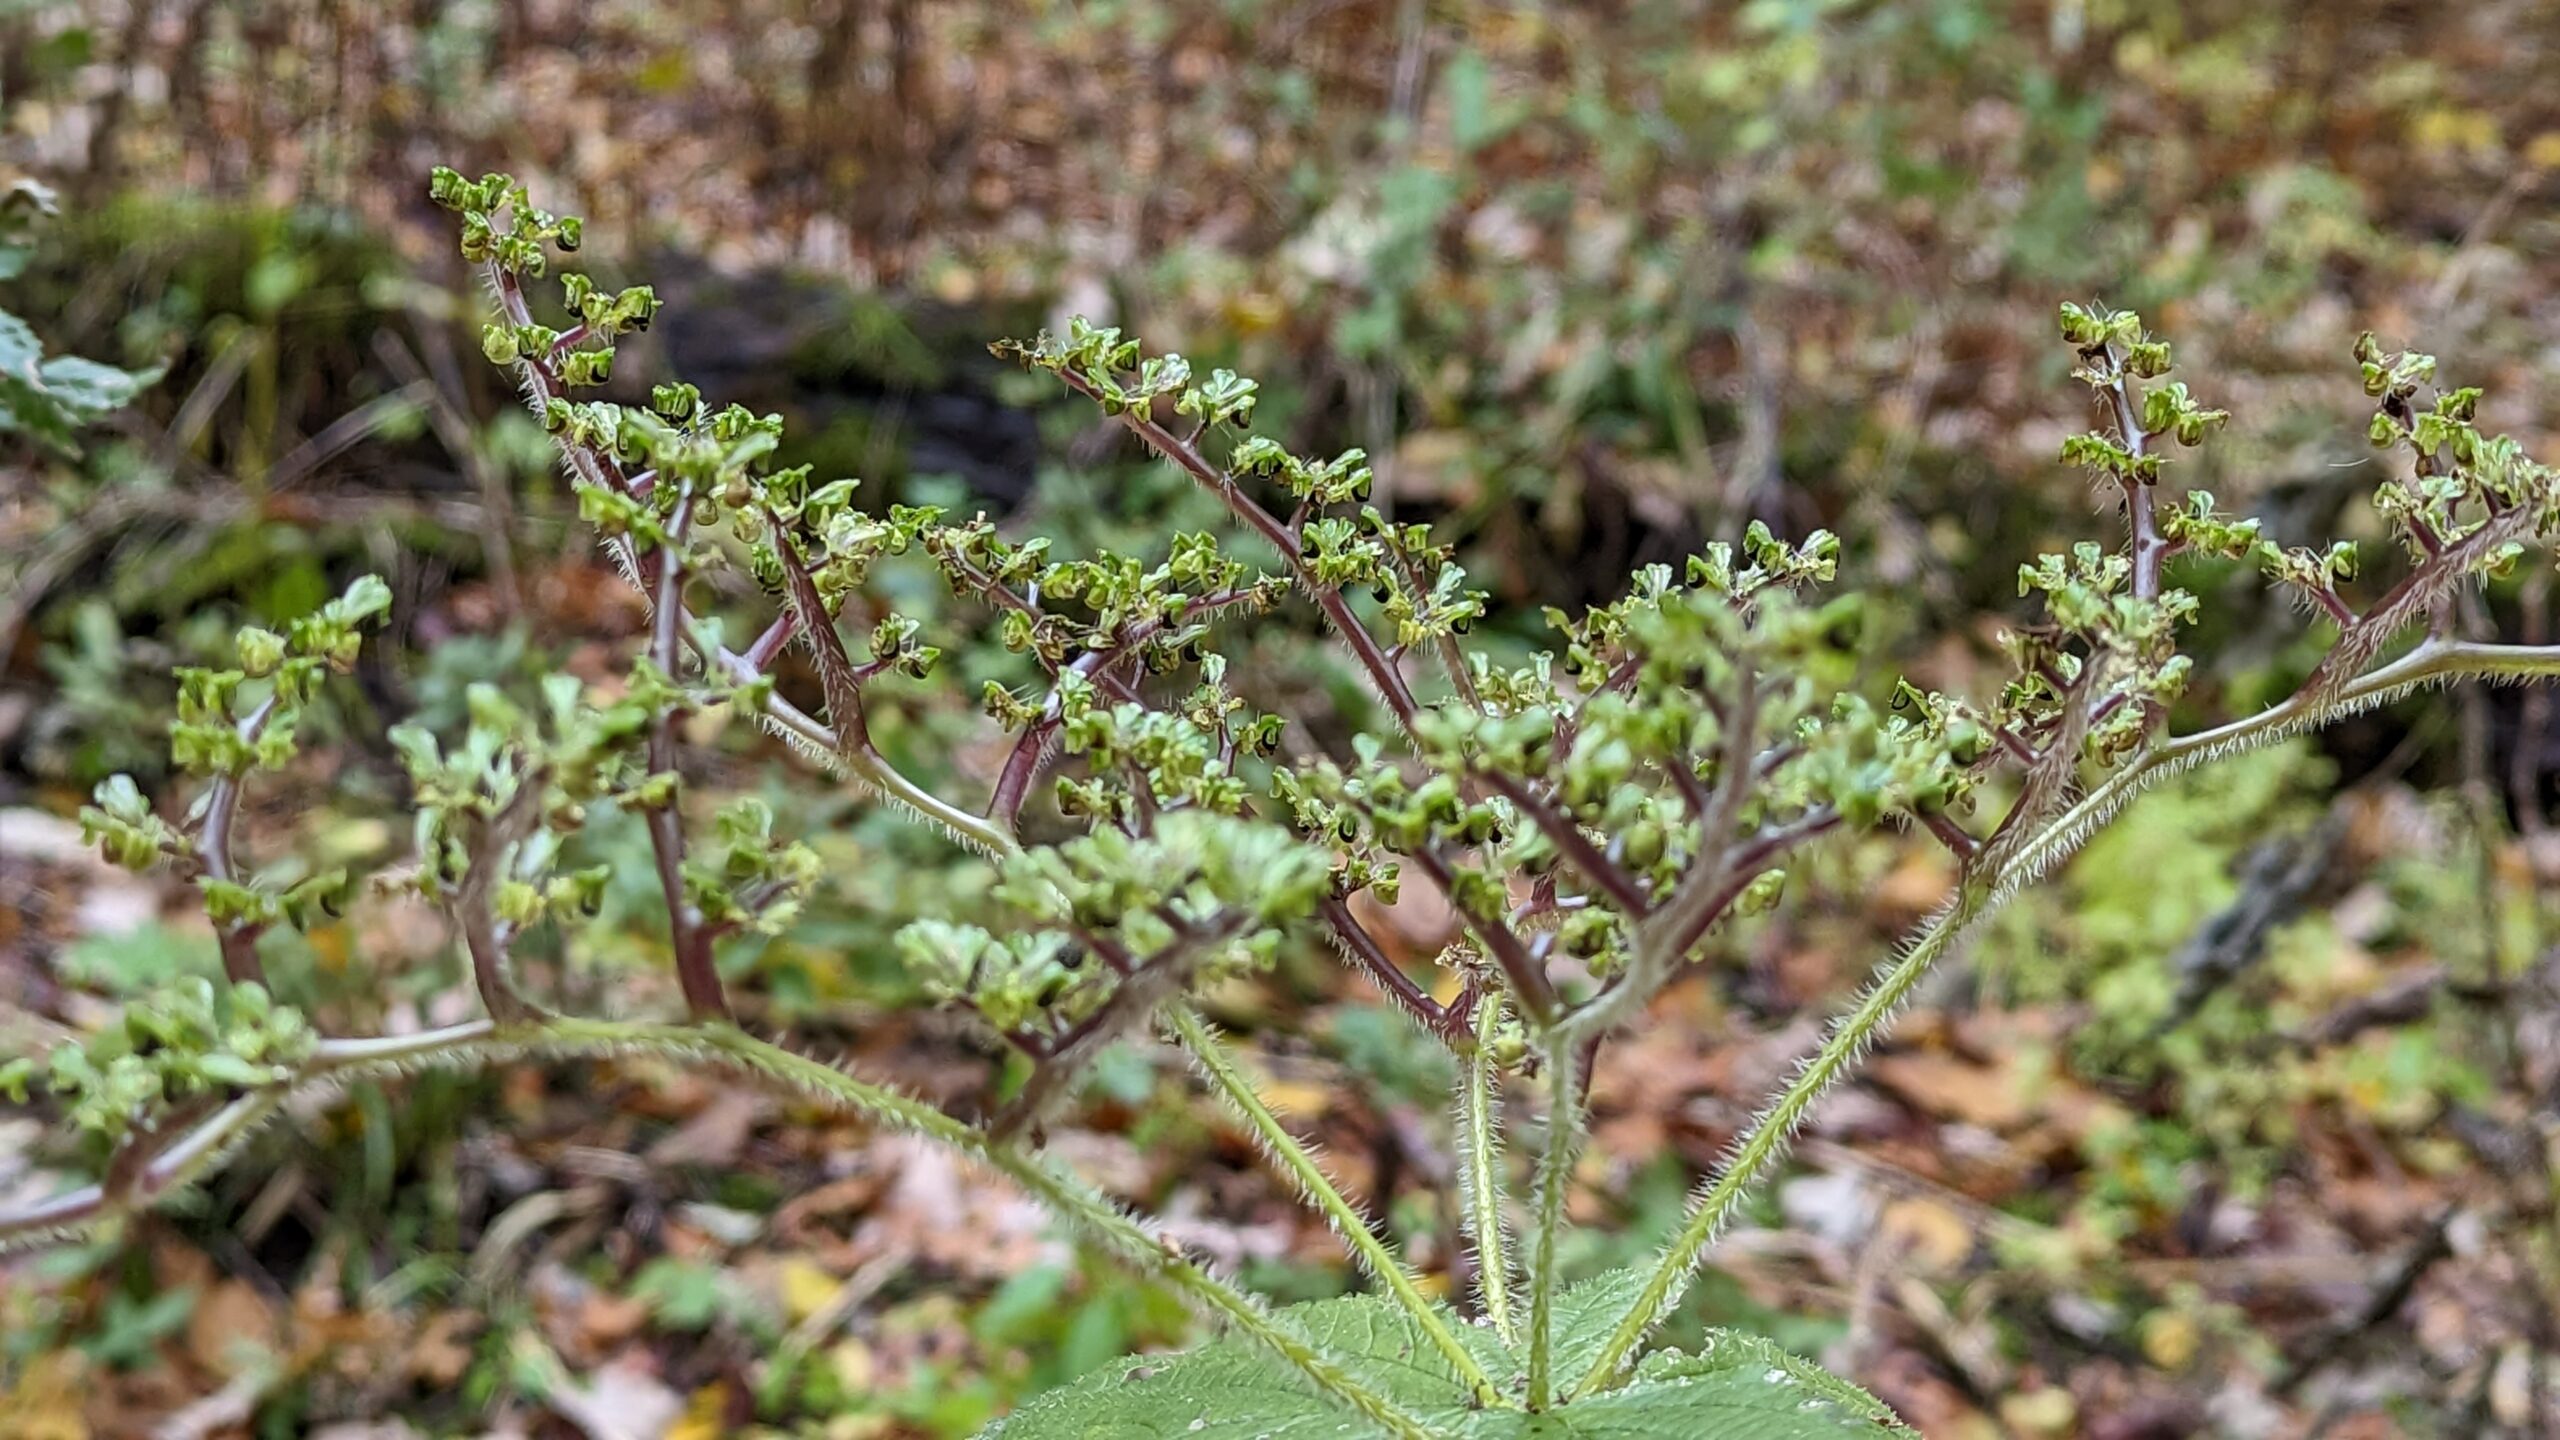
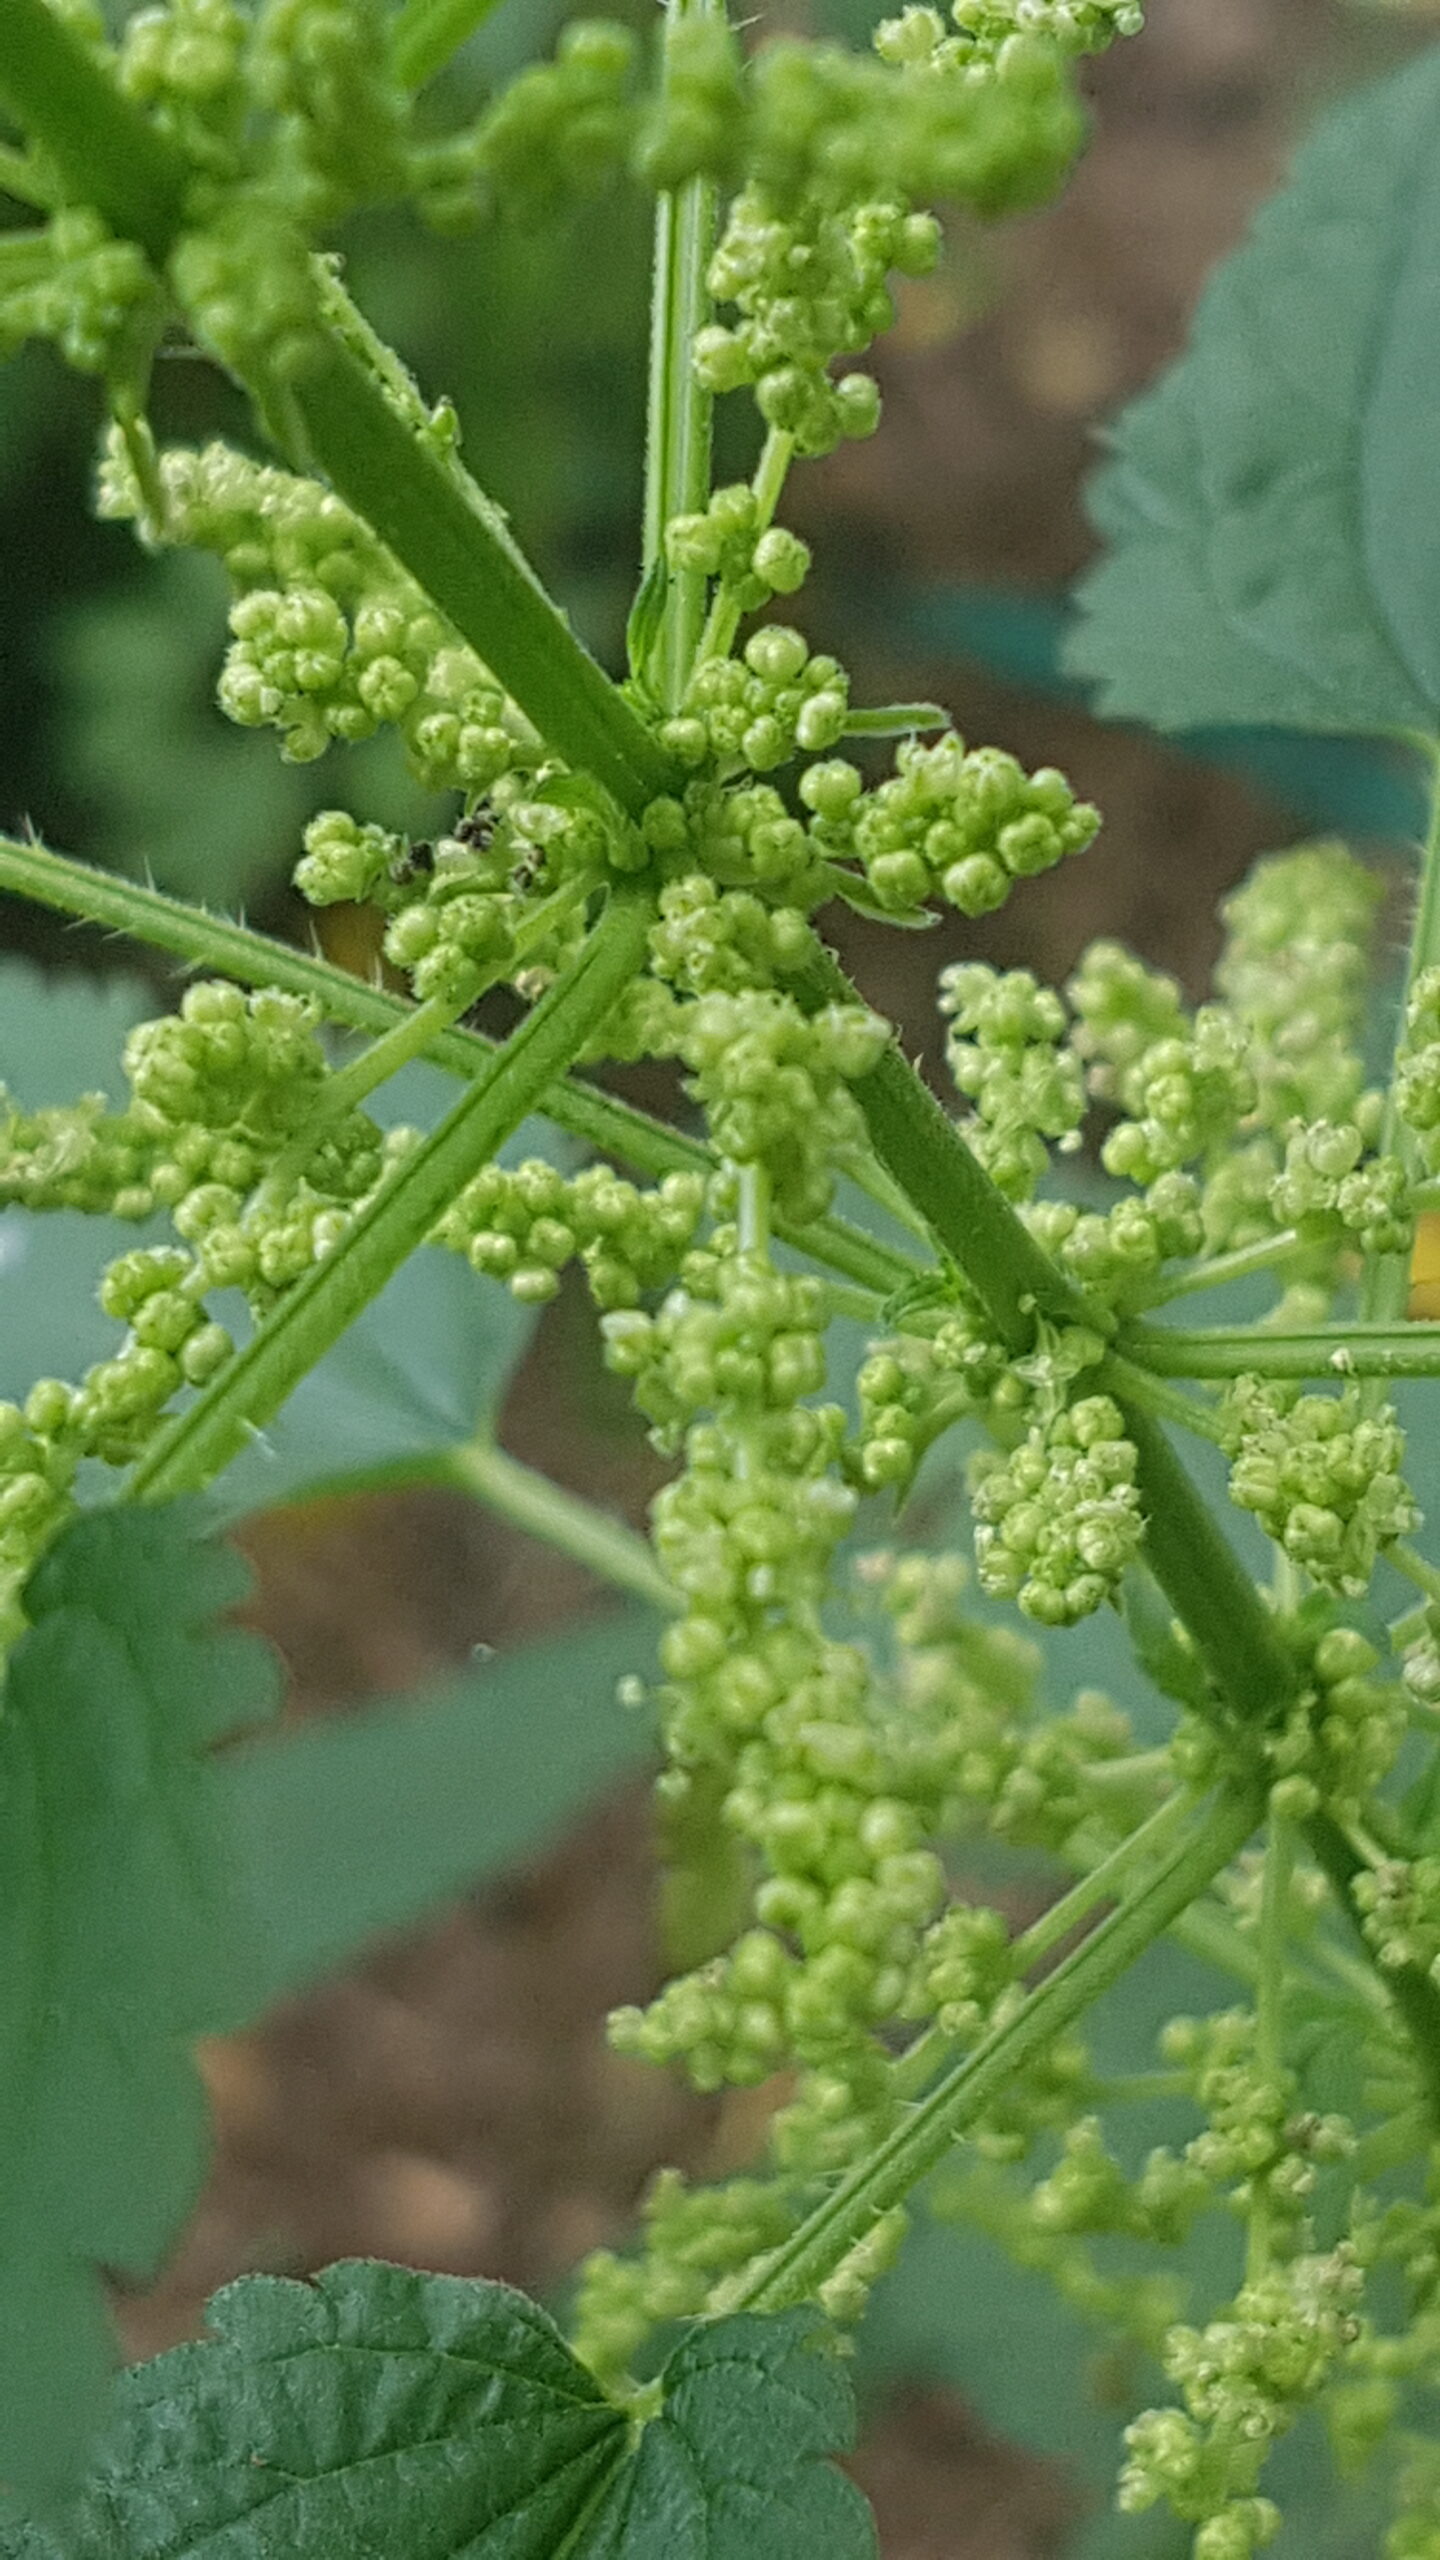
Canada Wood Nettle (Laportea canadensis)
There are many similarities between our native Canada Wood Nettle and Stinging Nettle – including the sting they both give when you brush against them. One of the easiest ways to tell the two apart is that Canada Wood Nettle has alternate leaves whereas the leaves of Stinging Nettle are opposite. Also, Canada Wood Nettle prefers moist, shady woodlands and doesn’t like hot, dry sunny sites.
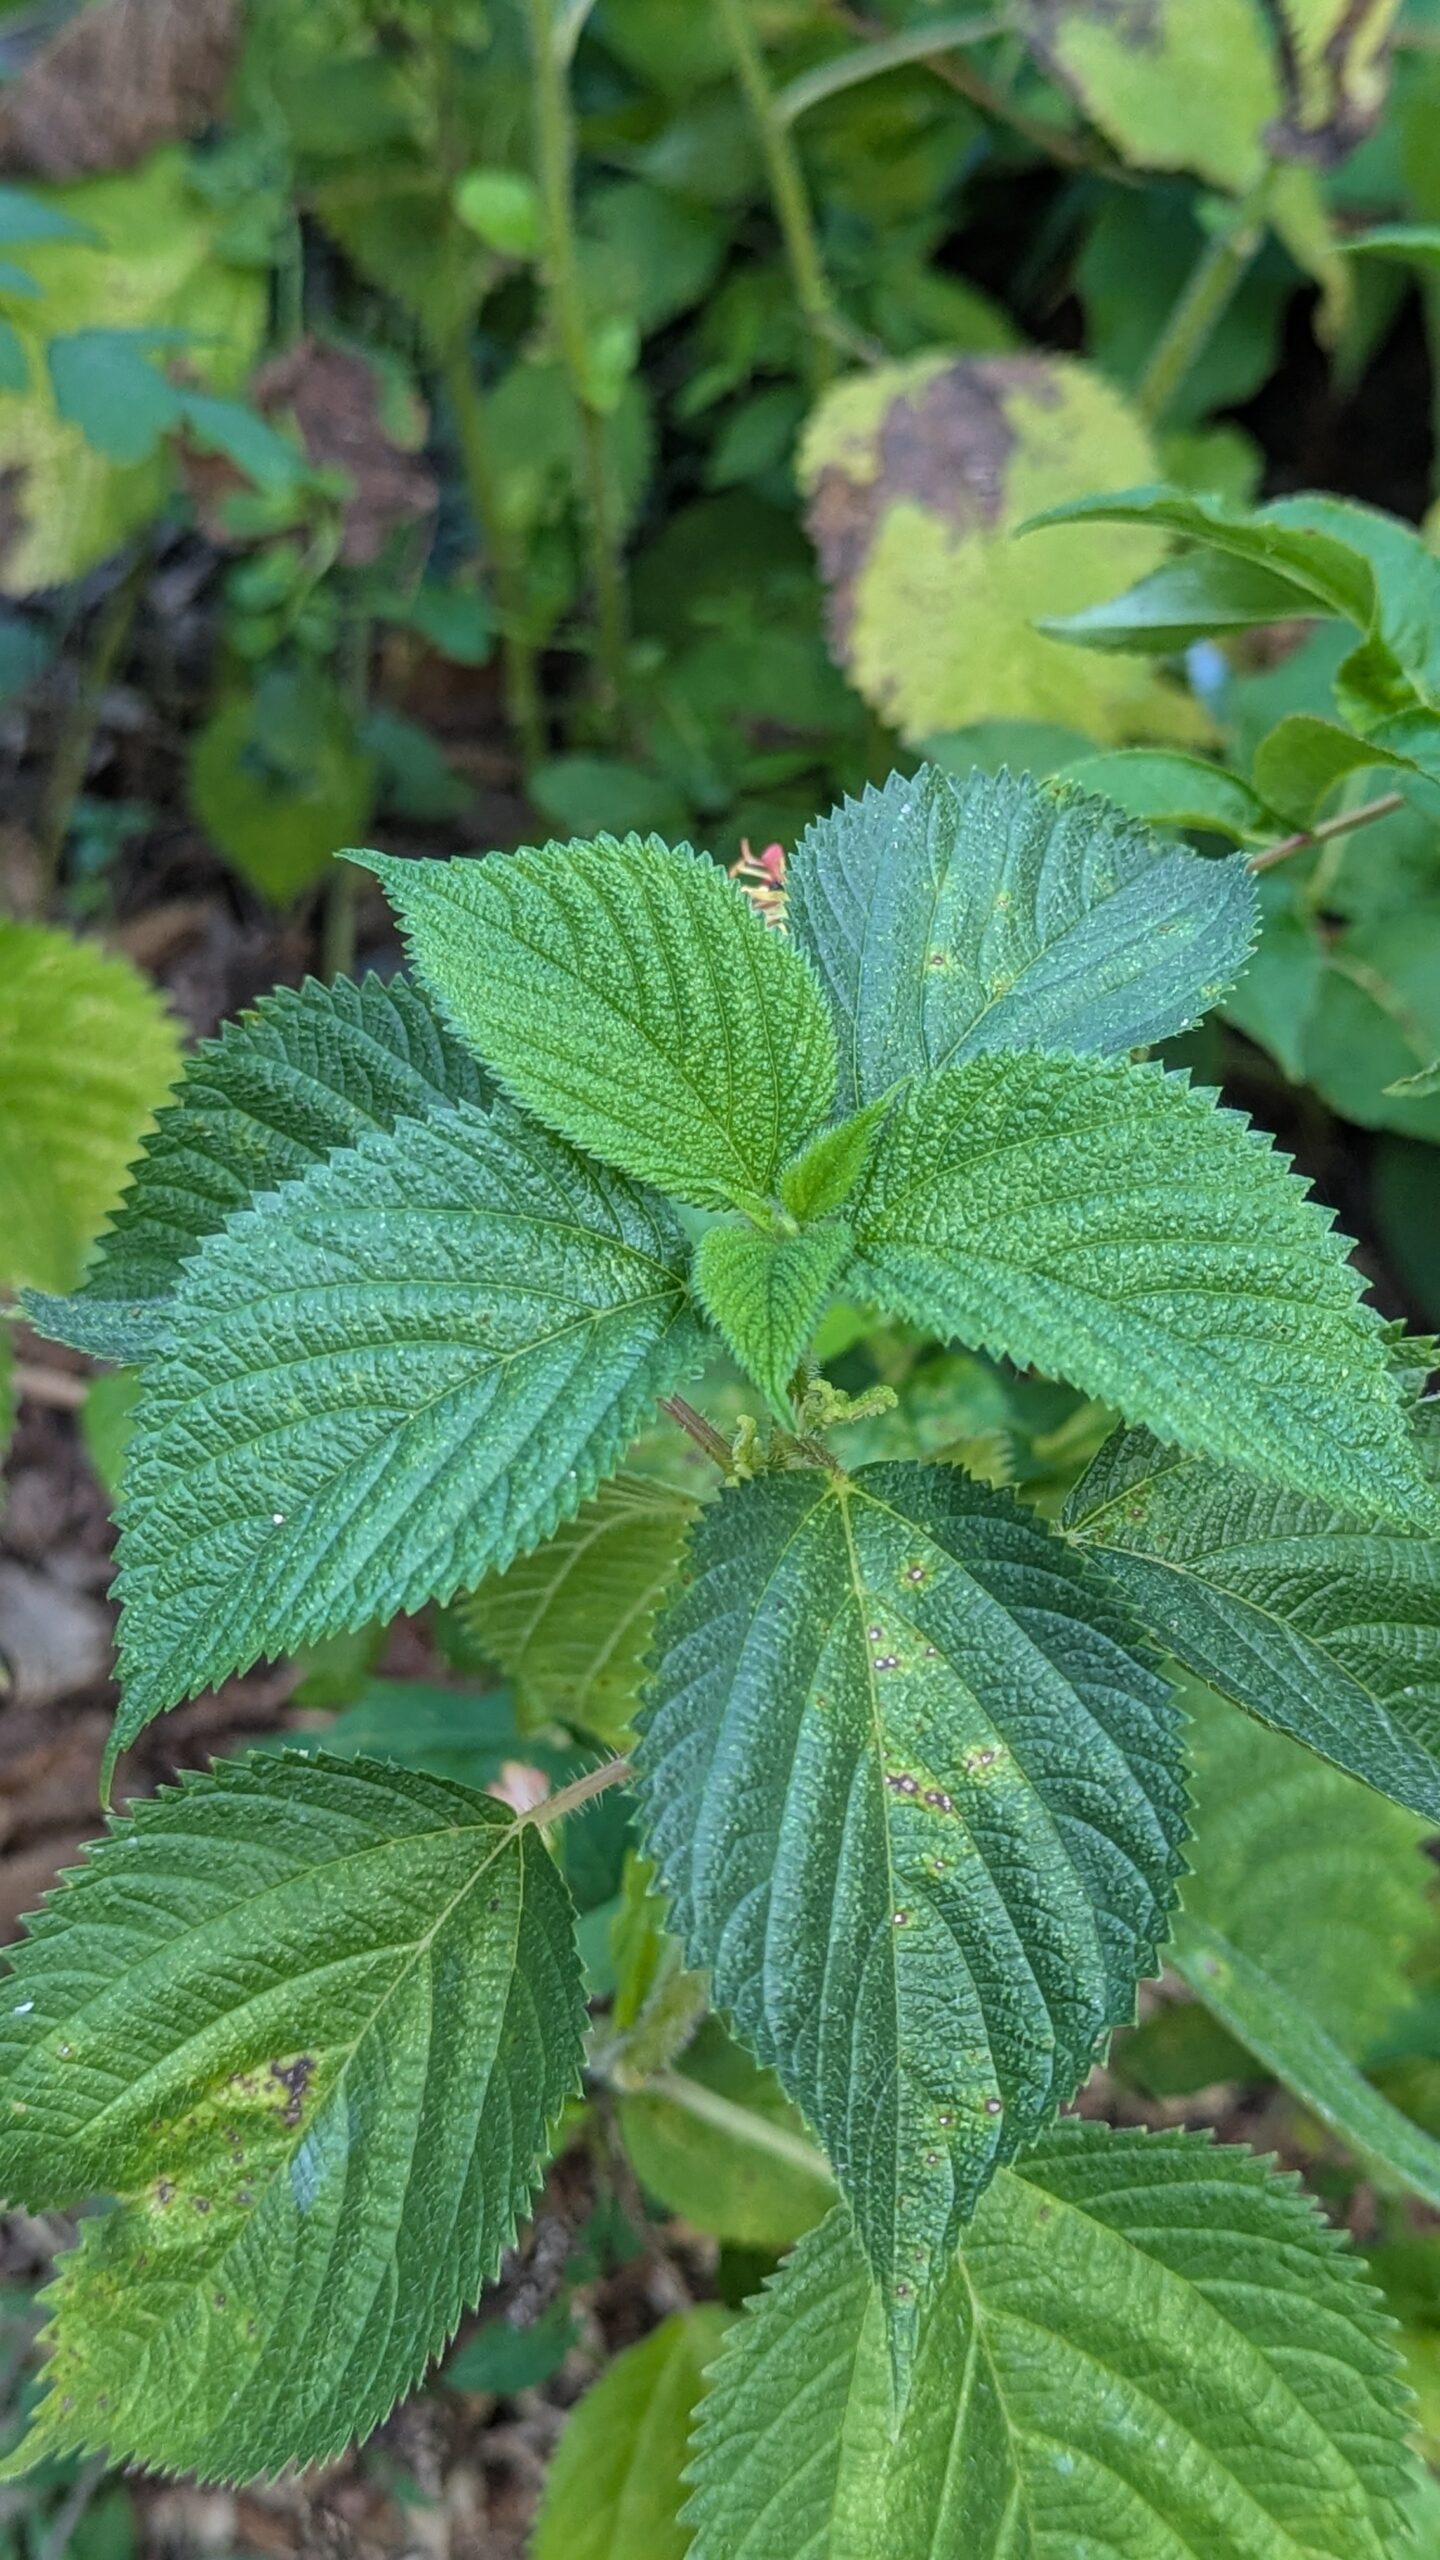
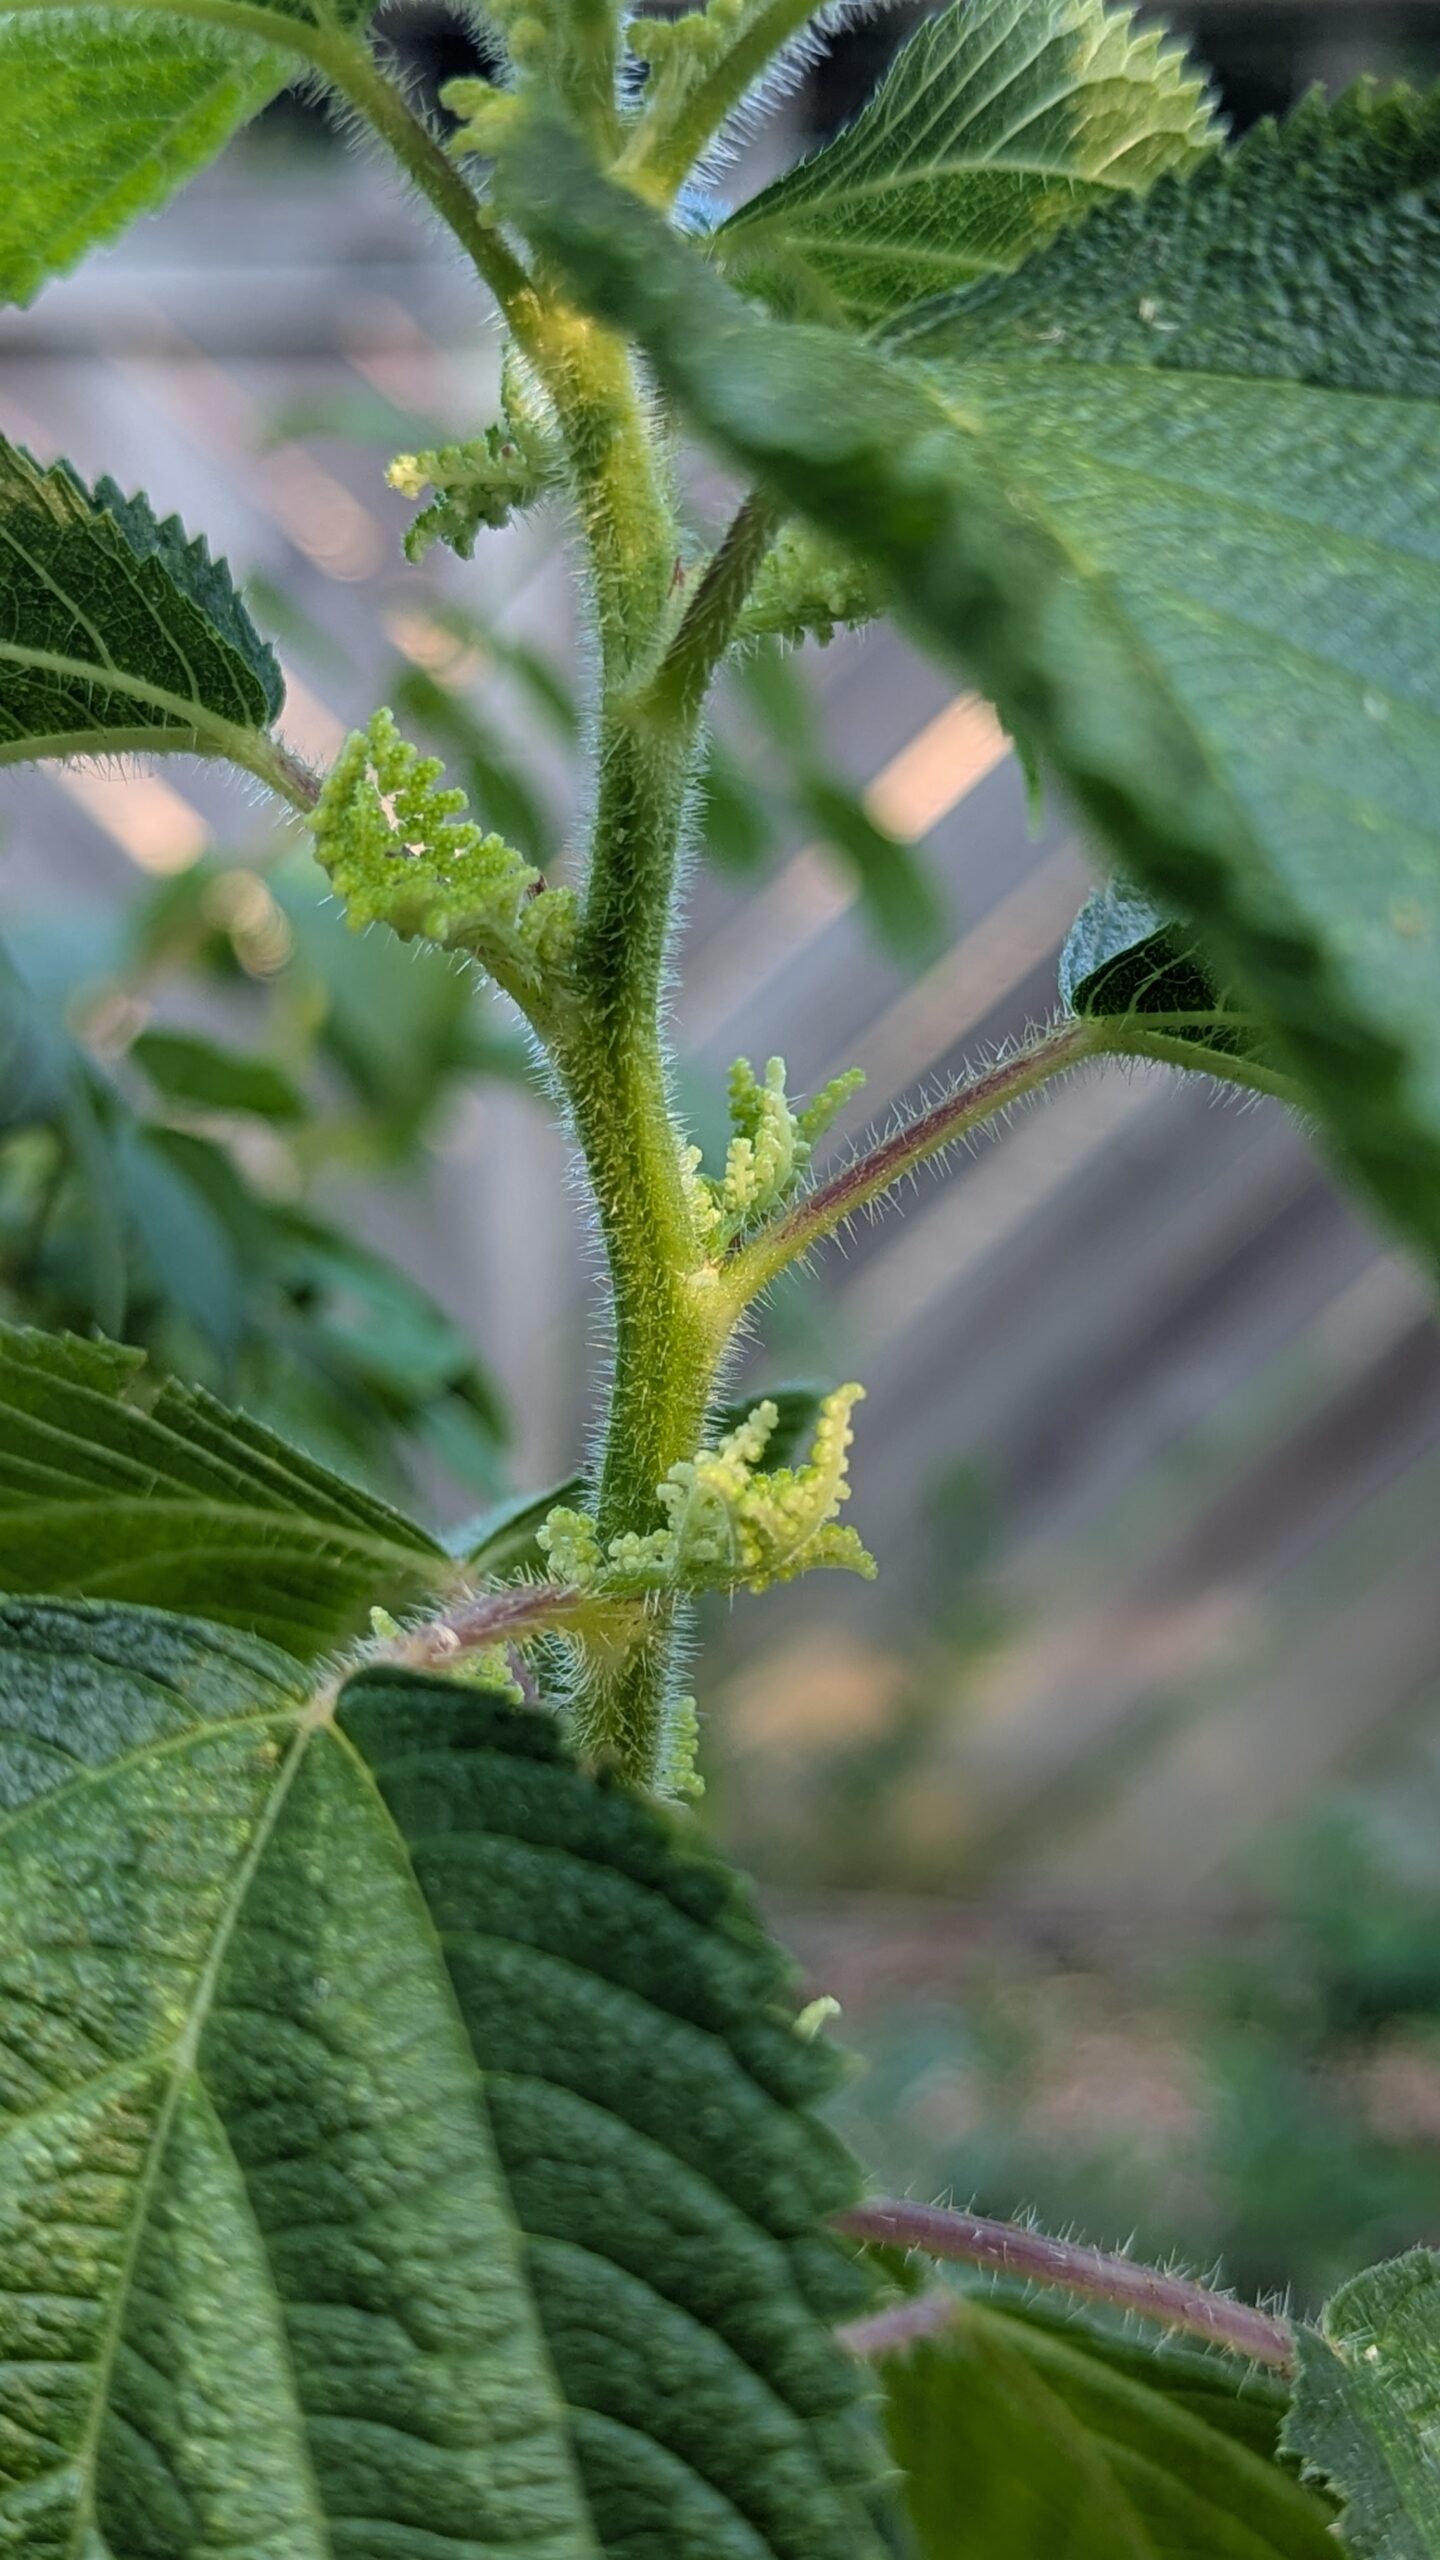
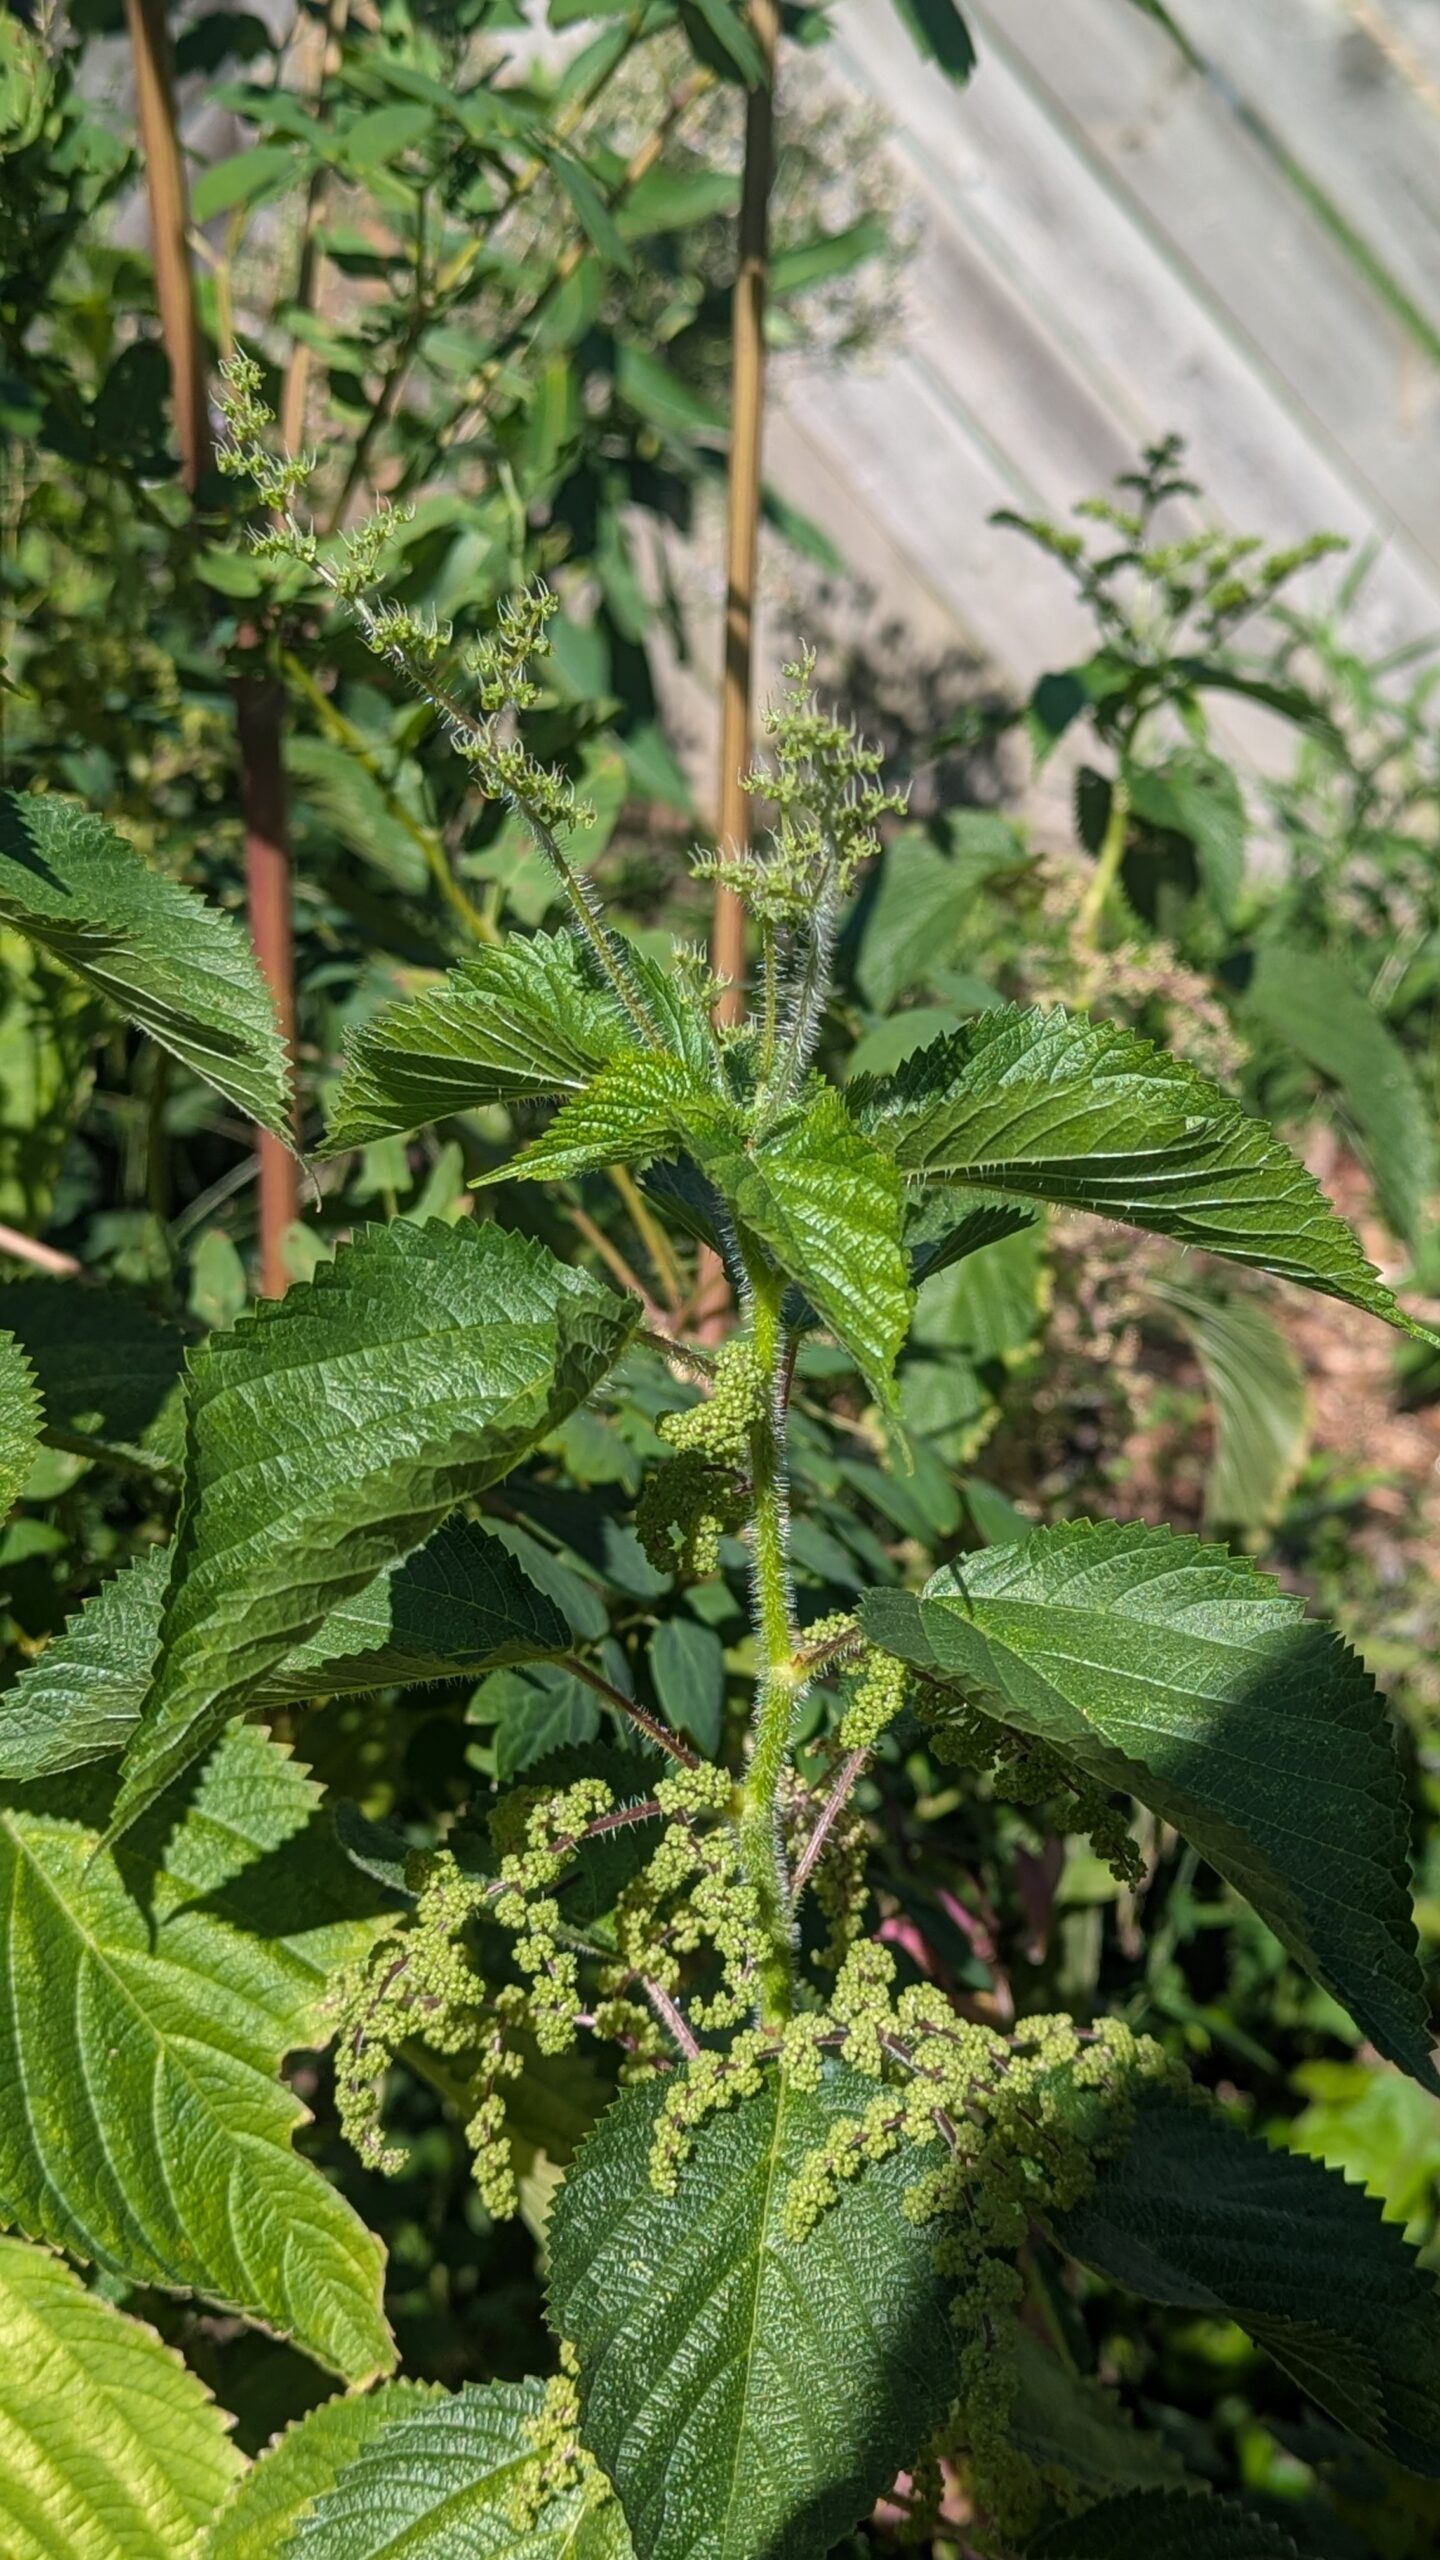
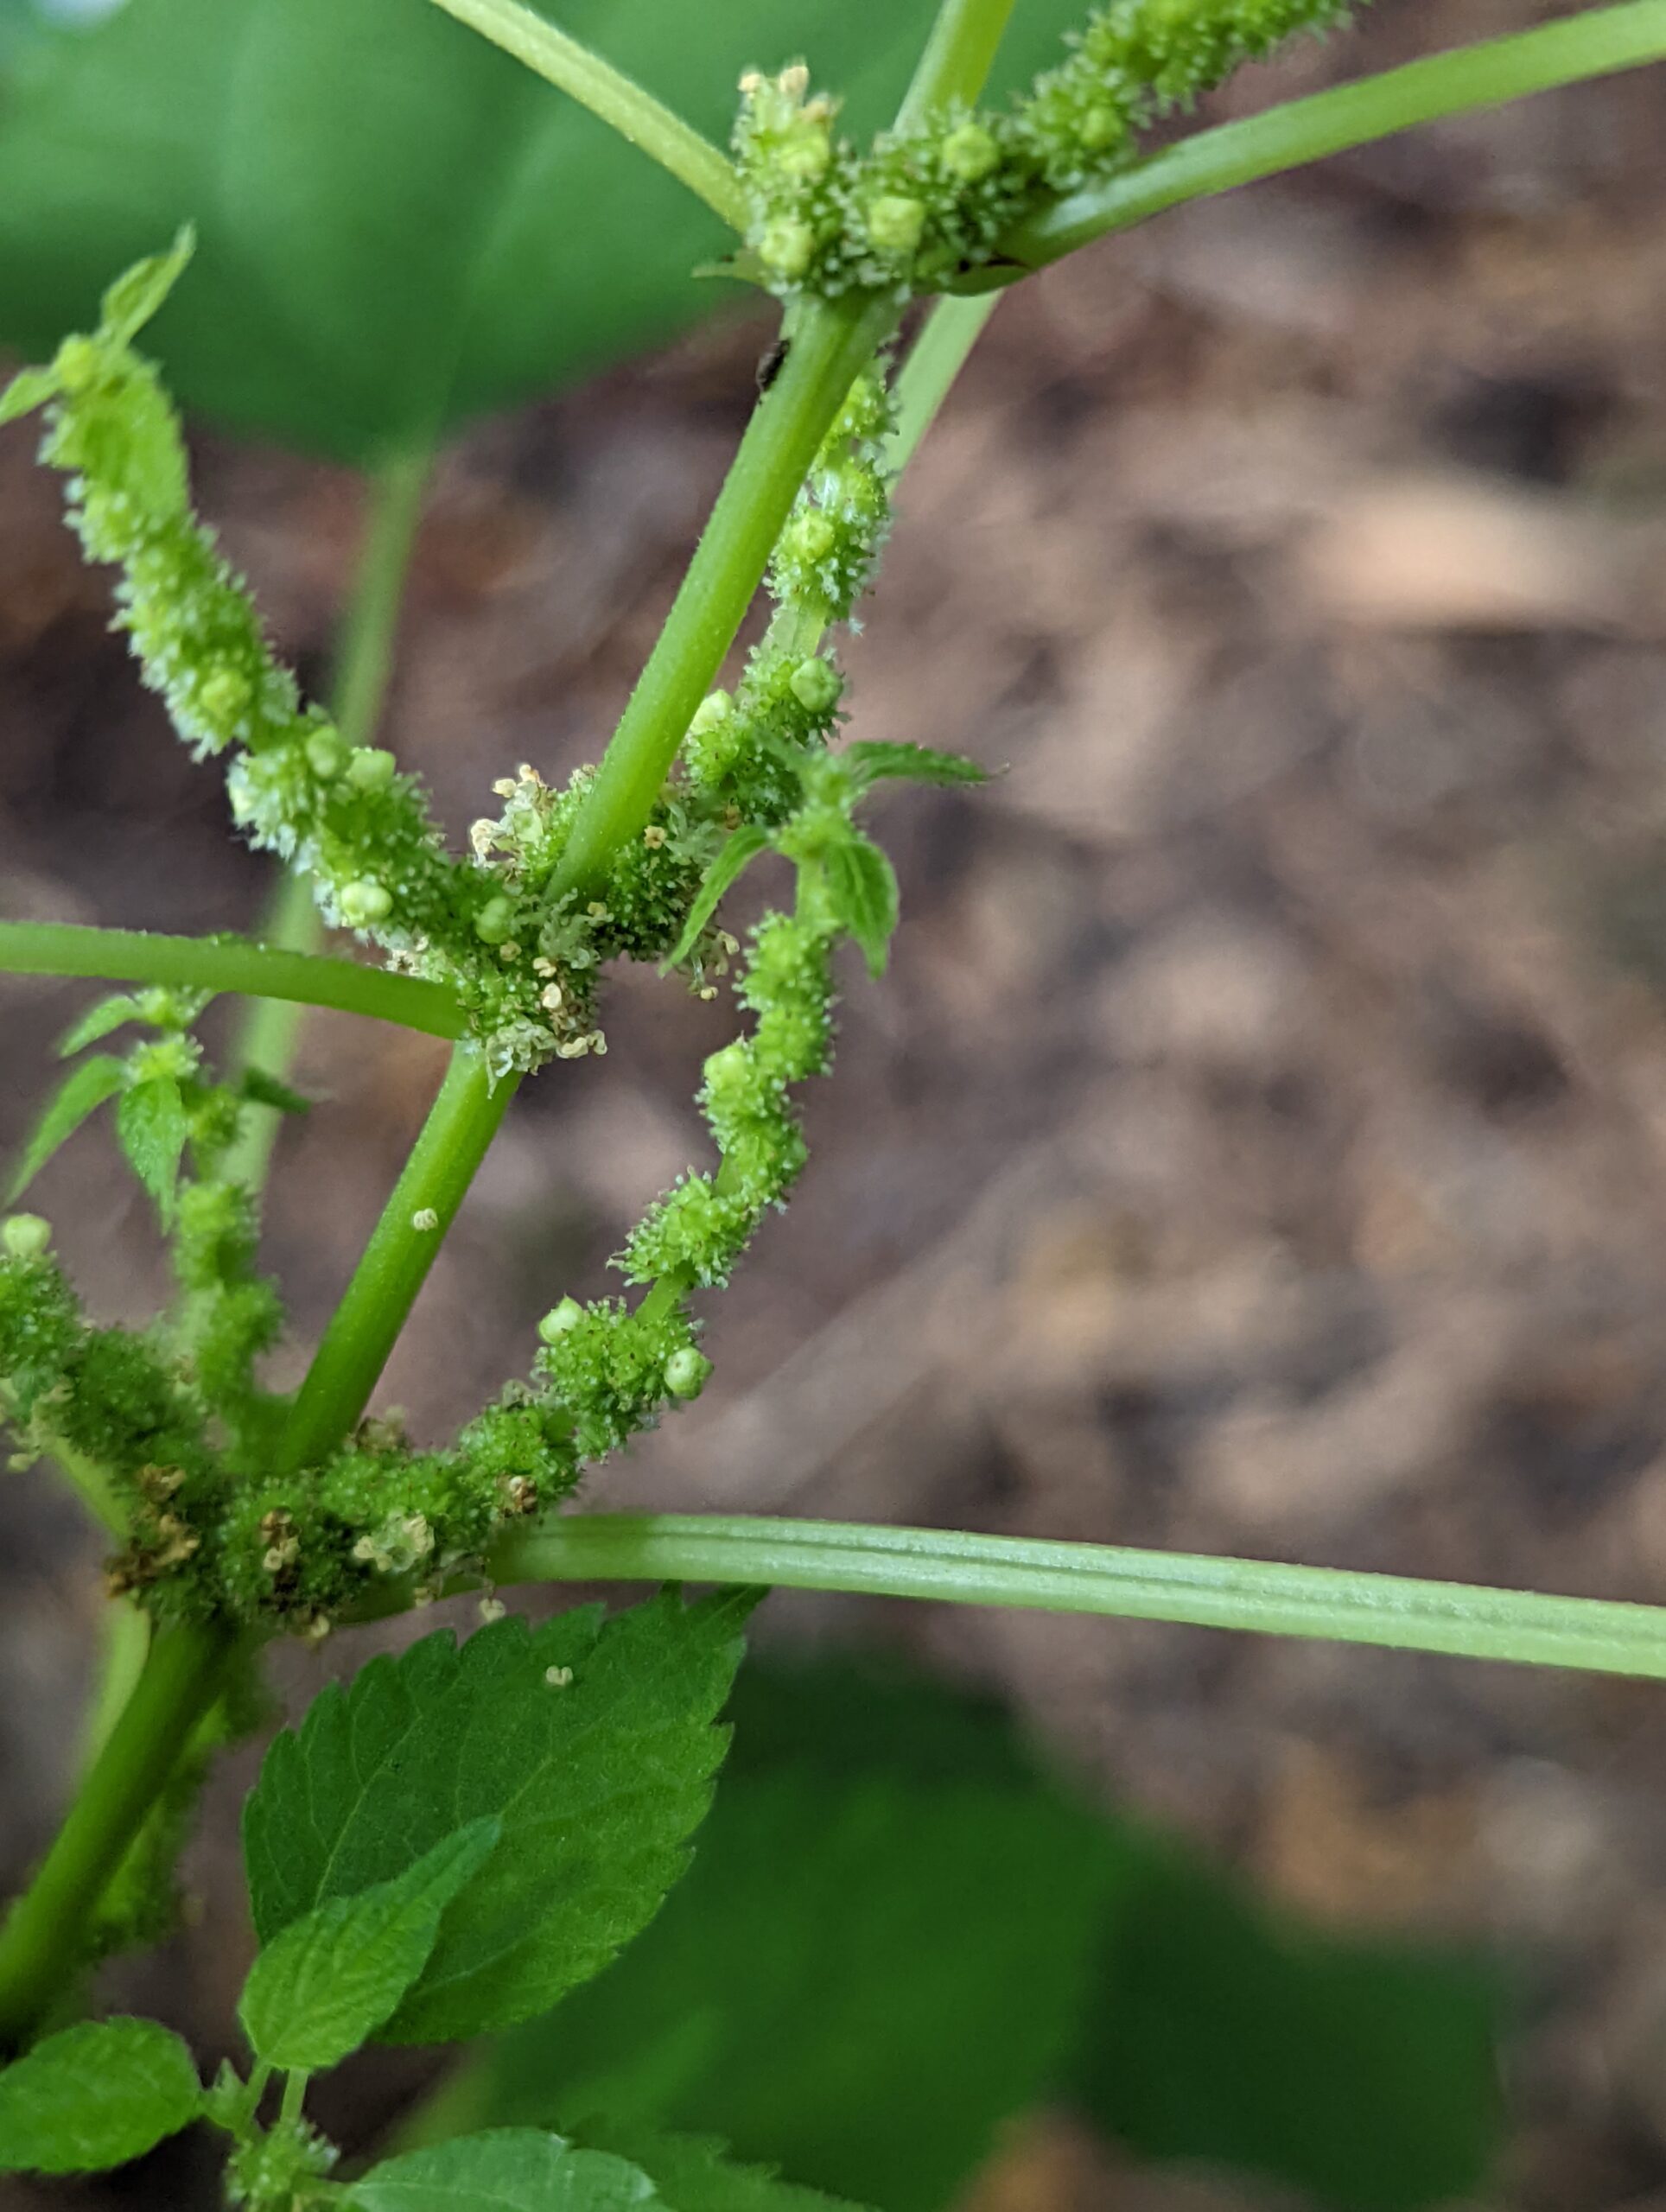
Canada Wood Nettle grows 2-4 feet tall with a 1-3 foot spread. It will tolerate deep shade if sufficiently moist. Self-fertile, separate male and female flowers are inconspicuous and appear in the summer. Male flowers are shorter, less than 1/8″ across, with 5 white to green petals. Female flowers are loose and lacy with 4 green sepals that resemble curly leaves in longer clusters. These are clustered at the top of the plant. Like Stinging Nettle, this plant spreads readily by rhizomes.
False Nettle (Boehmeria cylindrica)
Also sometimes referred to as Smallspike False Nettle, Swamp Nettle or Bog Hemp, this is our stingless native. It has opposite leaves (like Stinging Nettle) and gets up to 5 feet tall in full to partly sunny, damp to average soils.


Because it doesn’t have stinging hairs, this is a great choice as a filler plant in moist, shady gardens as it remains green and leafy well into the fall.
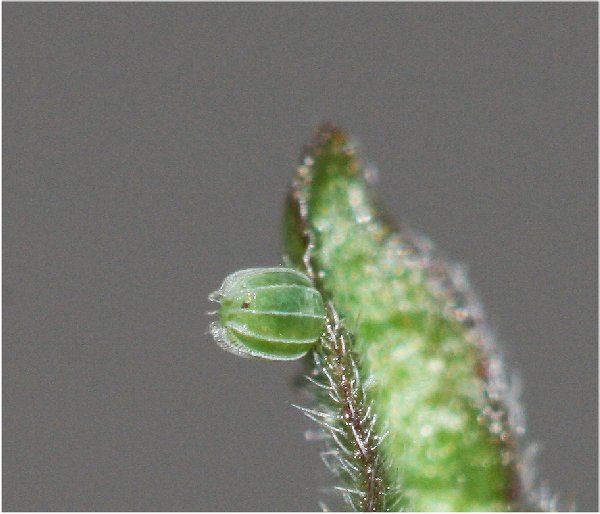
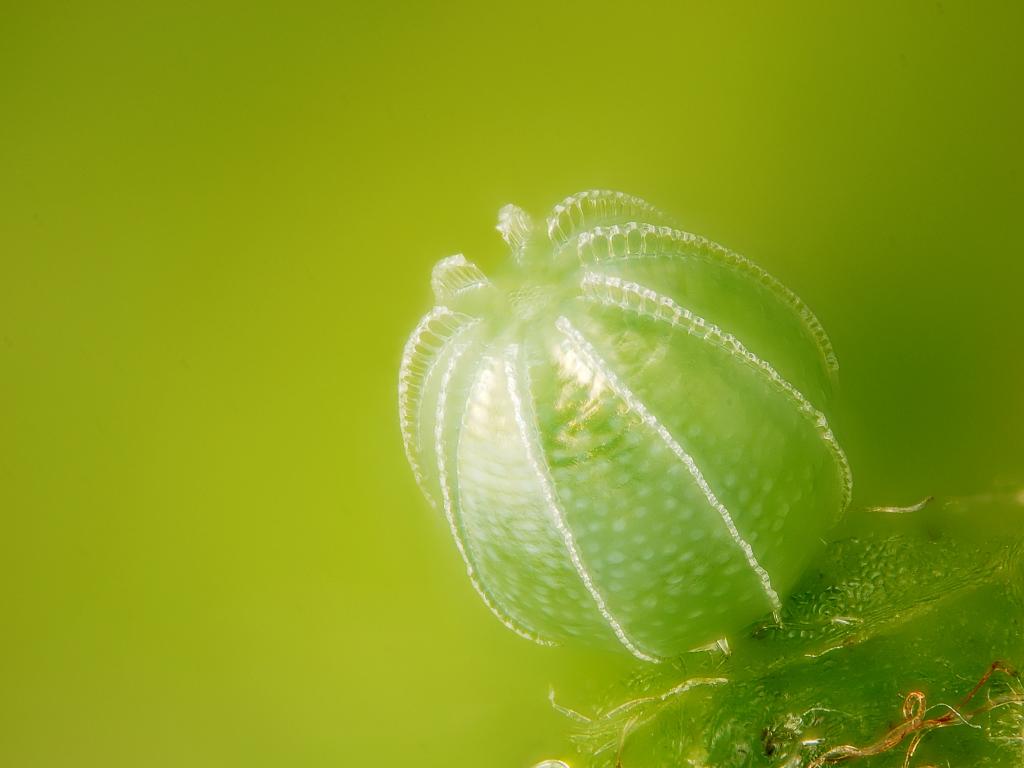
Clearweed (Pilea pumila)
One of my personal favourites in the nettle family, Clearweed gets its name from its smooth, translucent stems, which to me are almost jewel-like. Also called Canada (or Canadian) Clearweed, Dwarf Clearweed, Coolweed and Green-fruited Clearweed, this short(ish) cousin of nettles ranges from 6 inches to 2 feet tall – in my southwestern Ontario garden in sandy loam soil it usually tops out at around 1 foot in height. It prefers part shade, but I’ve seen it growing in full sun to full shade as long as the soil is at least moderately moist. Like False Nettle, it also has no stinging hairs.
A Note on Urticaceae
All the plants listed here are wind pollinated, so you won’t see much pollinator activity around them. And all are purportedly edible, though with varying degrees of palatability. Some sources claim, for example, that neither Clearweed nor False Nettle are edible, while others suggest they are. If you decide to try some on your plate, do your research first. For me, I’ll just leave all mine for the caterpillars.