Nurseries that provide native plants for gardeners are popping up around the highly populated centers in both Canada and US as the demand for good quality native plants grows by leaps and bounds. However, for those gardeners not in southern Ontario or along the US seaboard, in southeastern Michigan, or around Chicago, finding a source of native plants can be a challenge. So, for this month, I’m going to review one of Ontario’s more isolated native plant nurseries – Whispers from the North, near Thunder Bay, Ontario.
Whispers from the North Native Plants

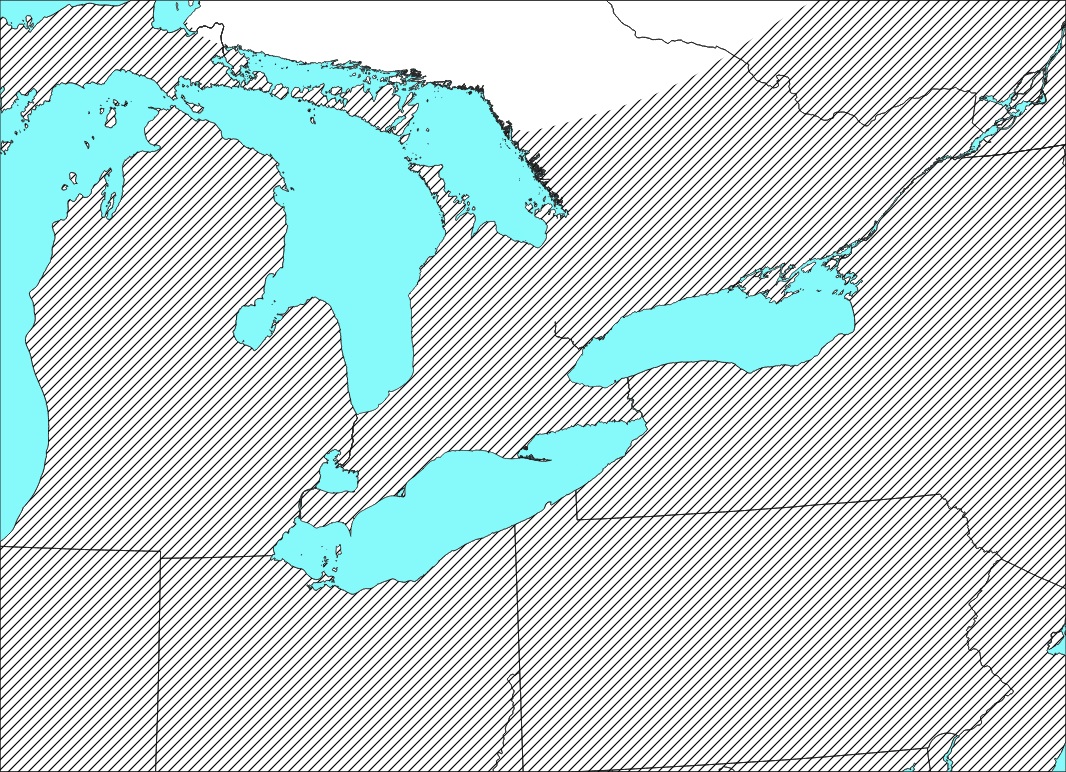
Whispers from the North Native Plants is owned and operated by Elaine Wiersma. This nursery can be found at 445 Highway 587, Shuniah, ON – about 50 km east of Thunder Bay just off the Trans Canada Highway. (Highway 587 takes you into Sleeping Giant Provincial Park.) I know from experience that this is a truly beautiful part of Ontario.


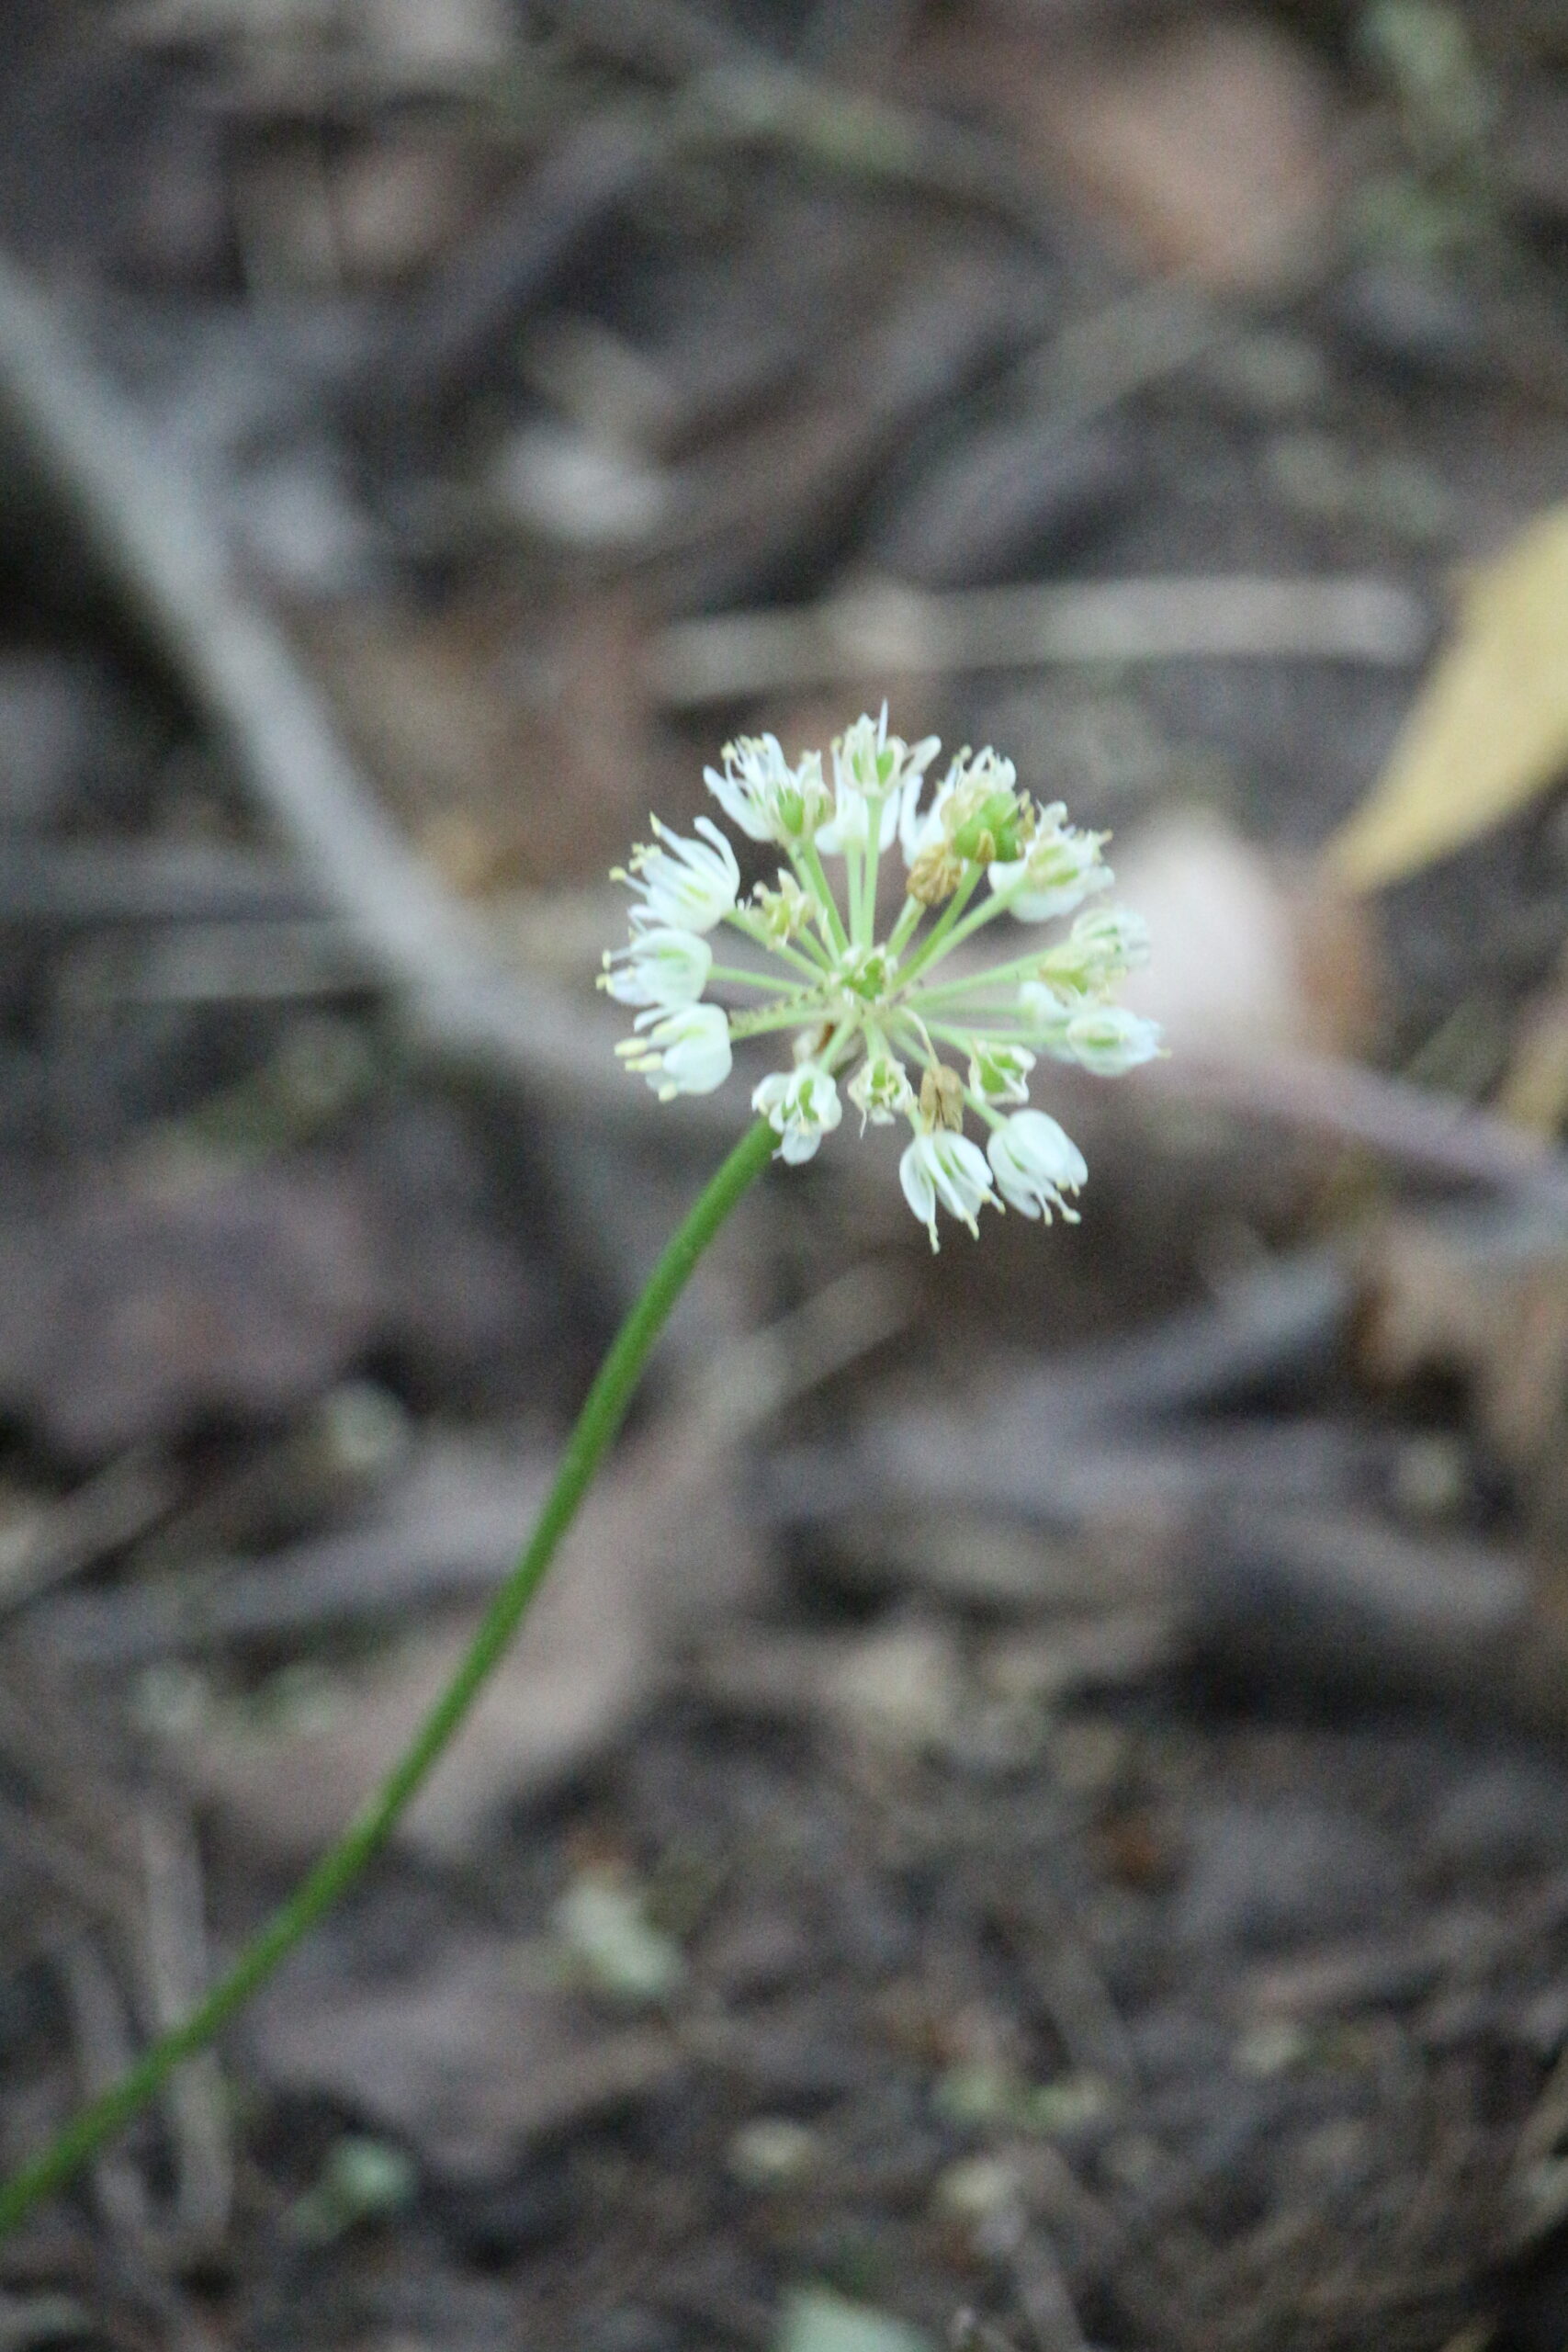
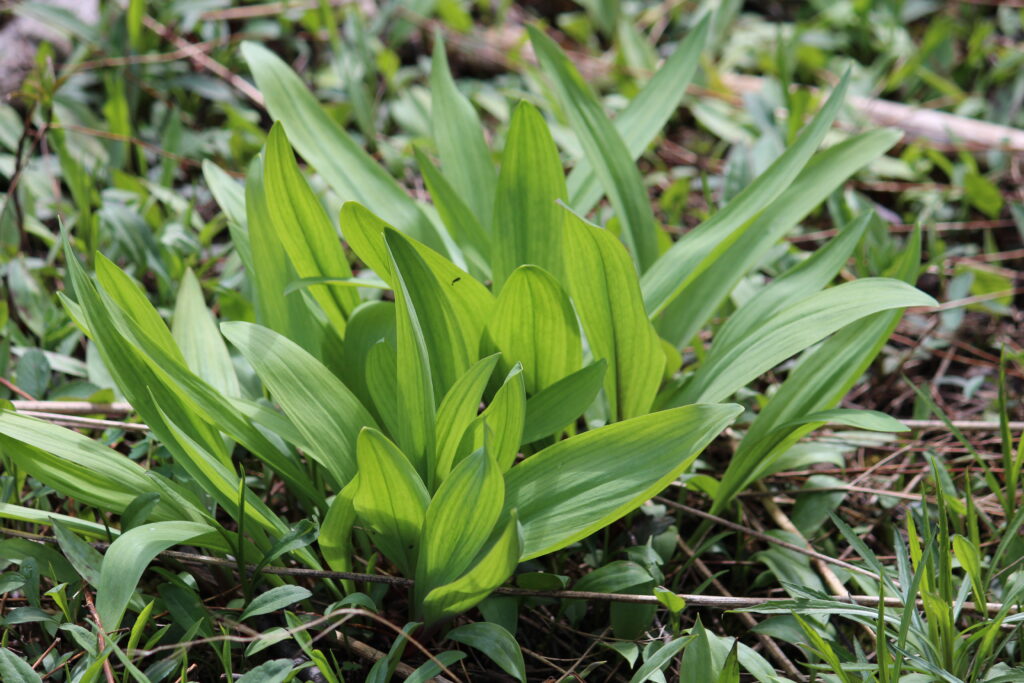
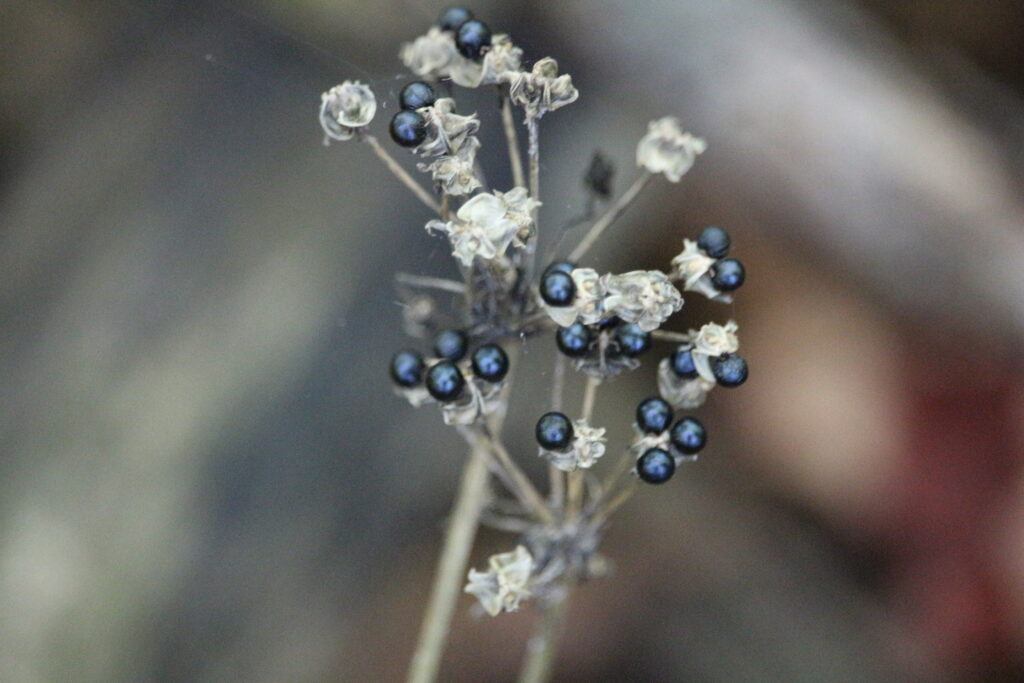
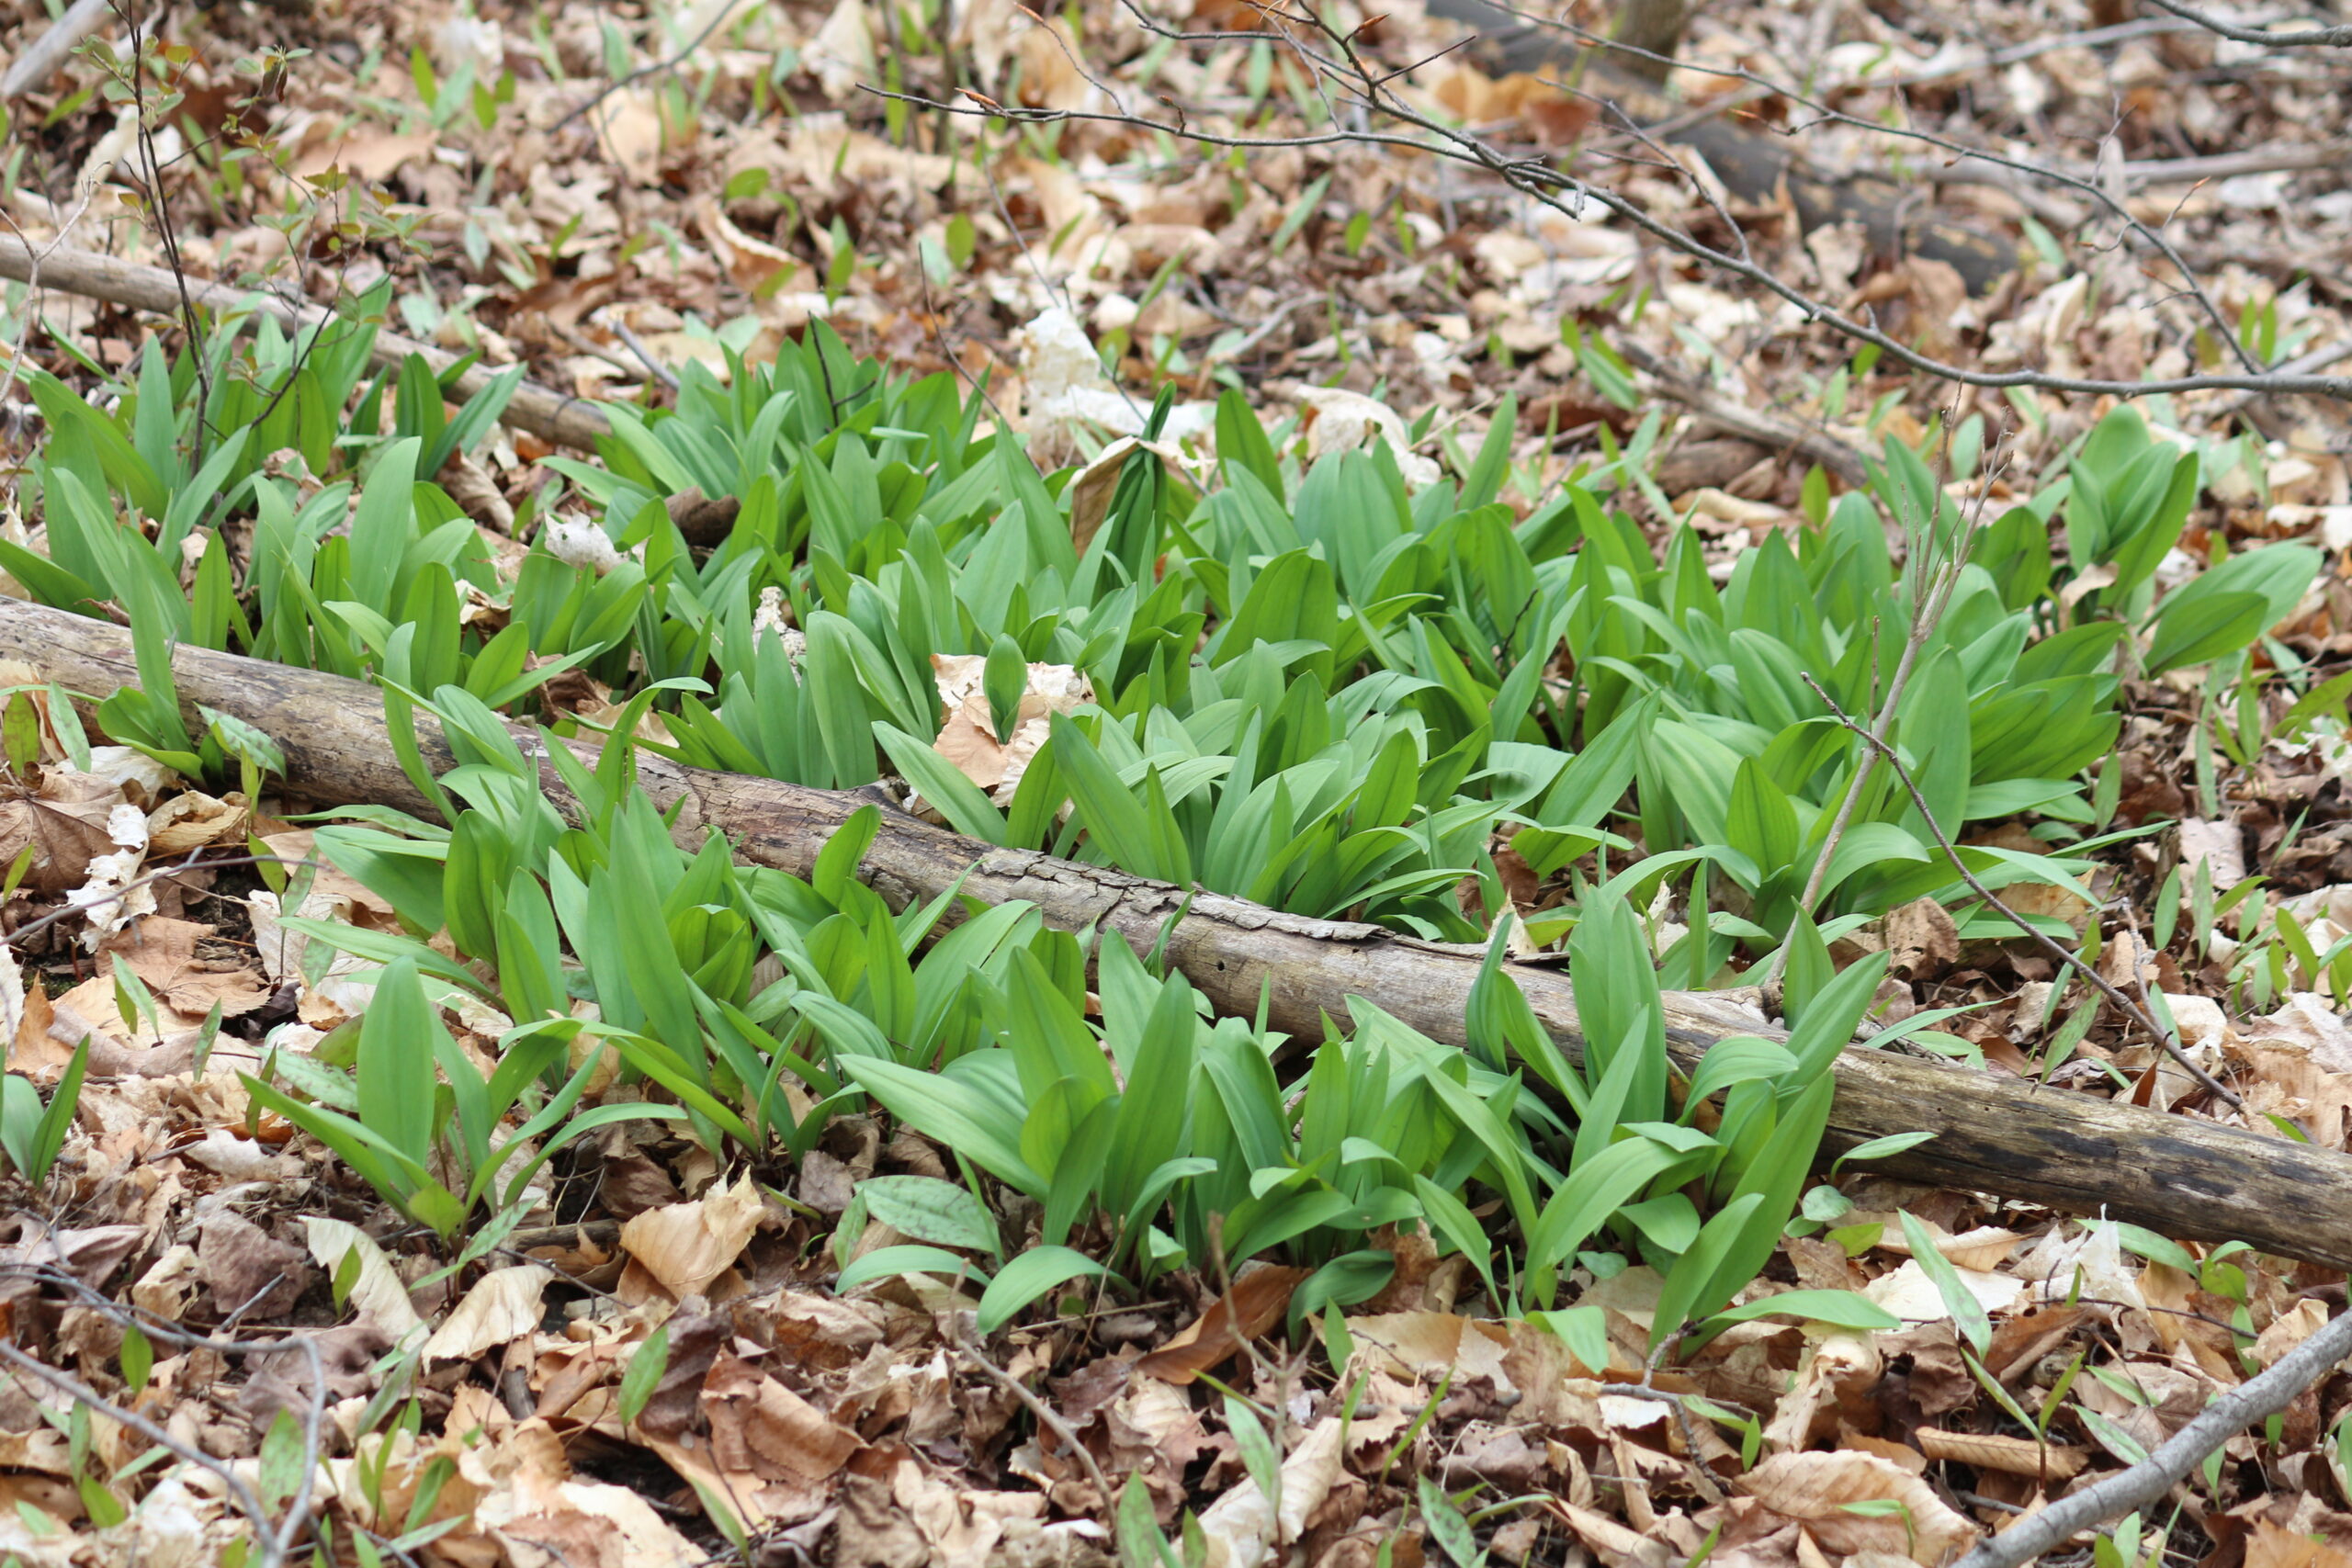
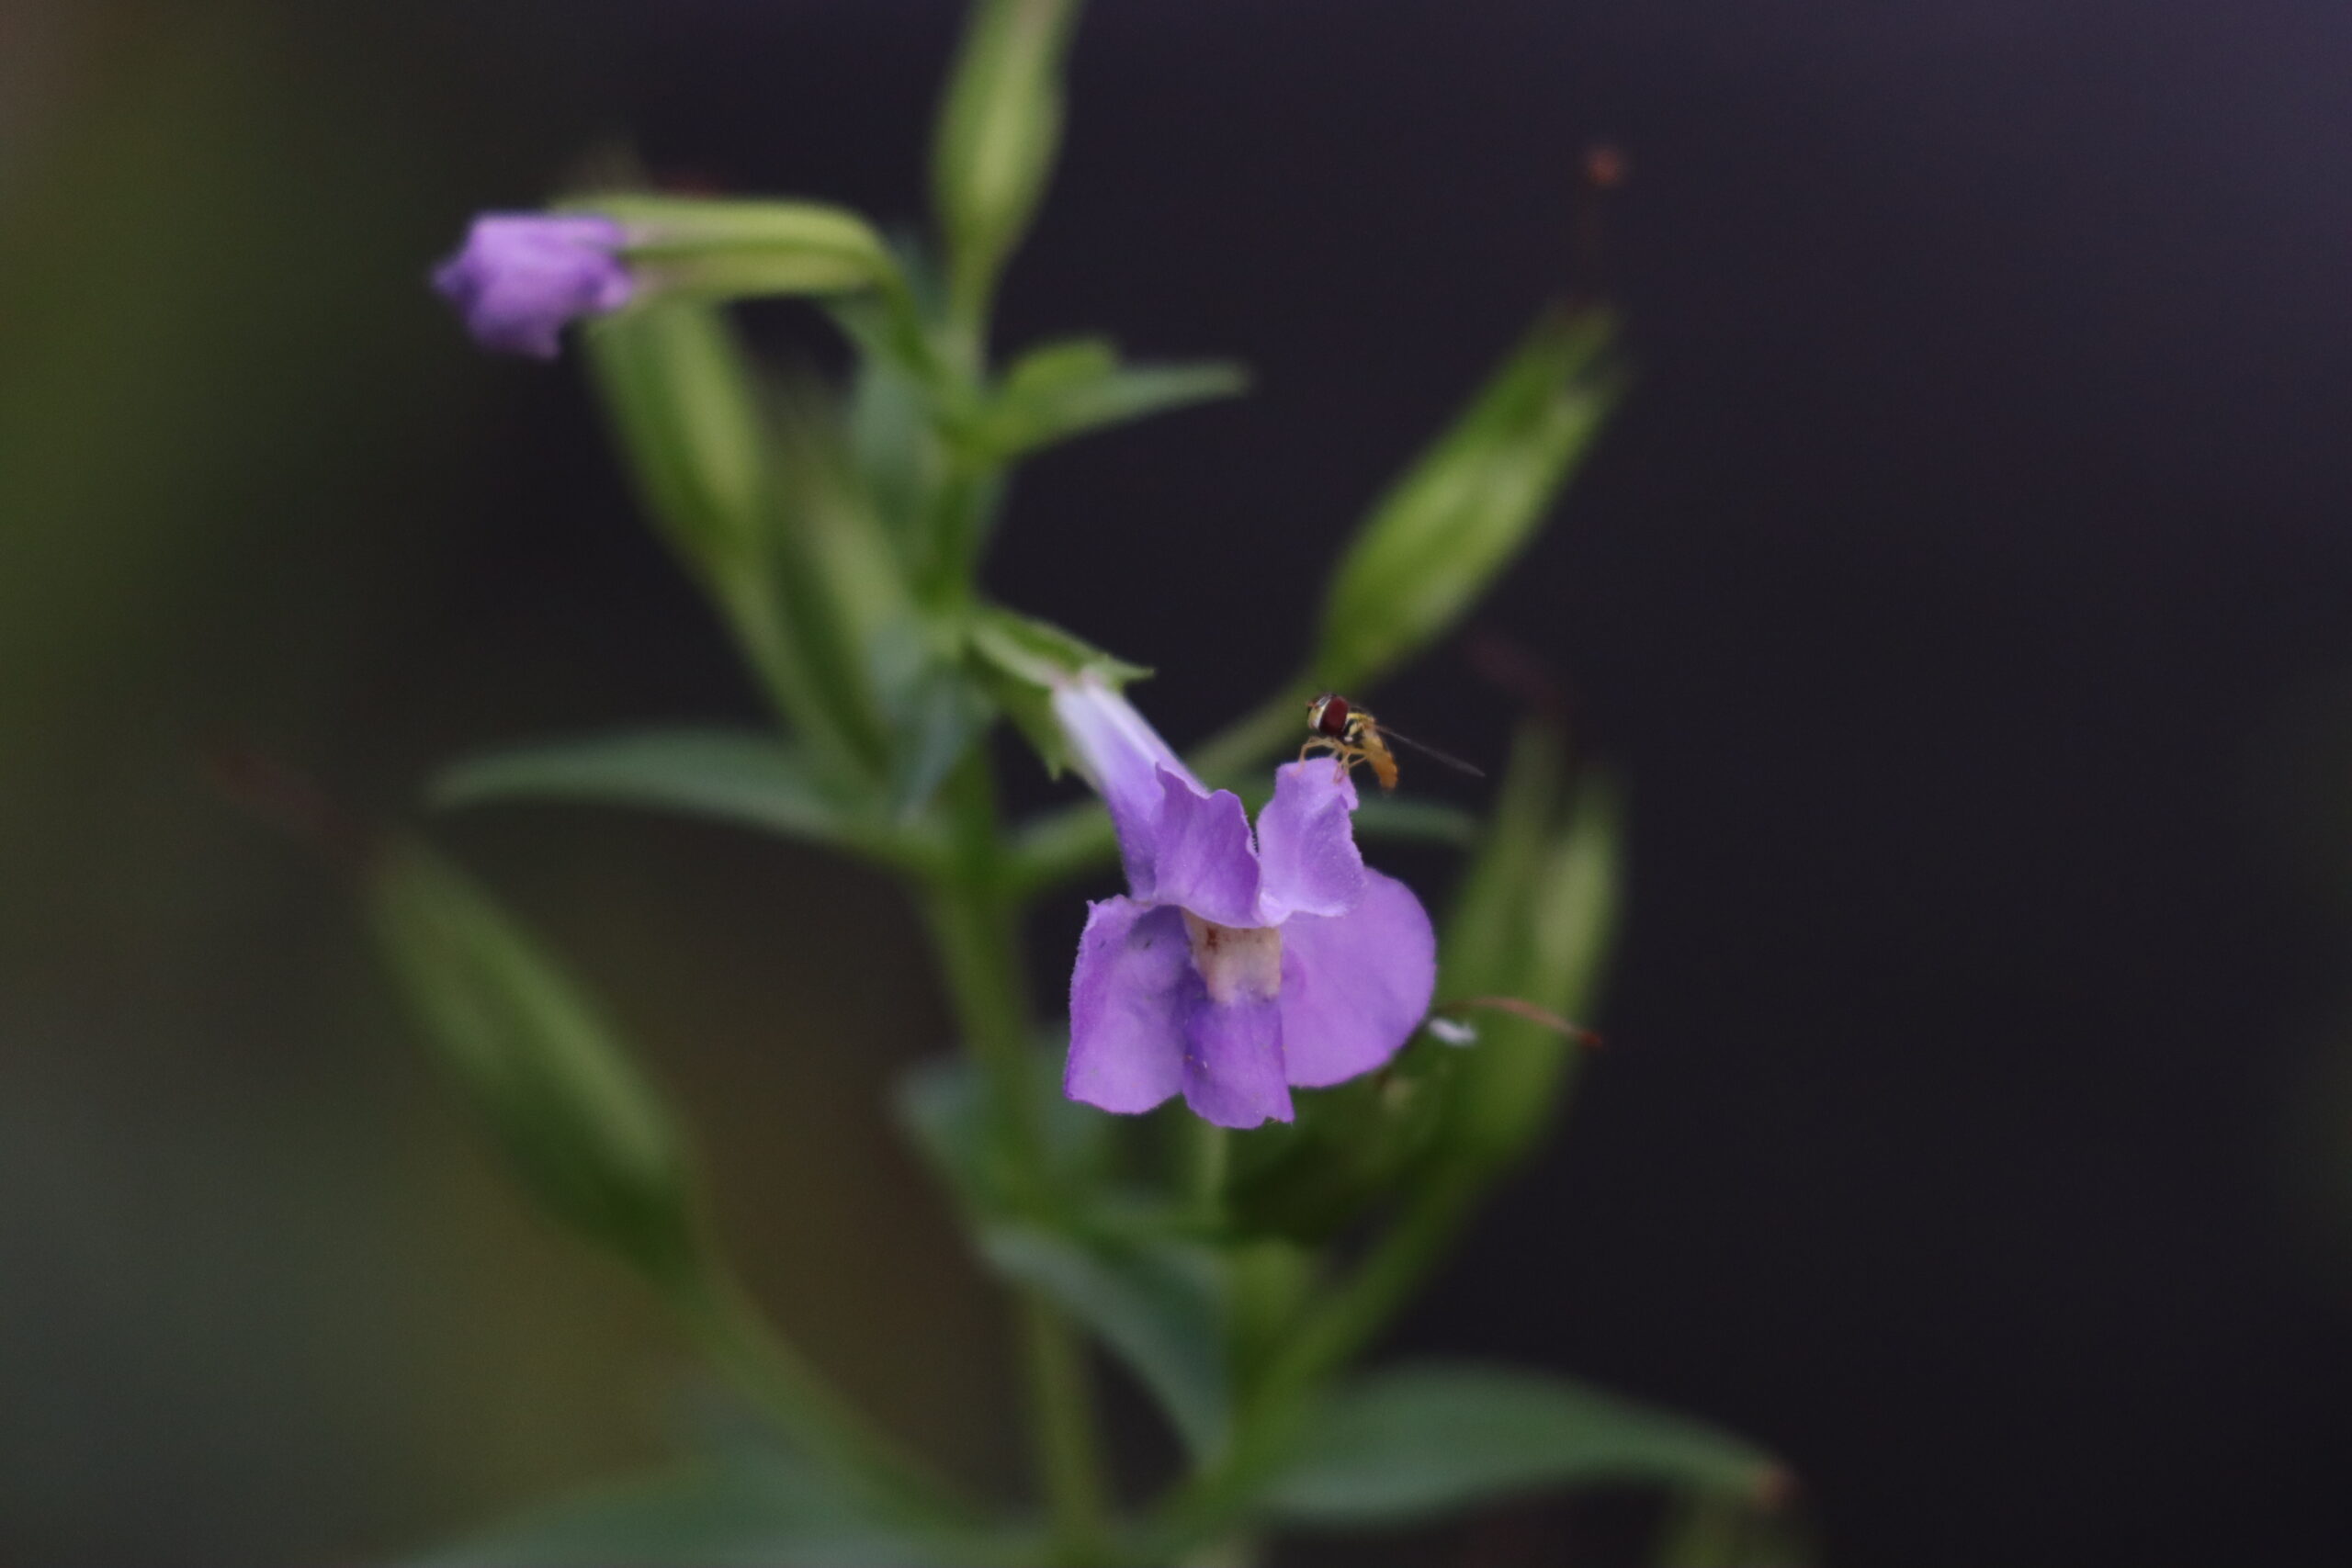
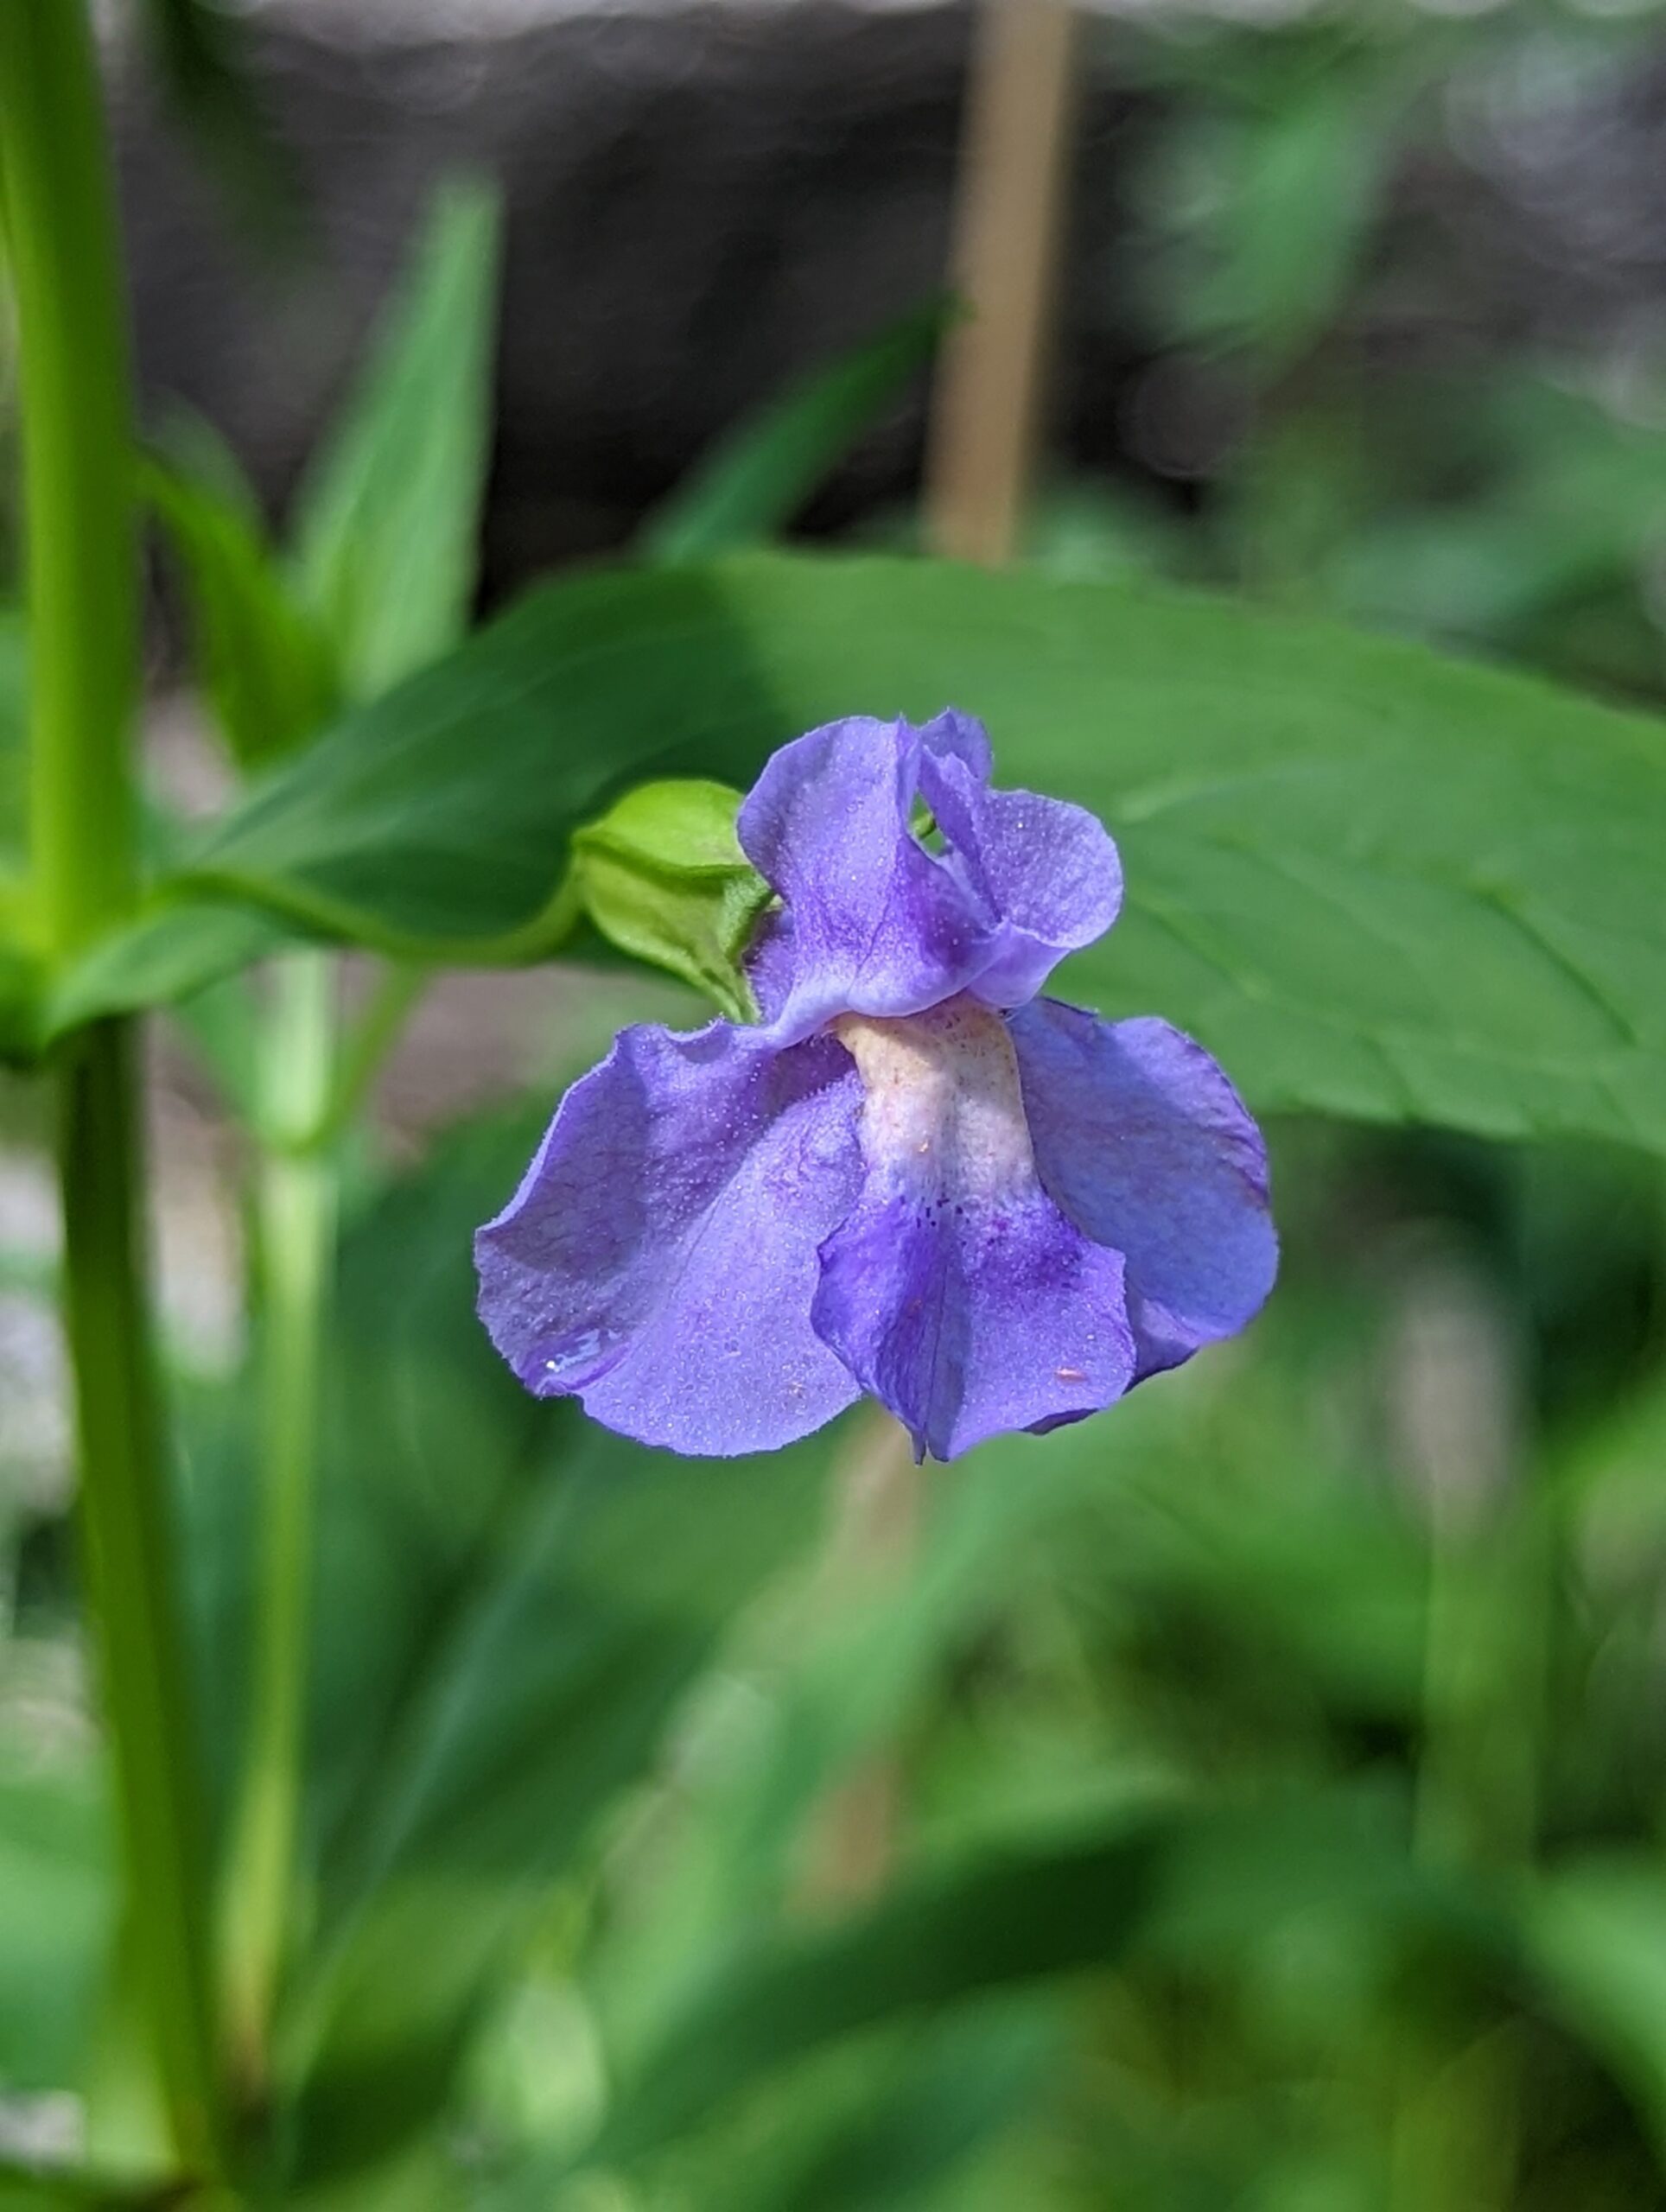
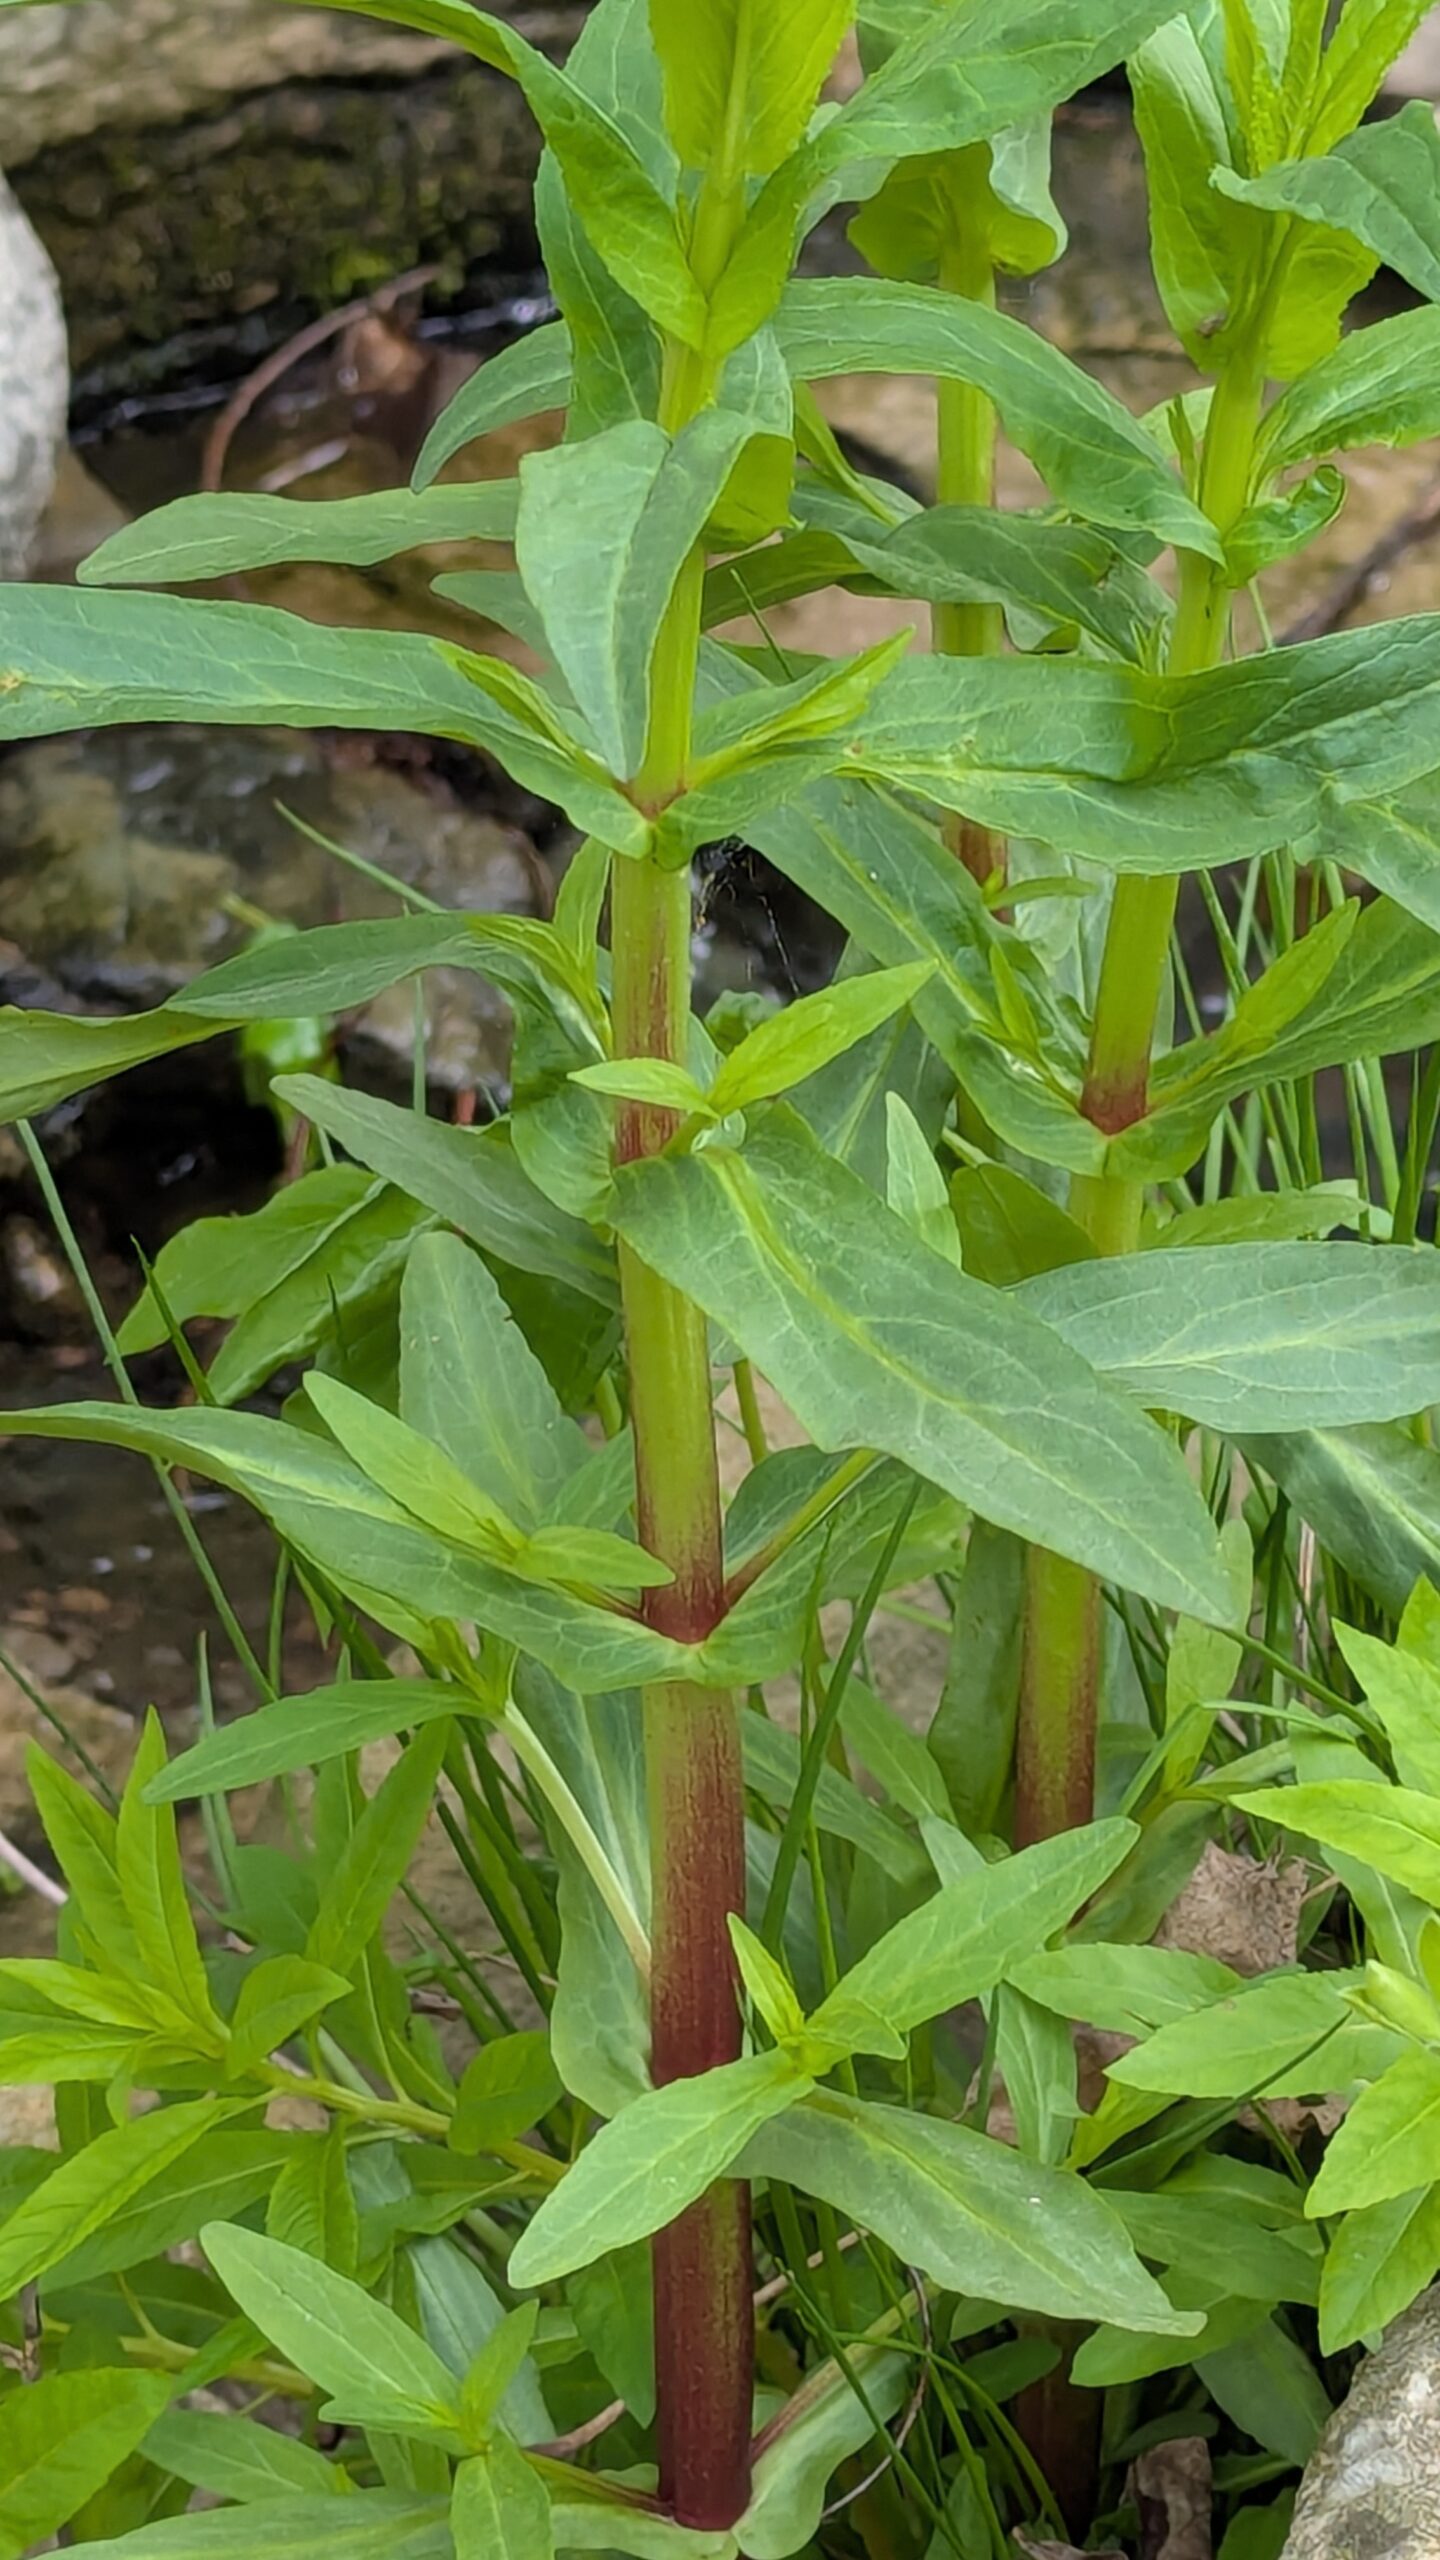
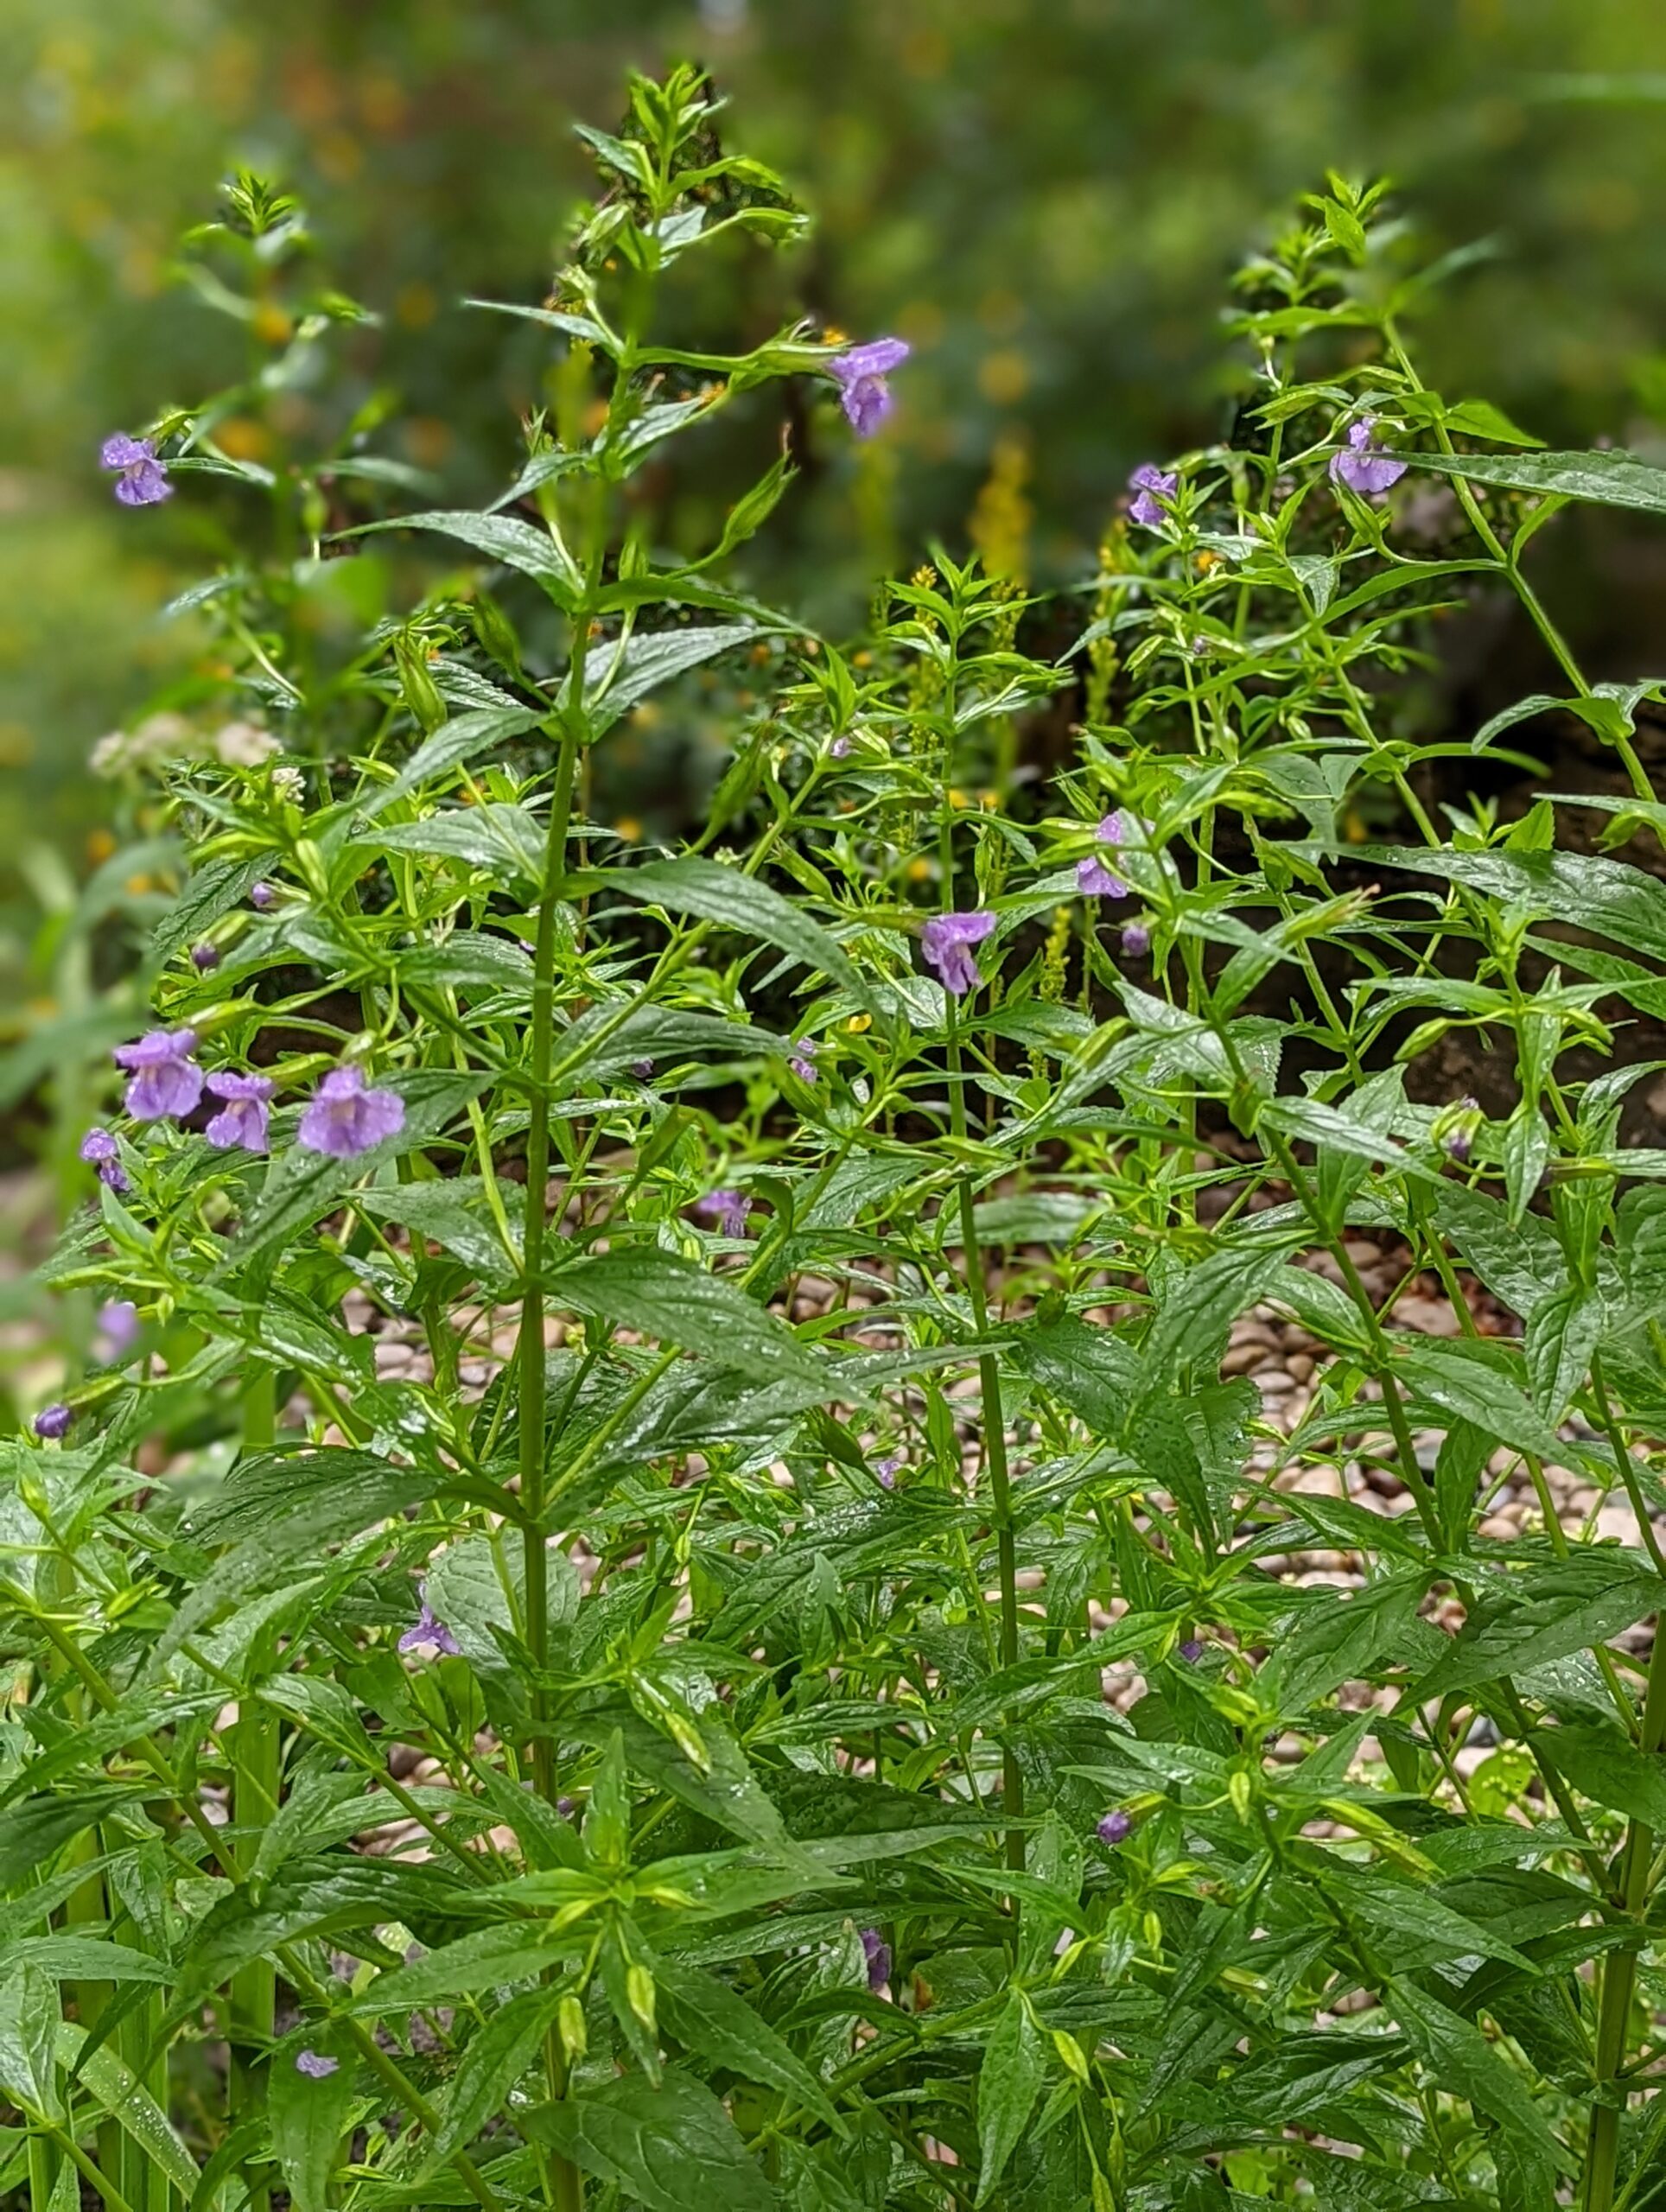
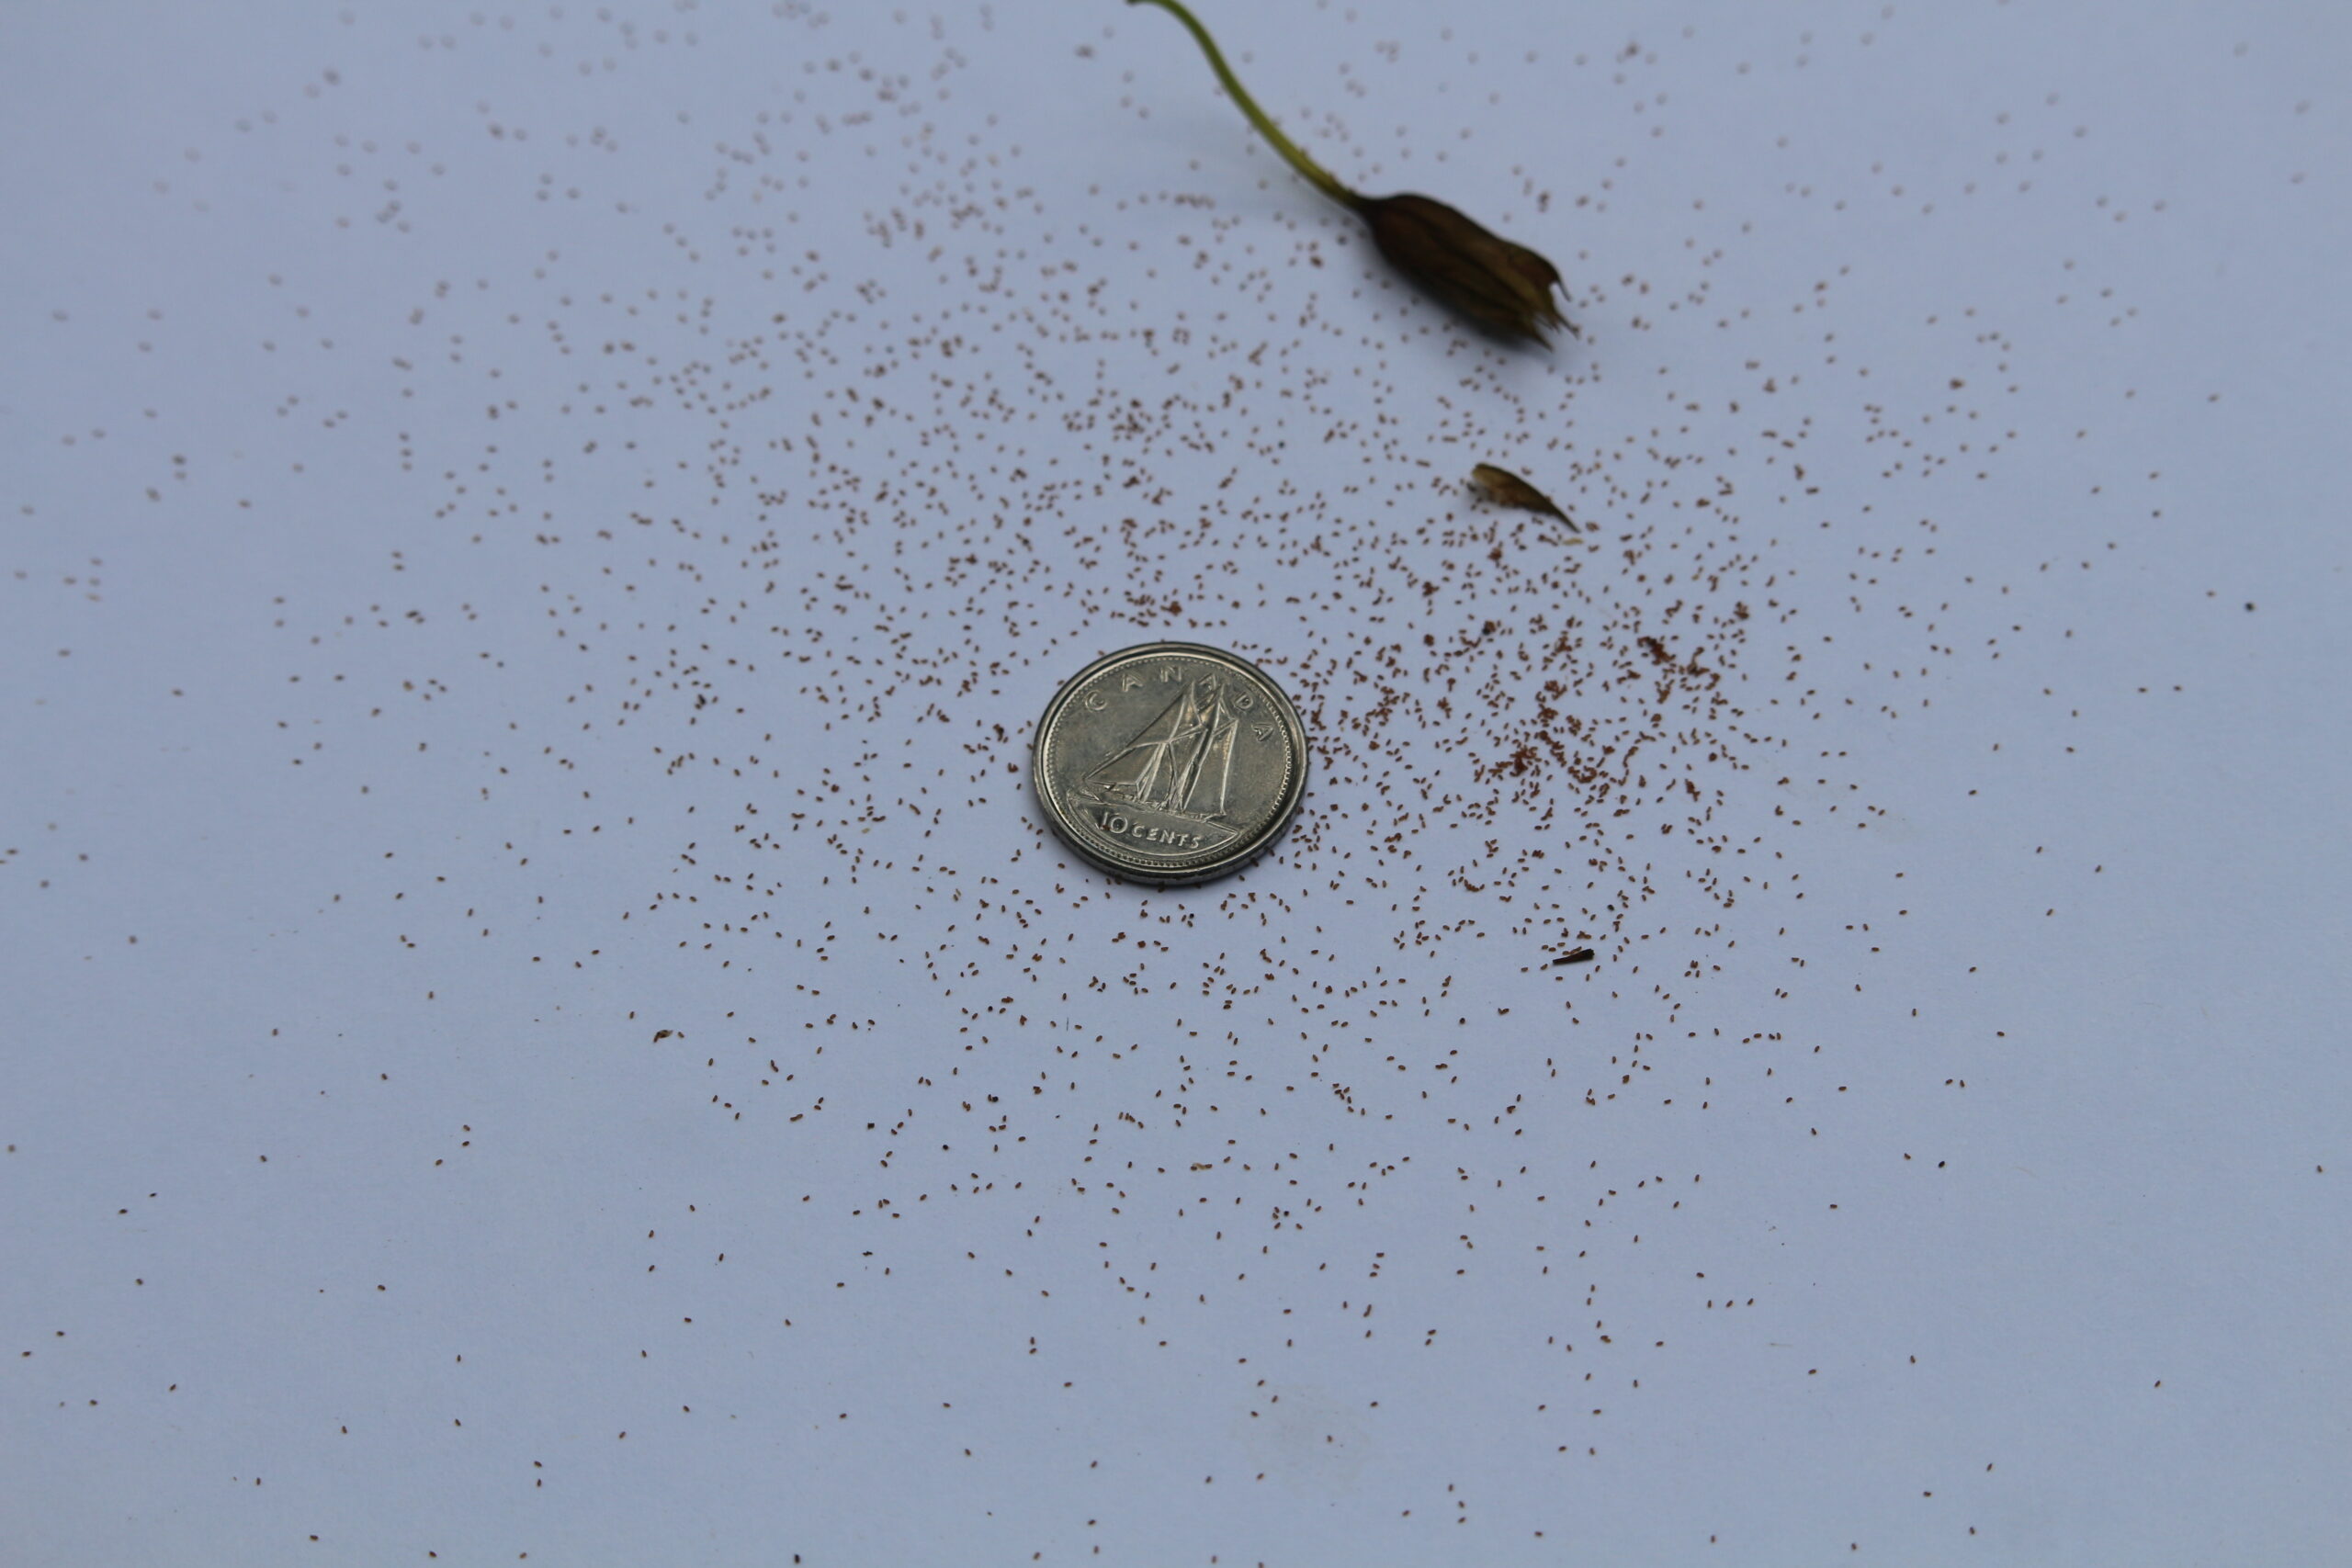
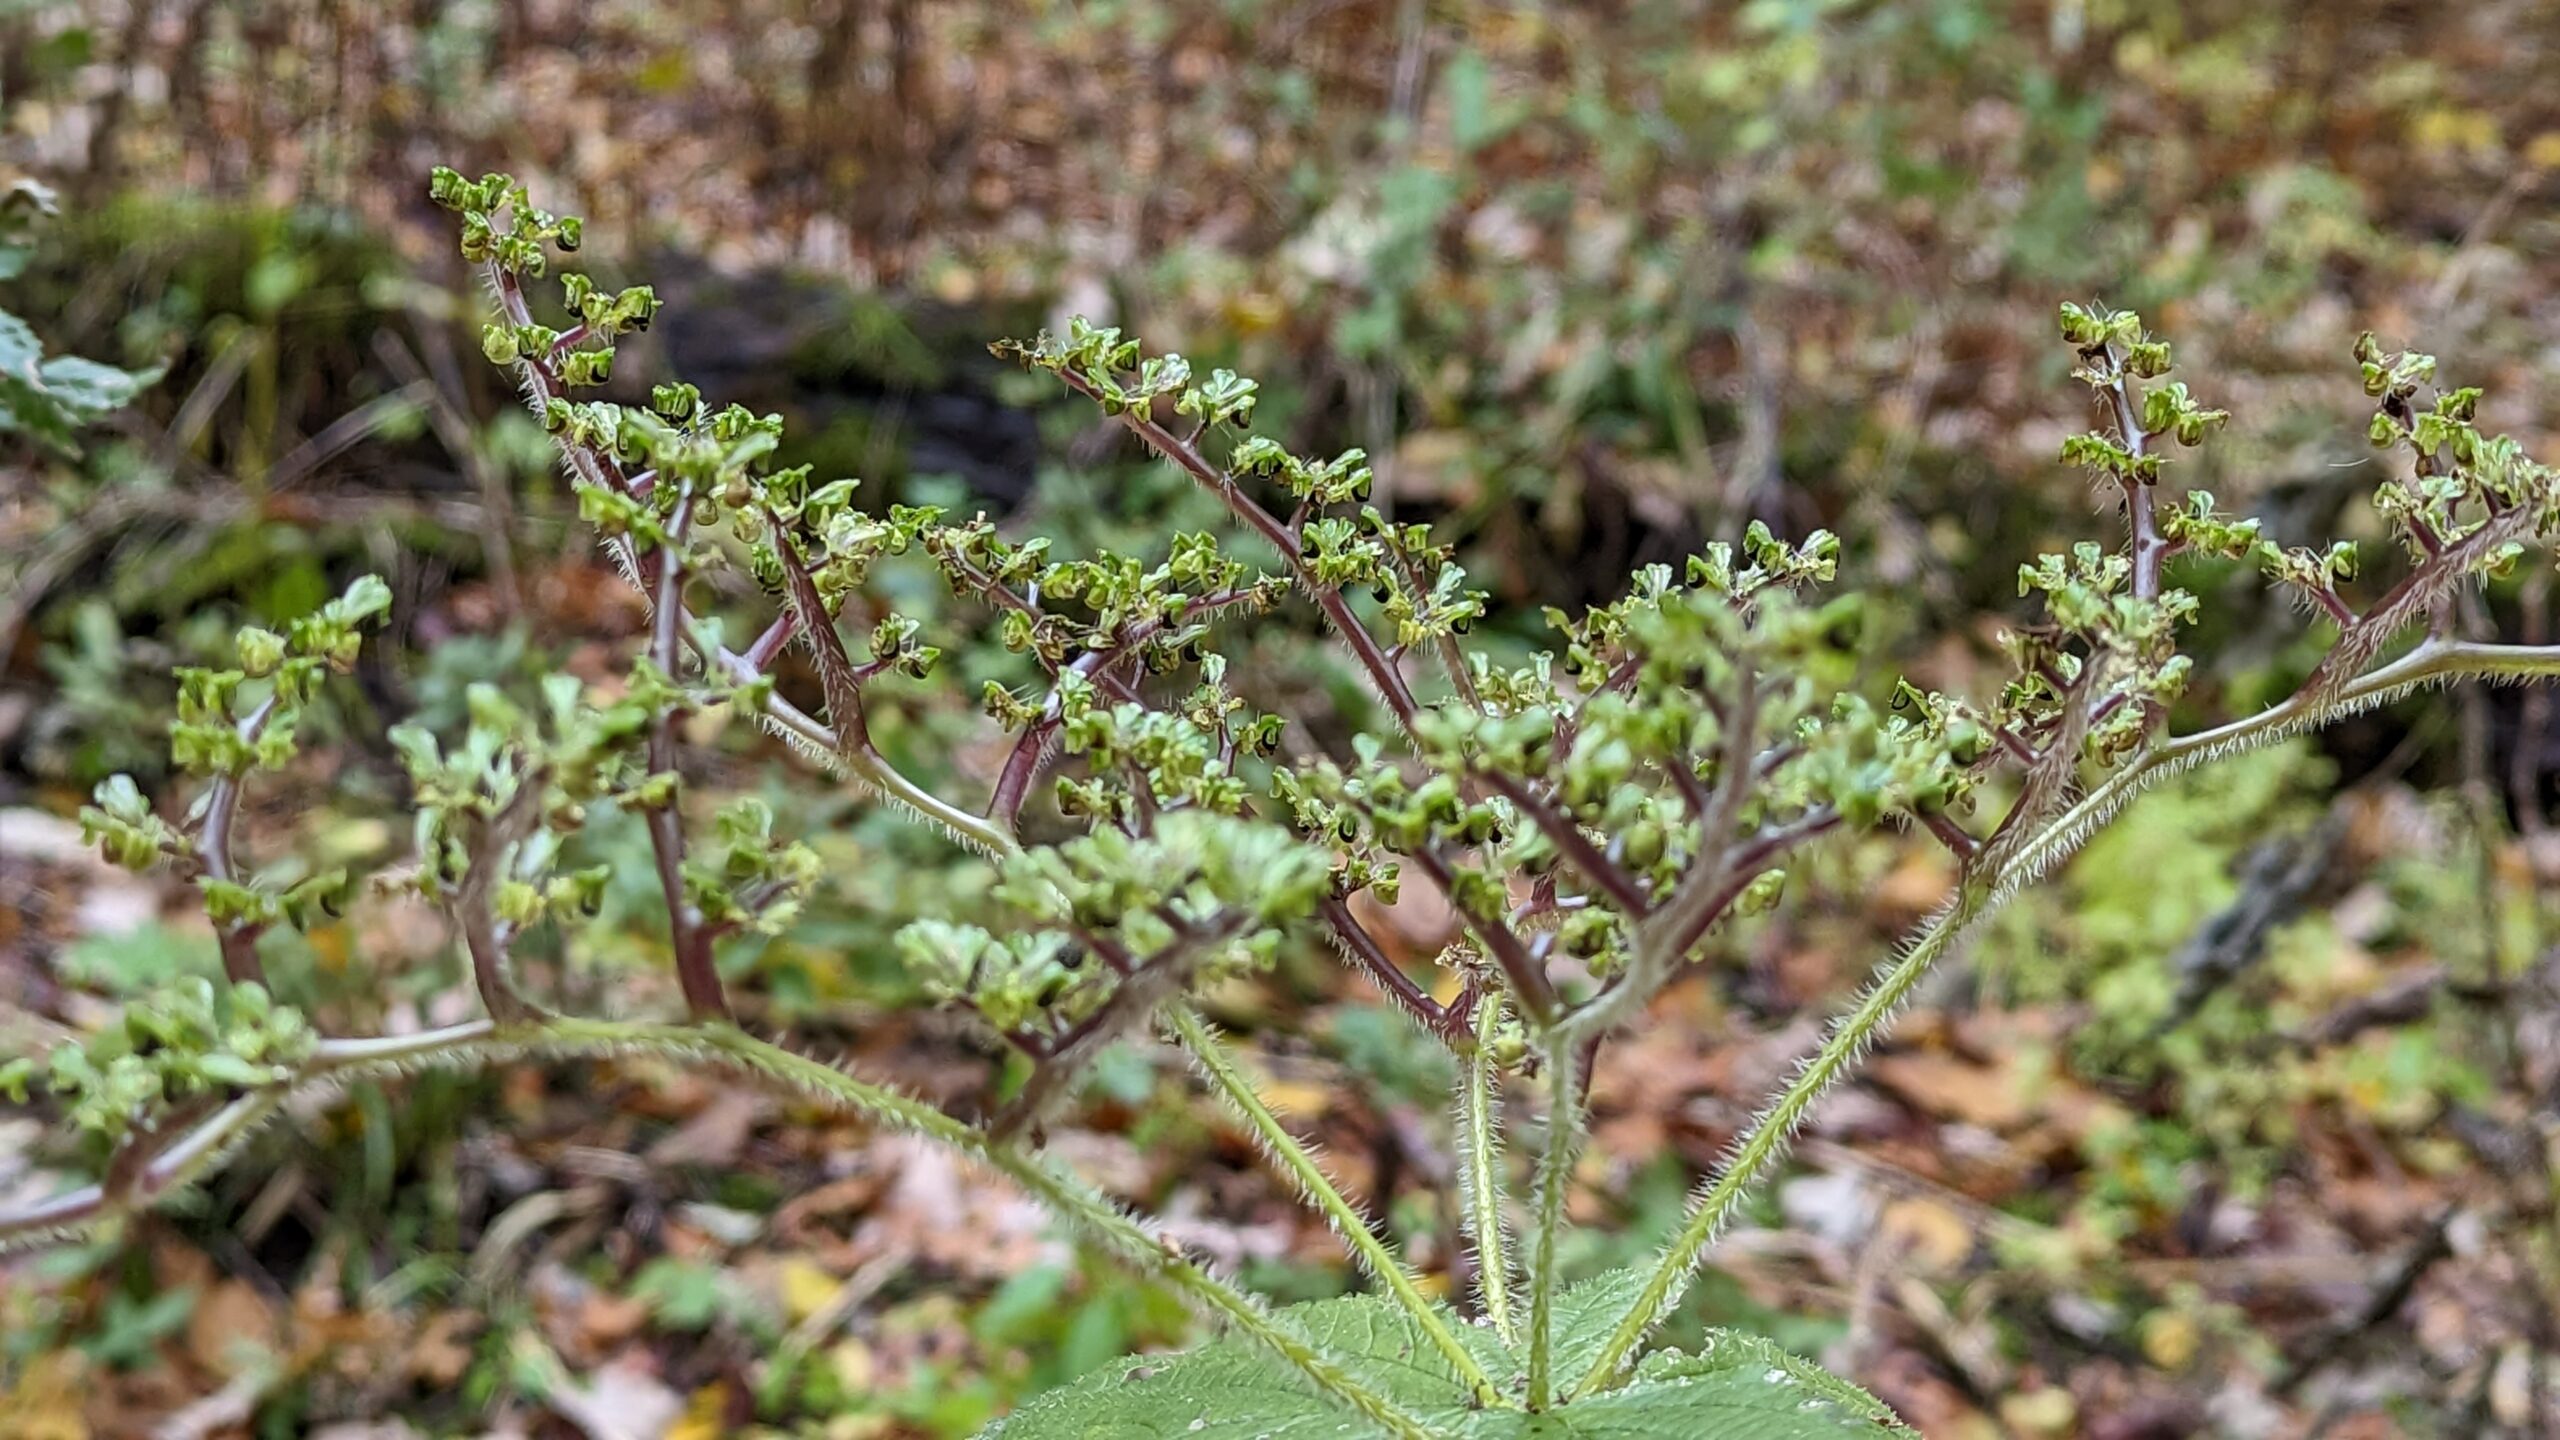
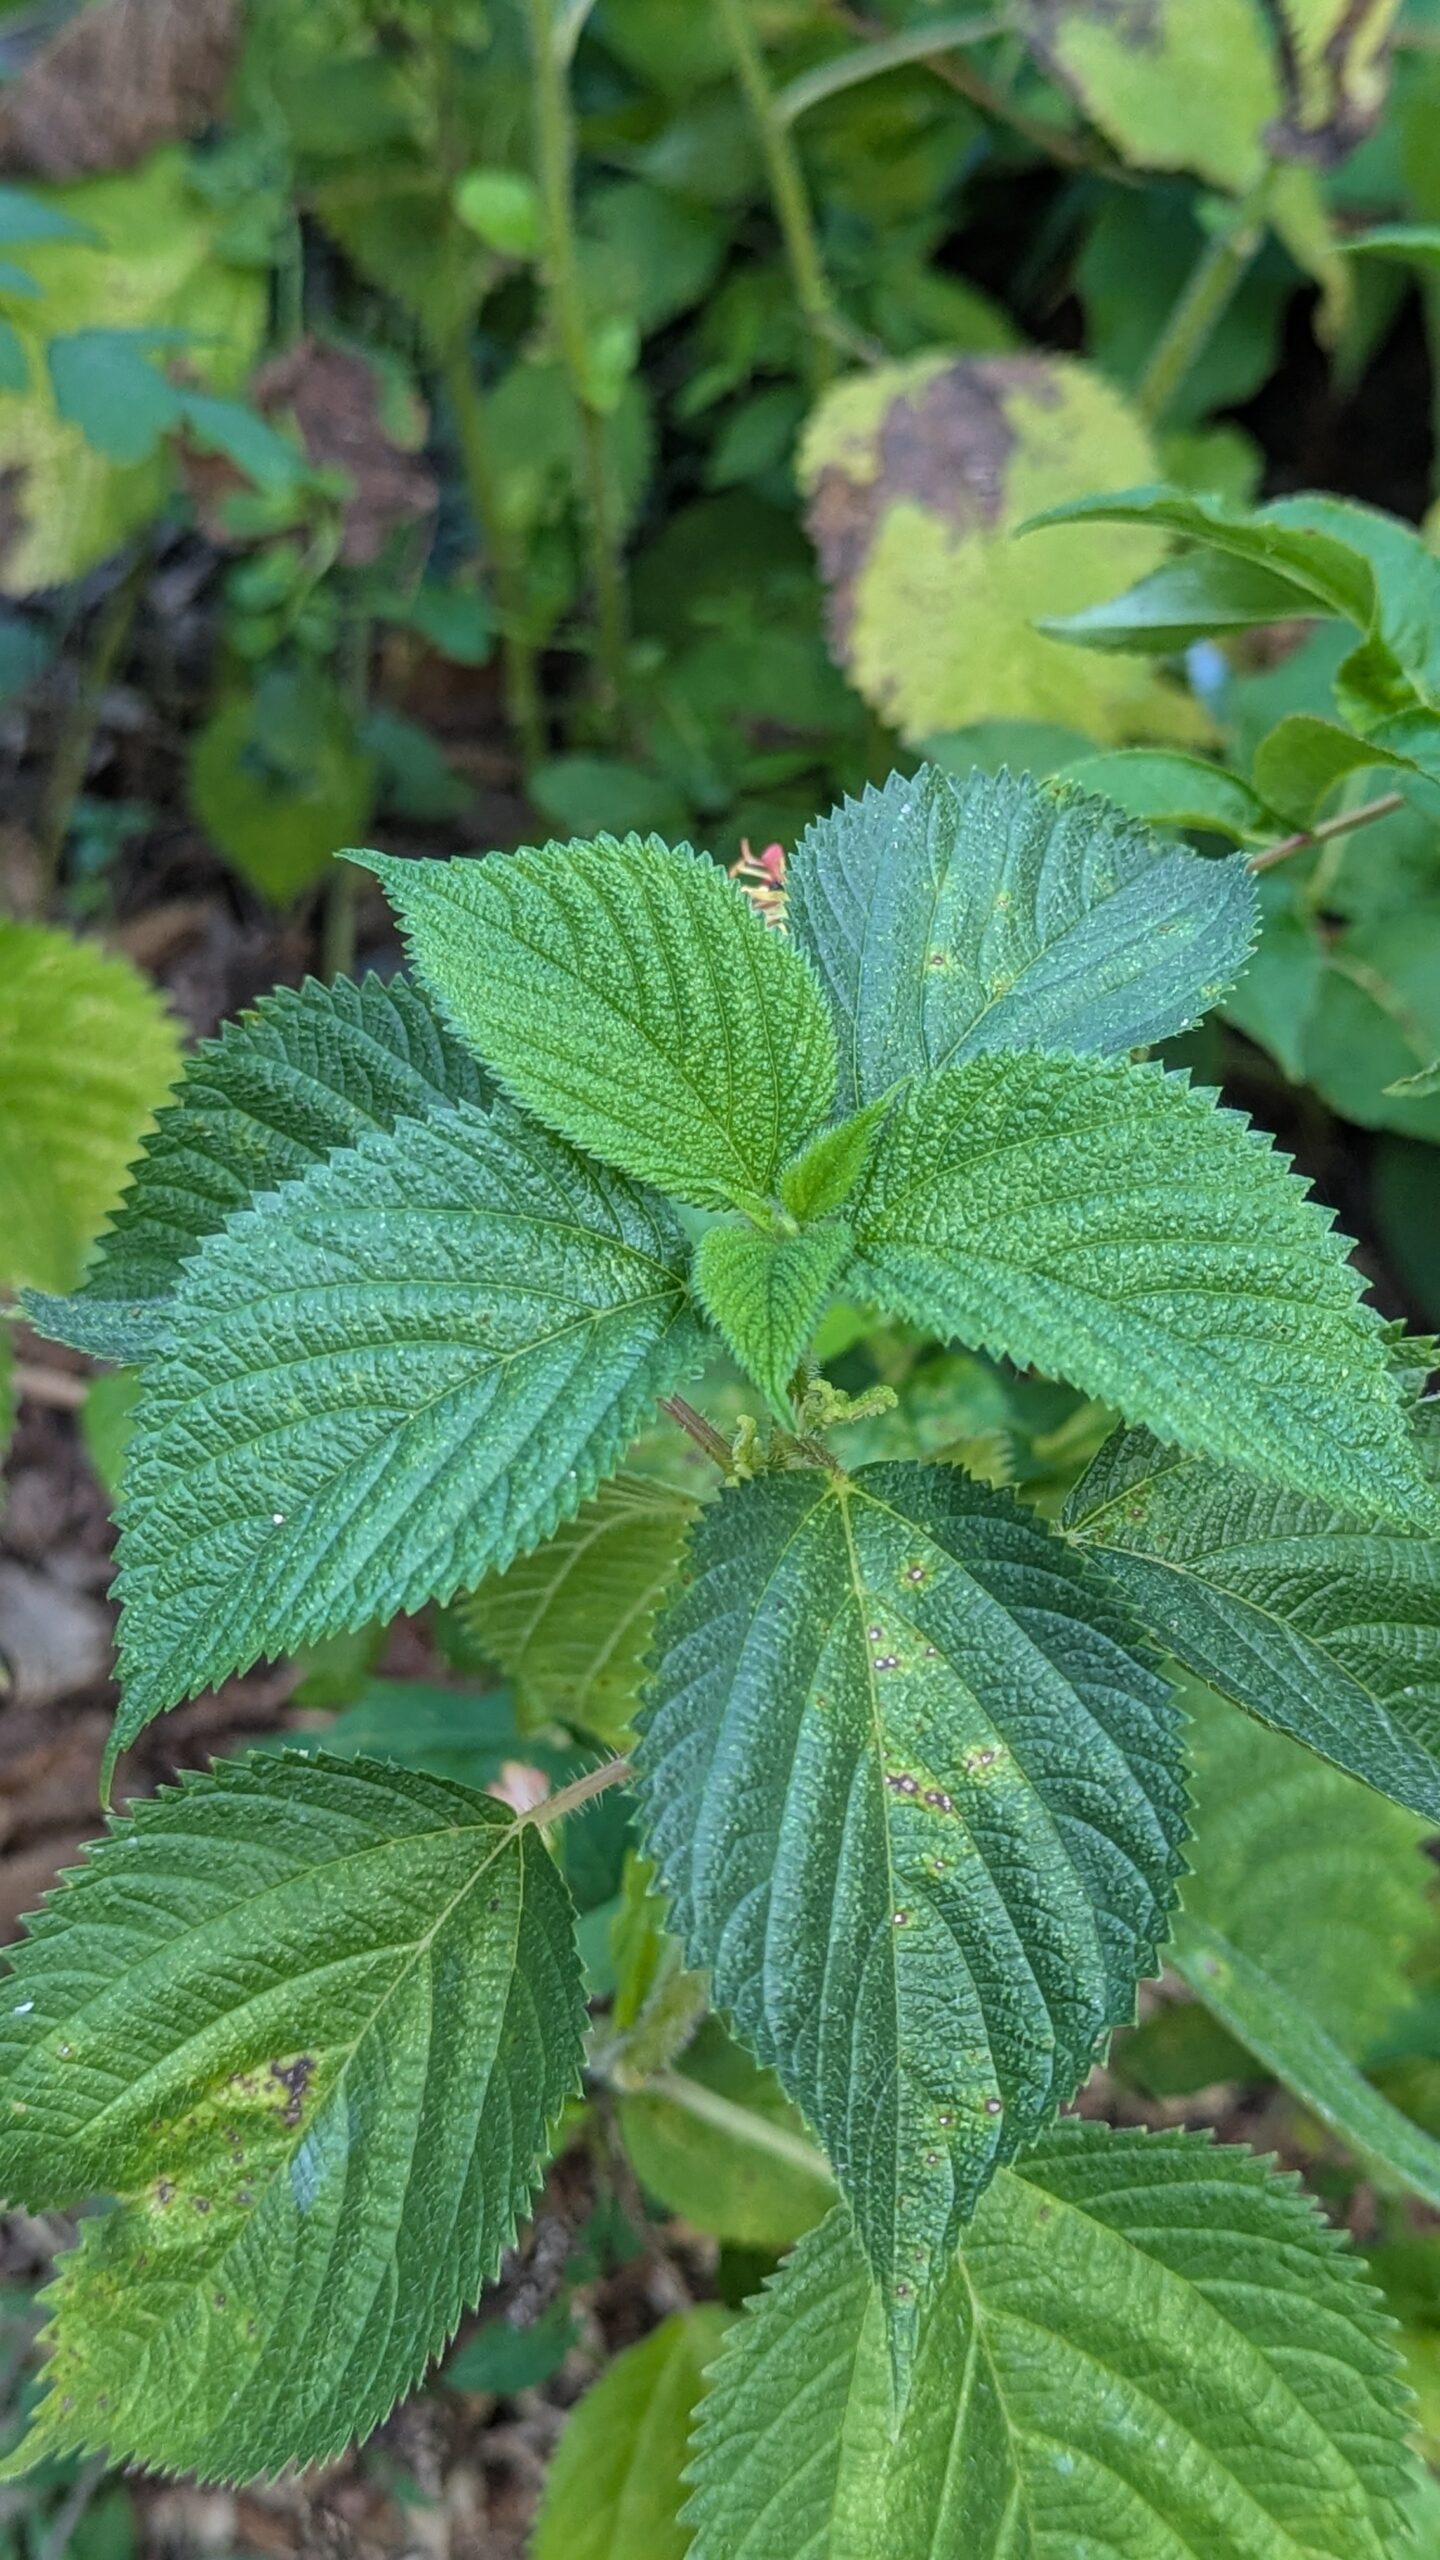
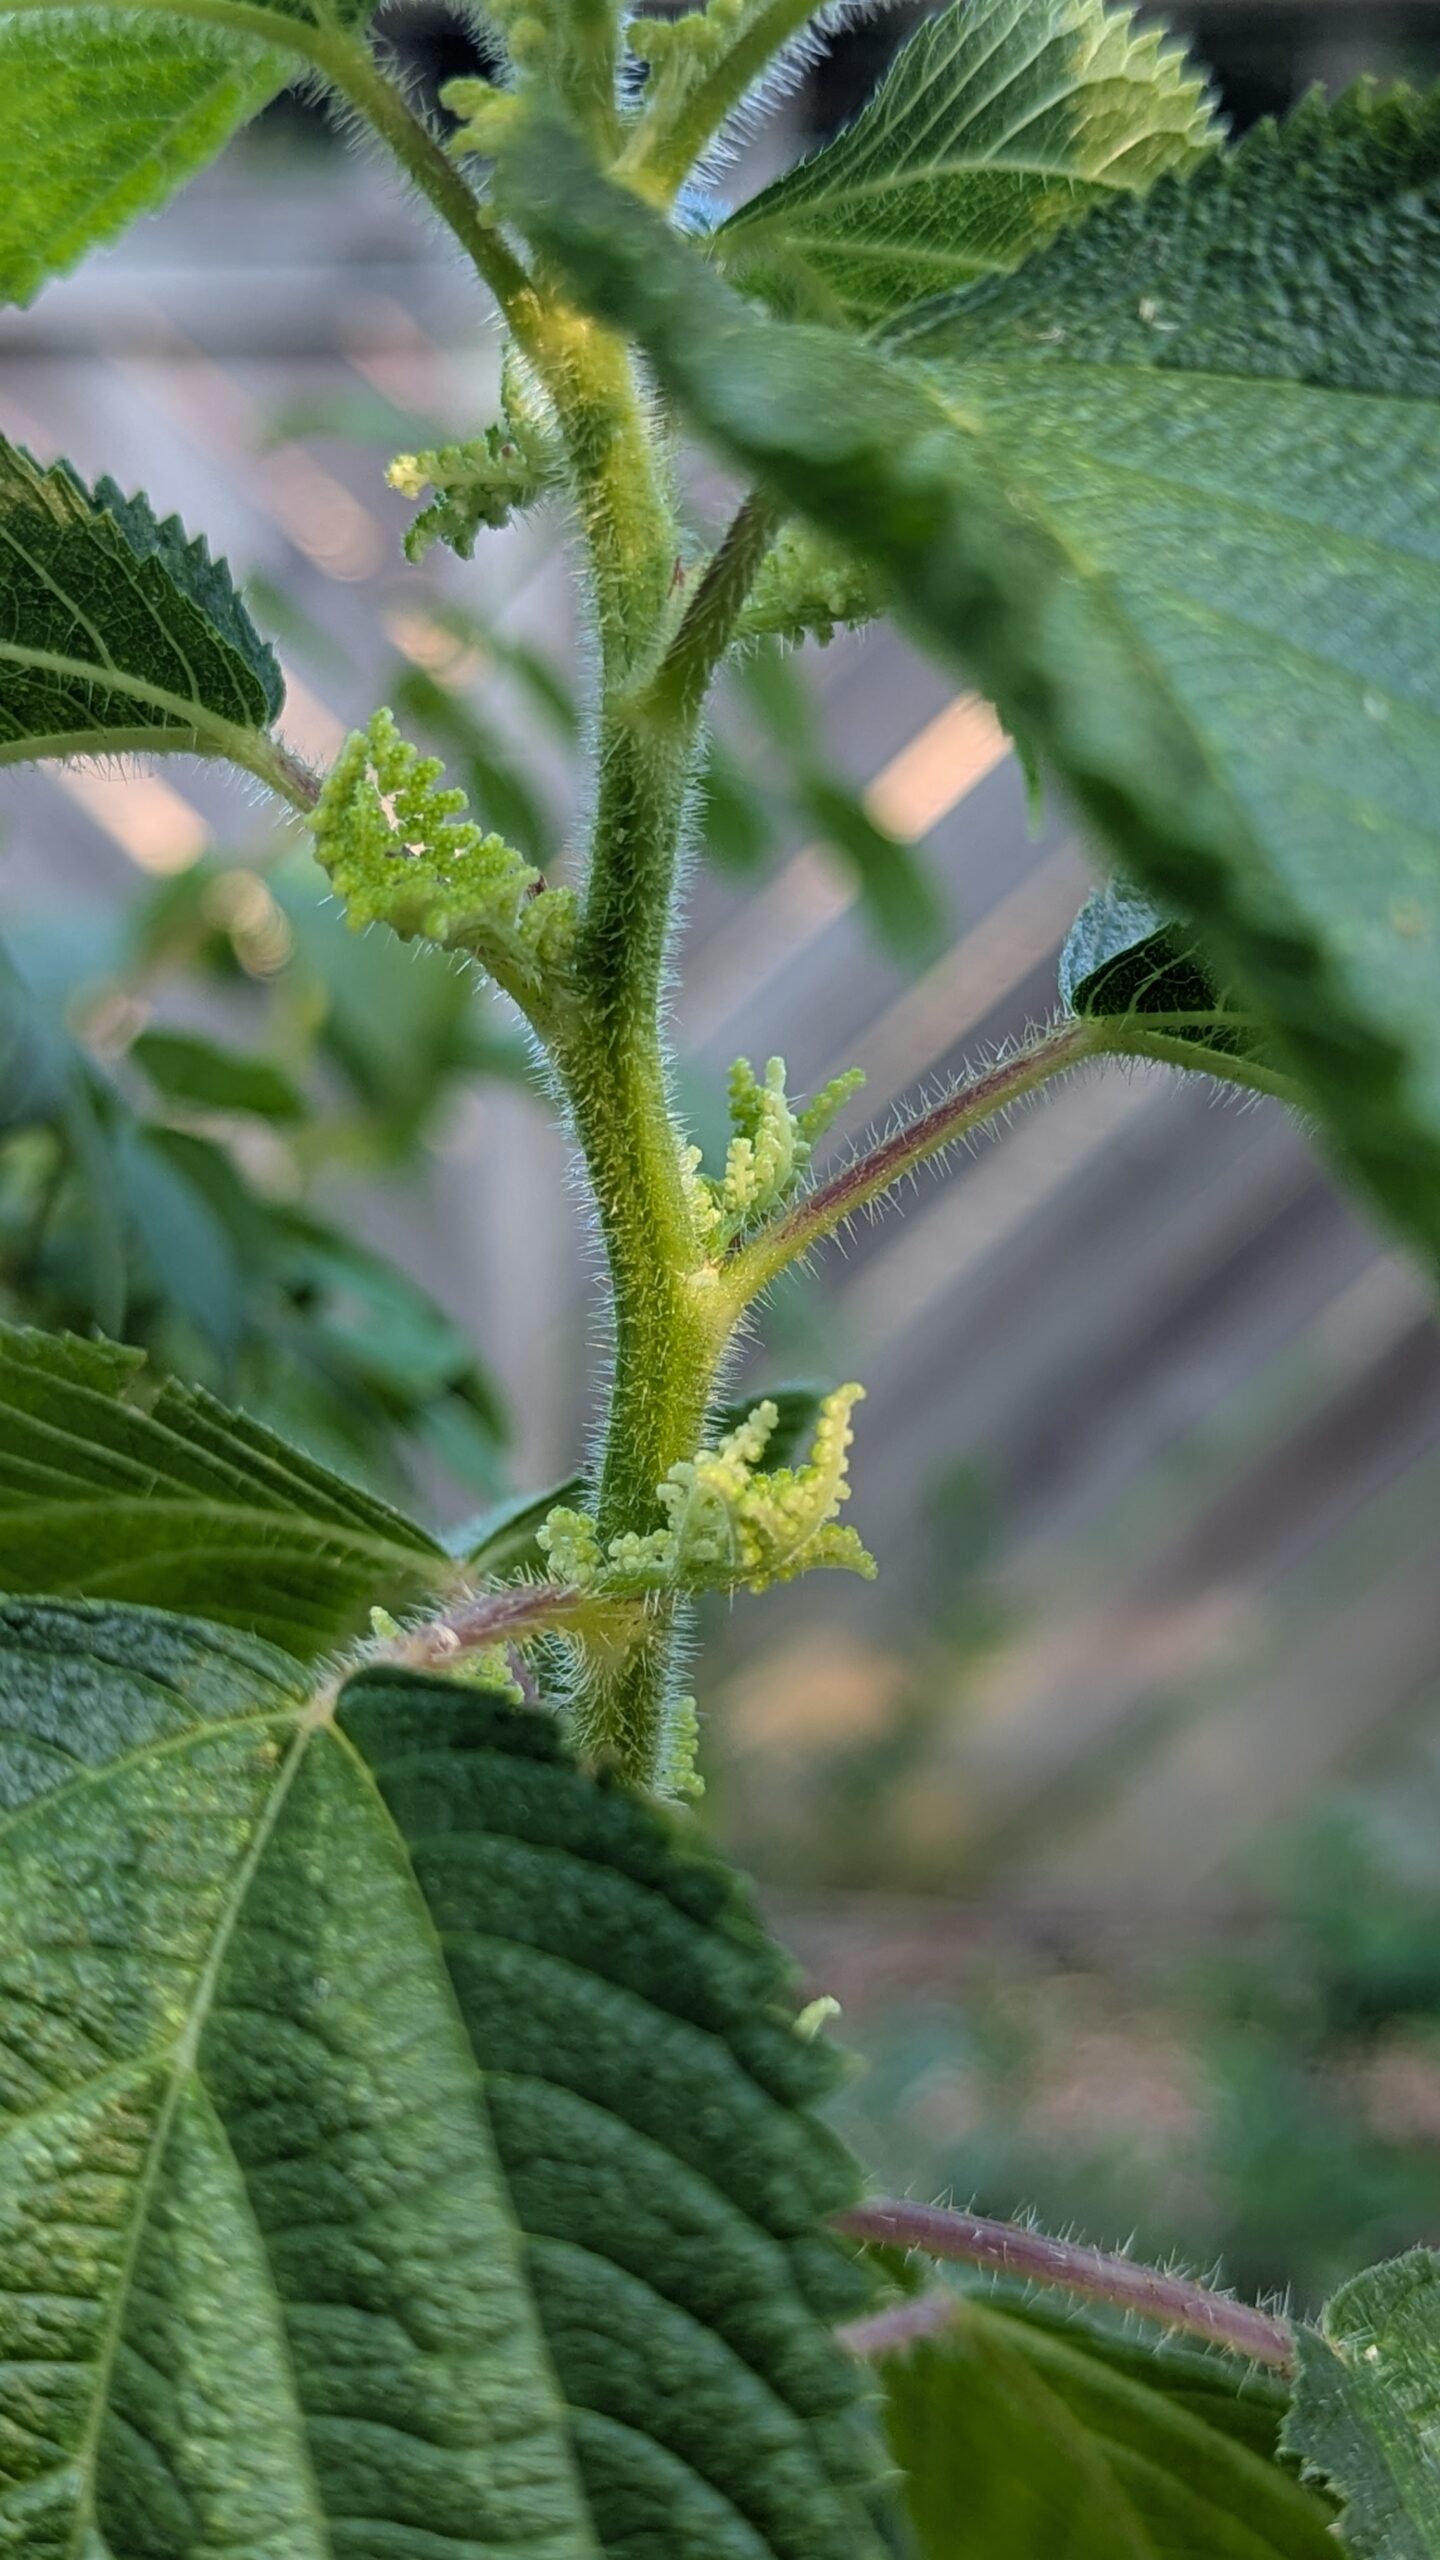
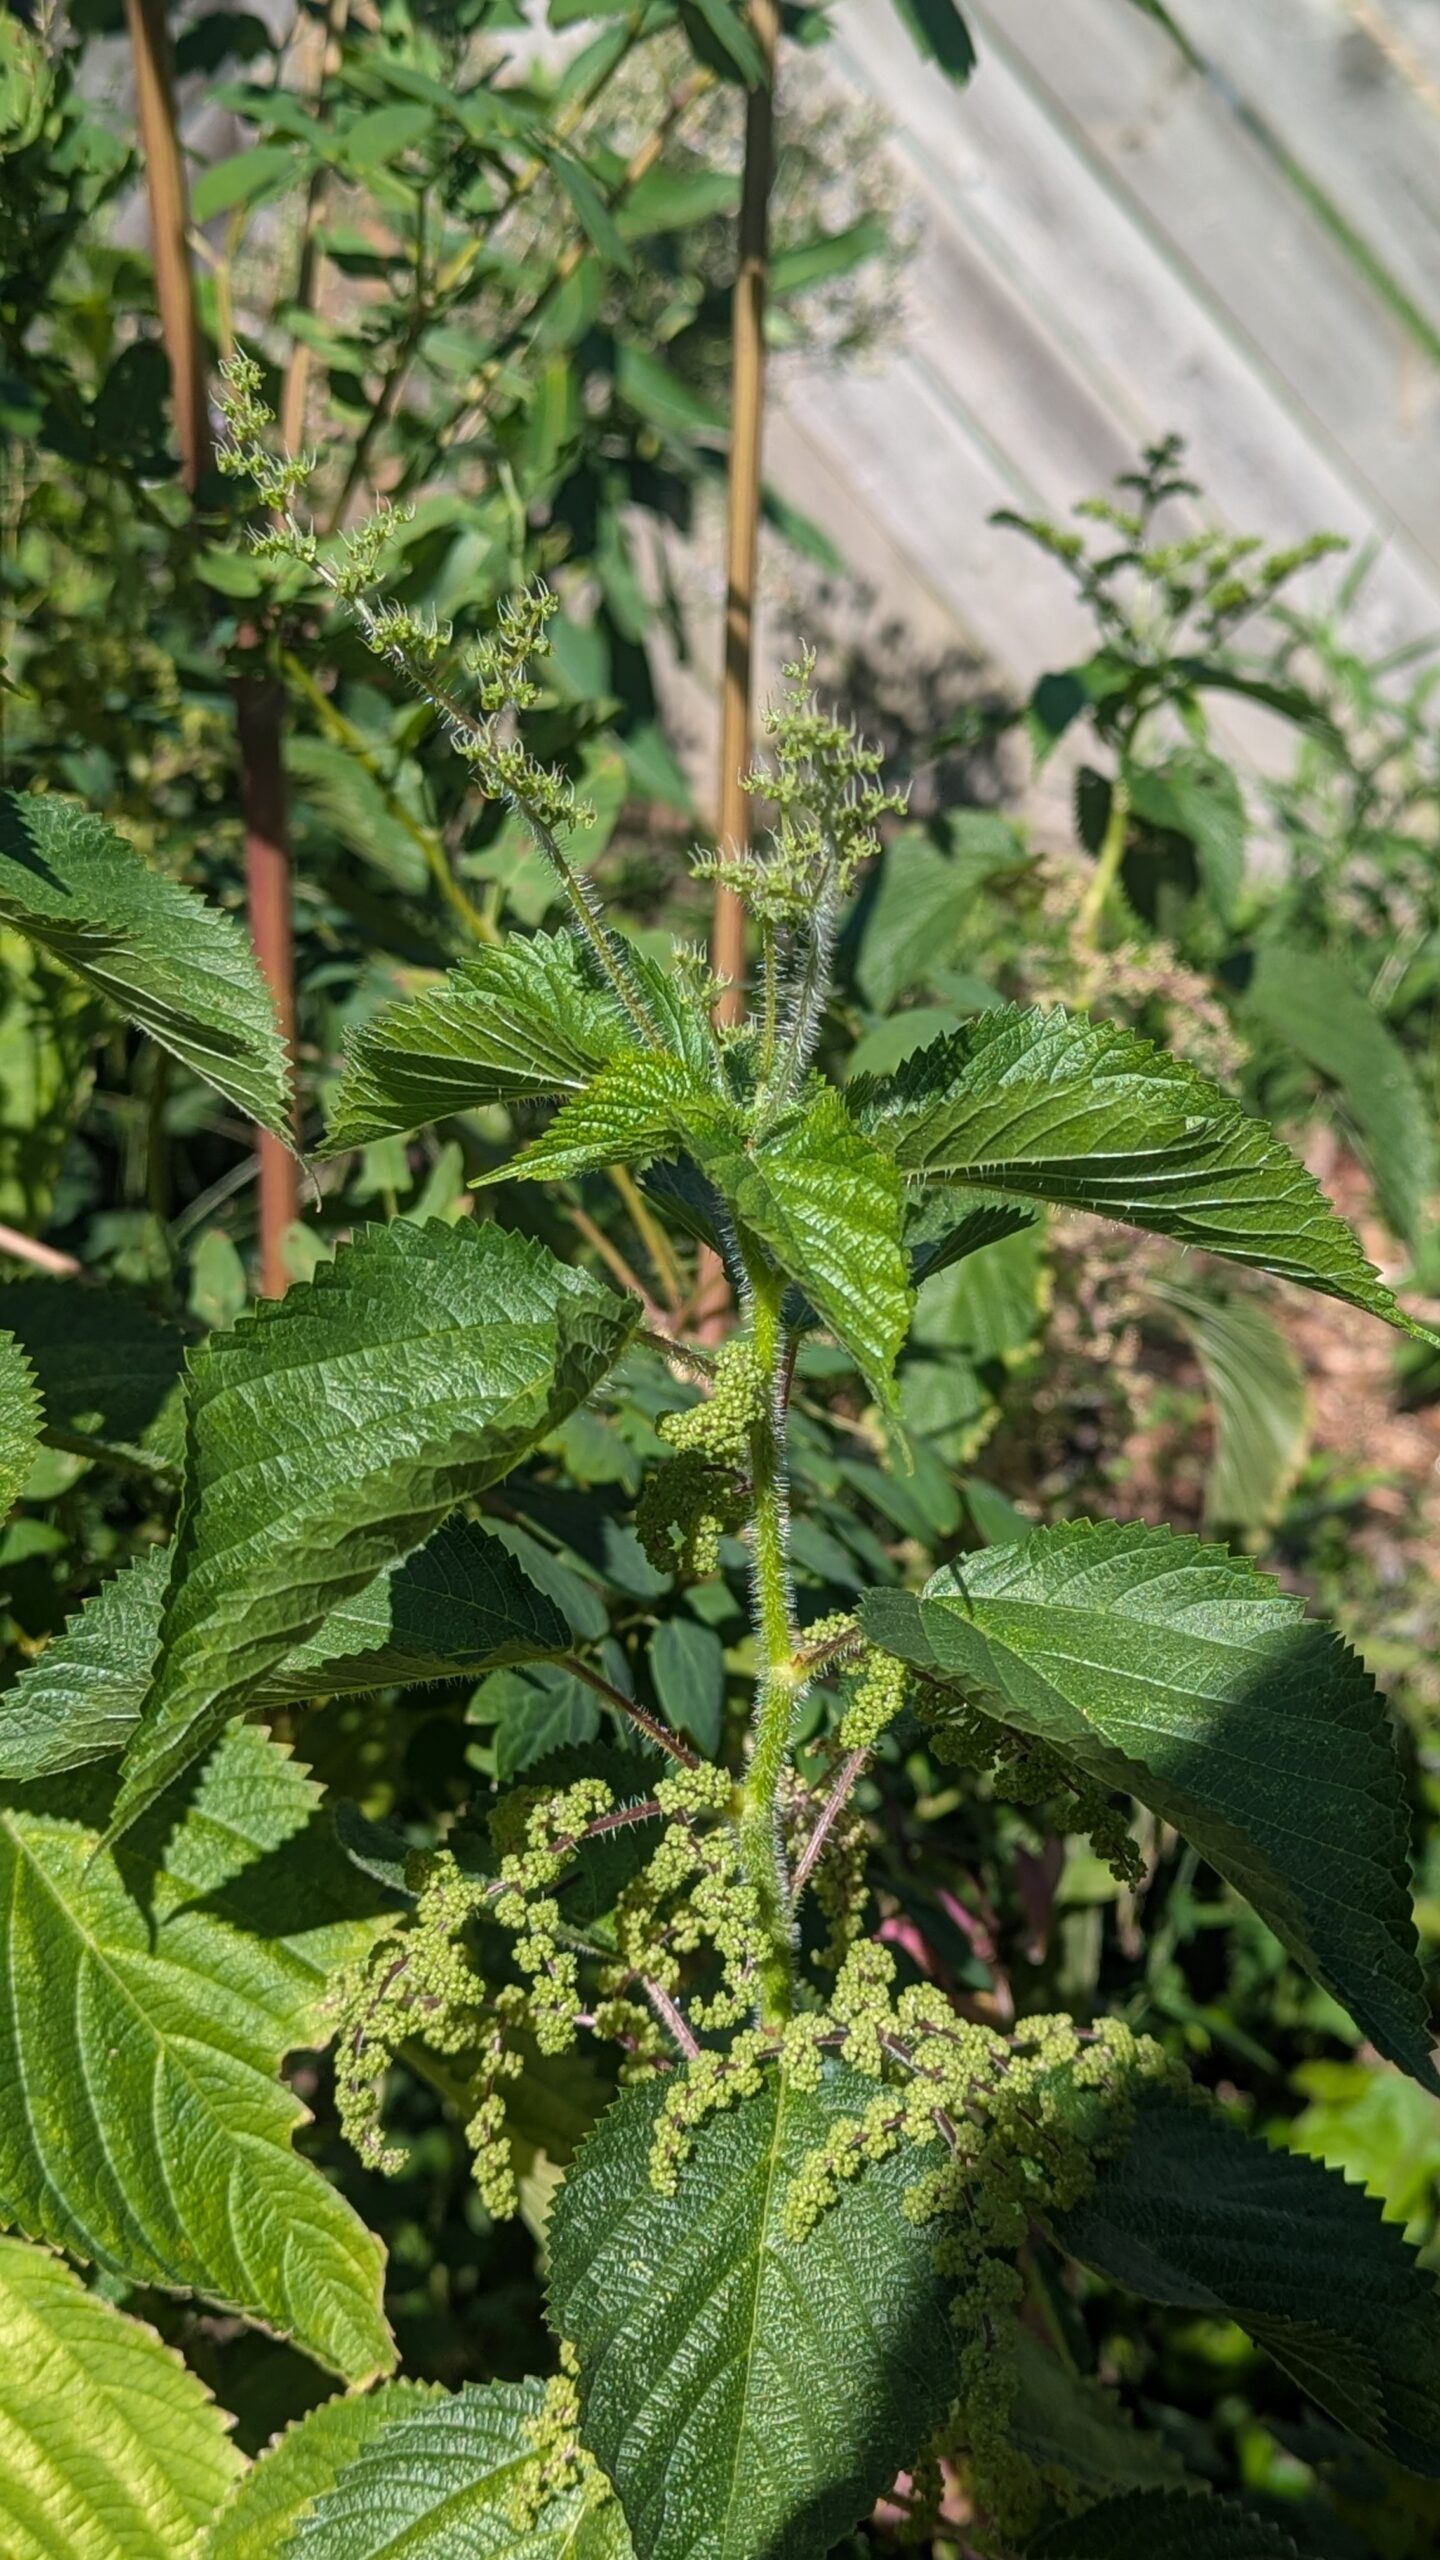
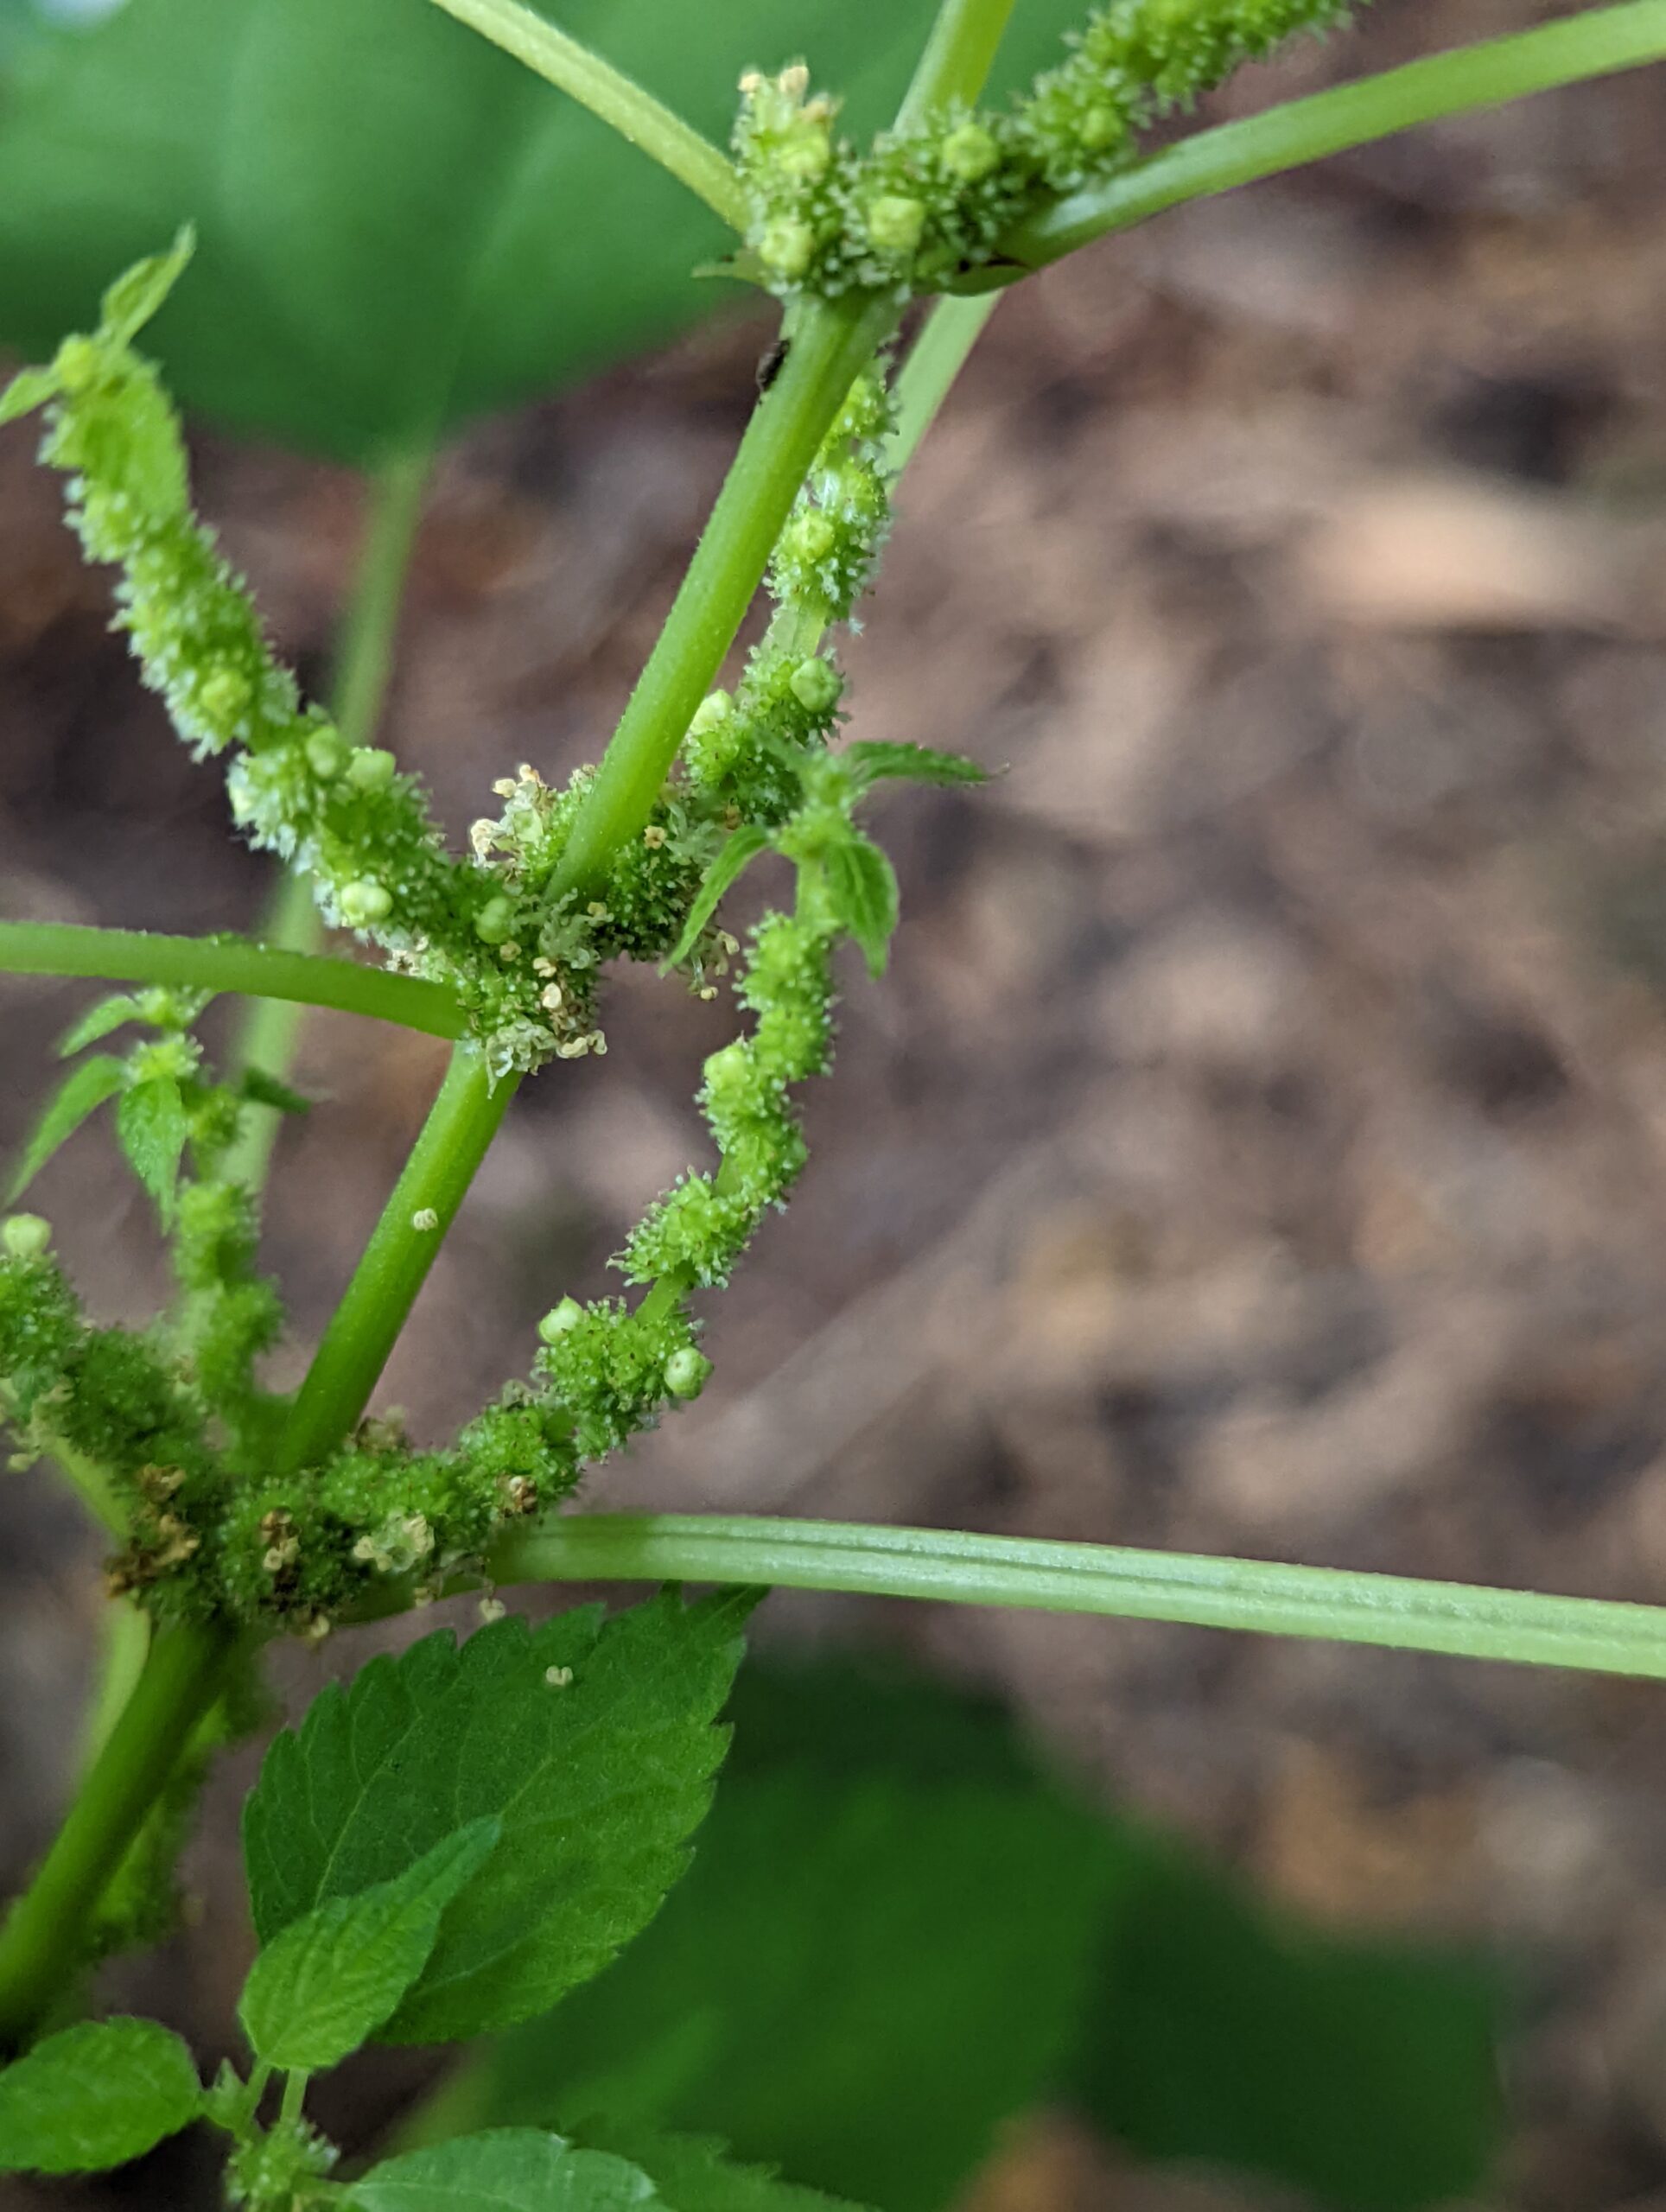
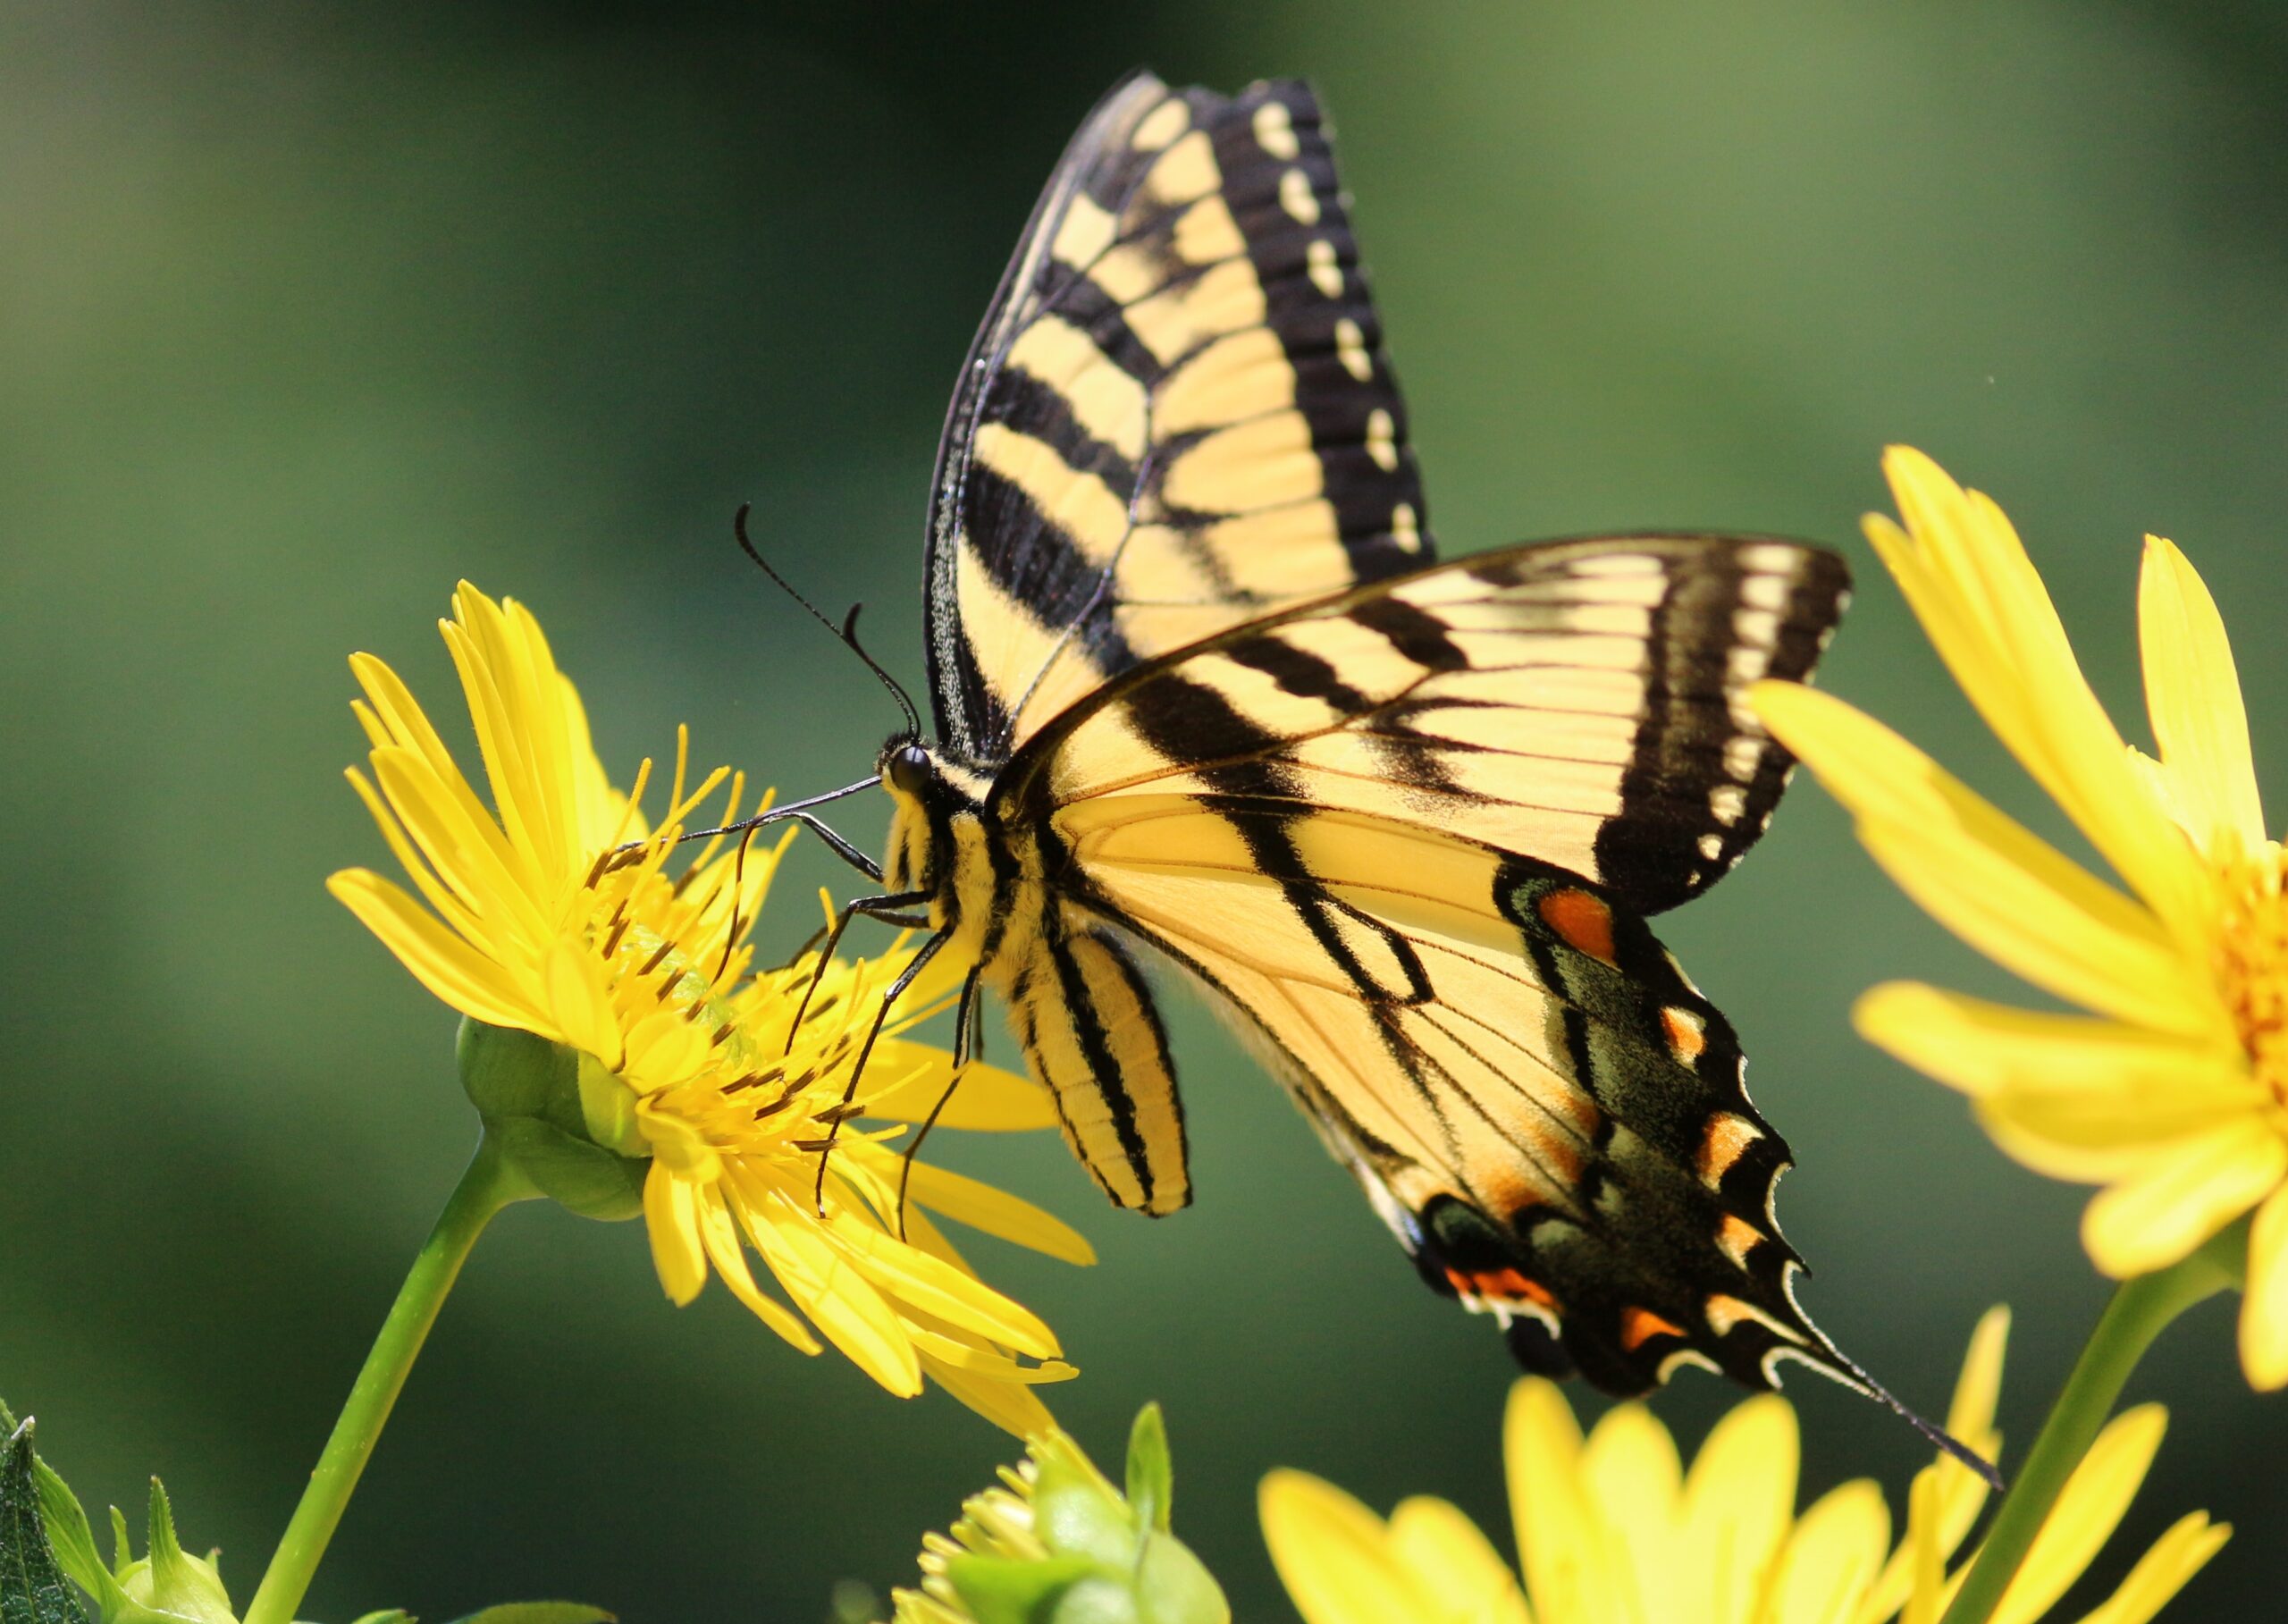
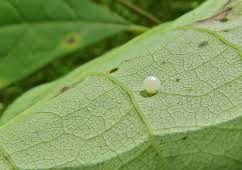
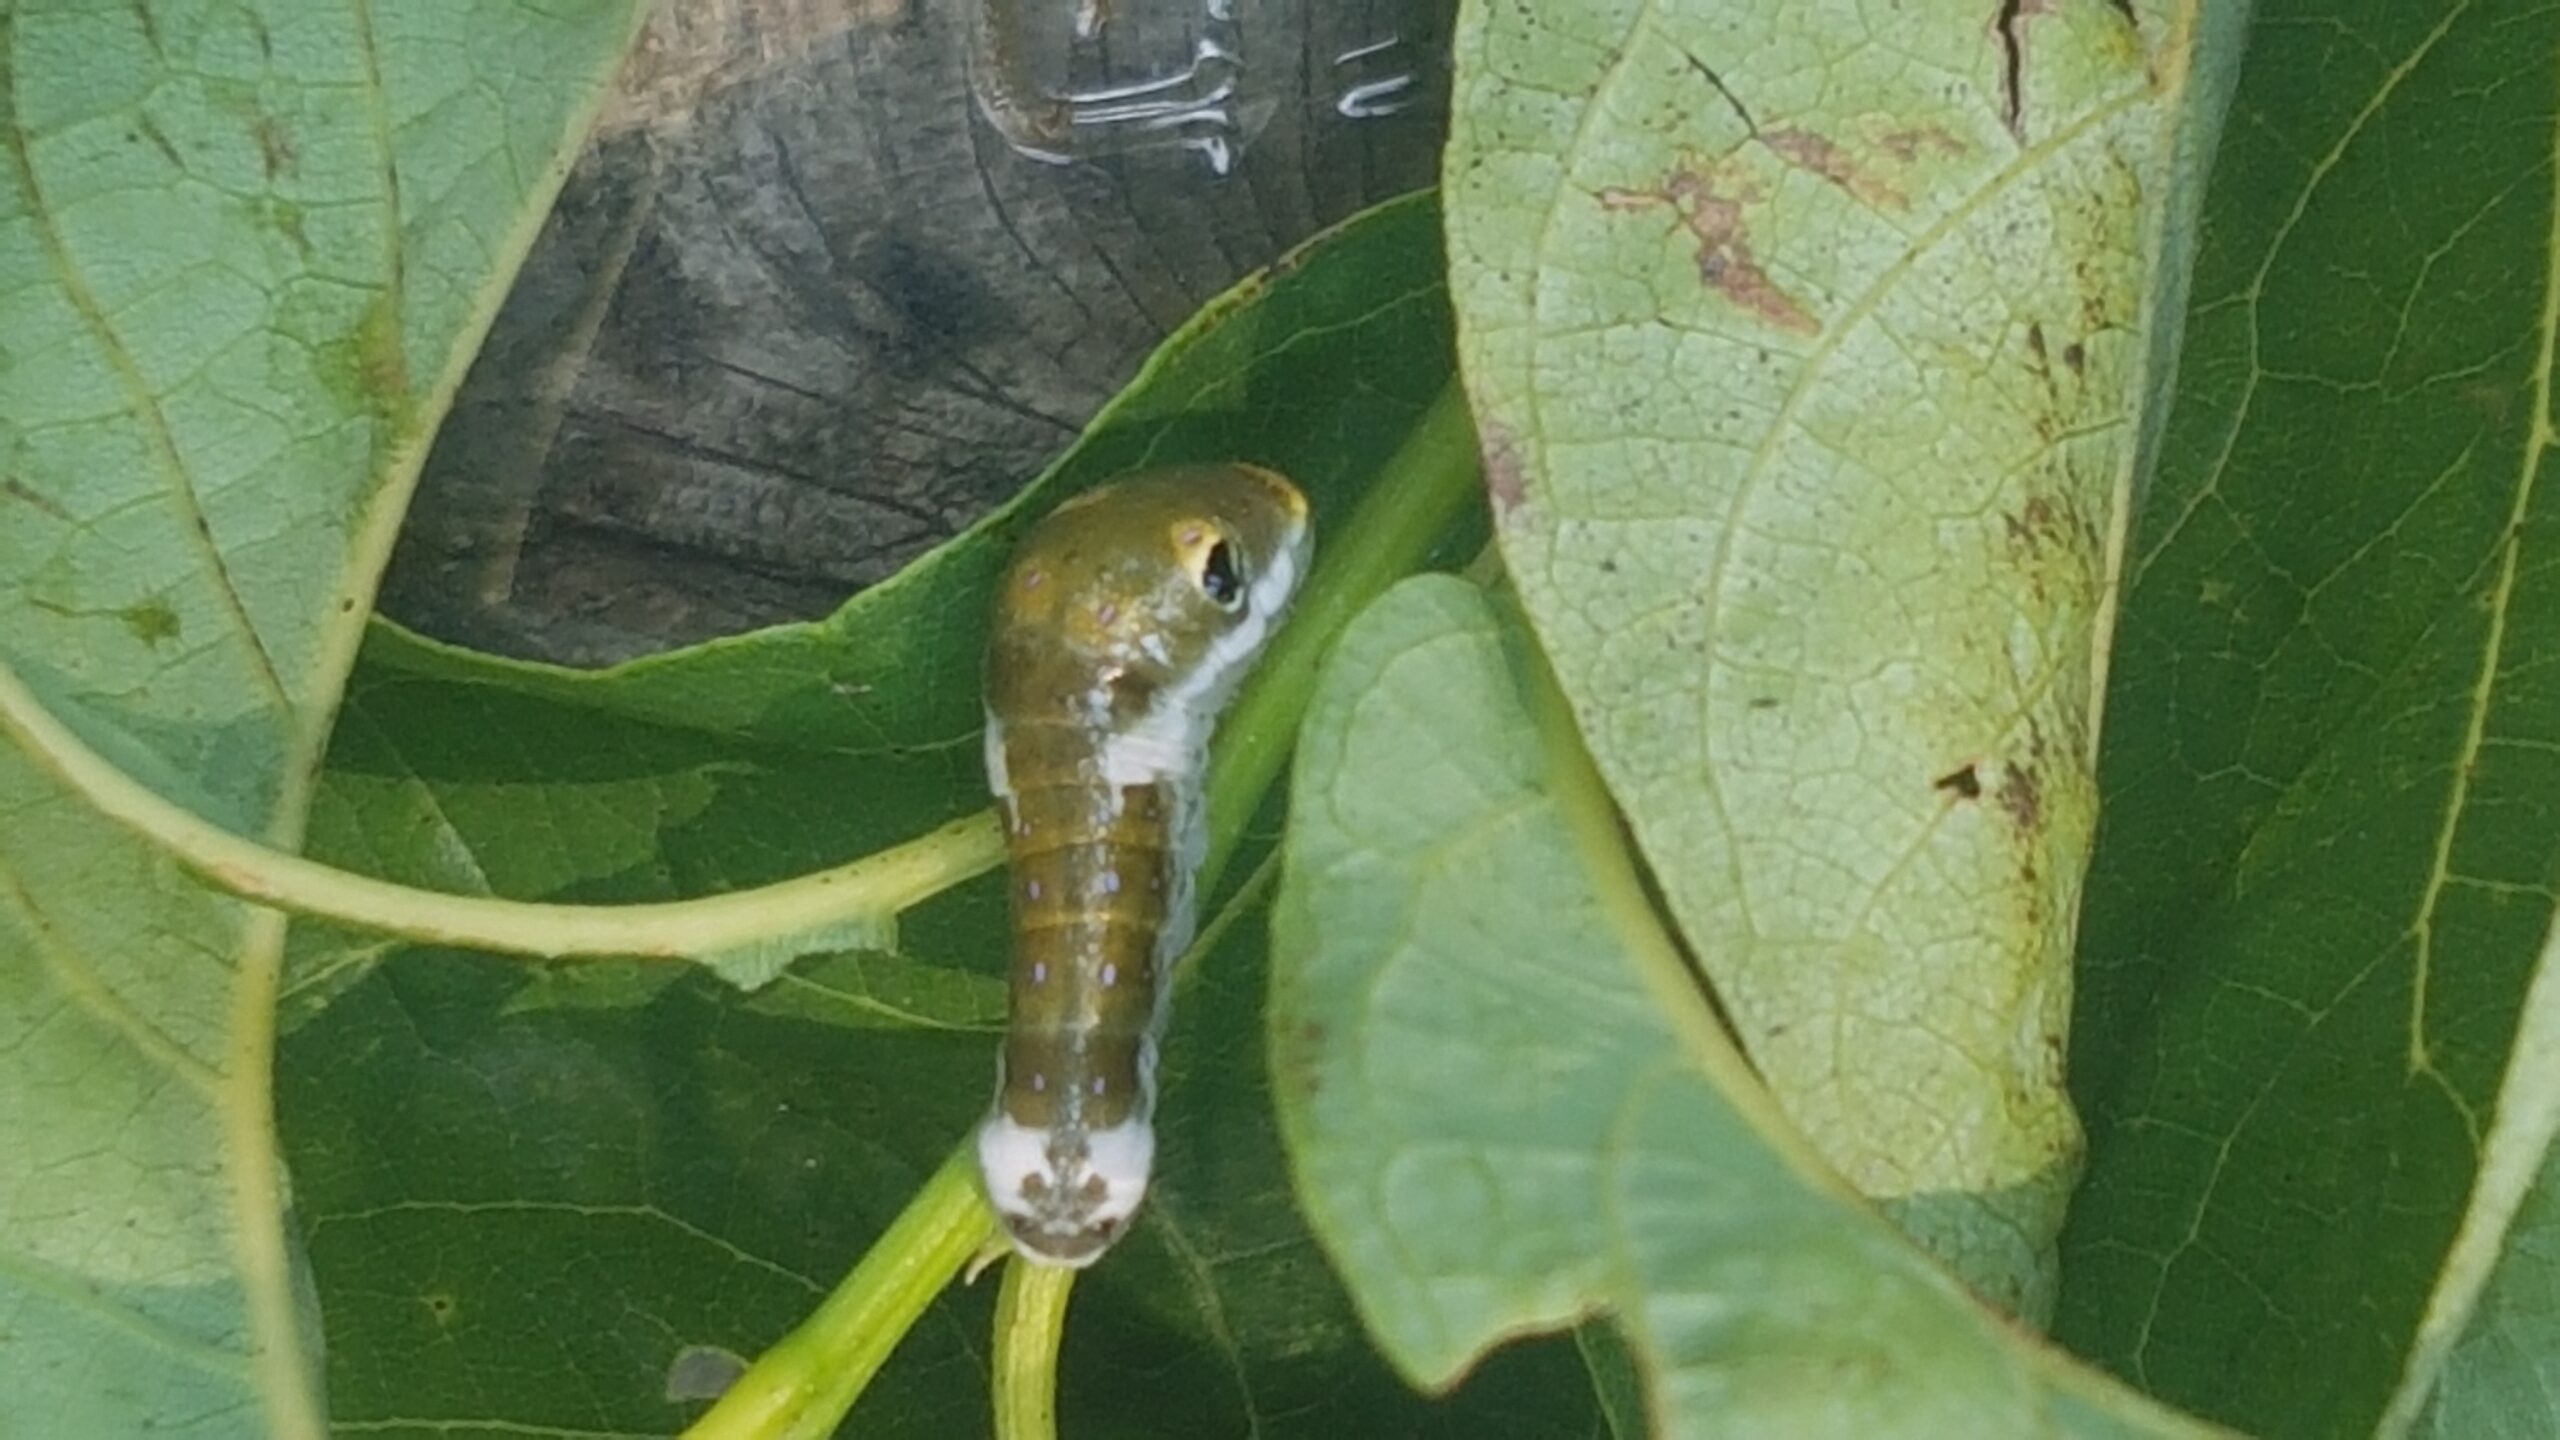
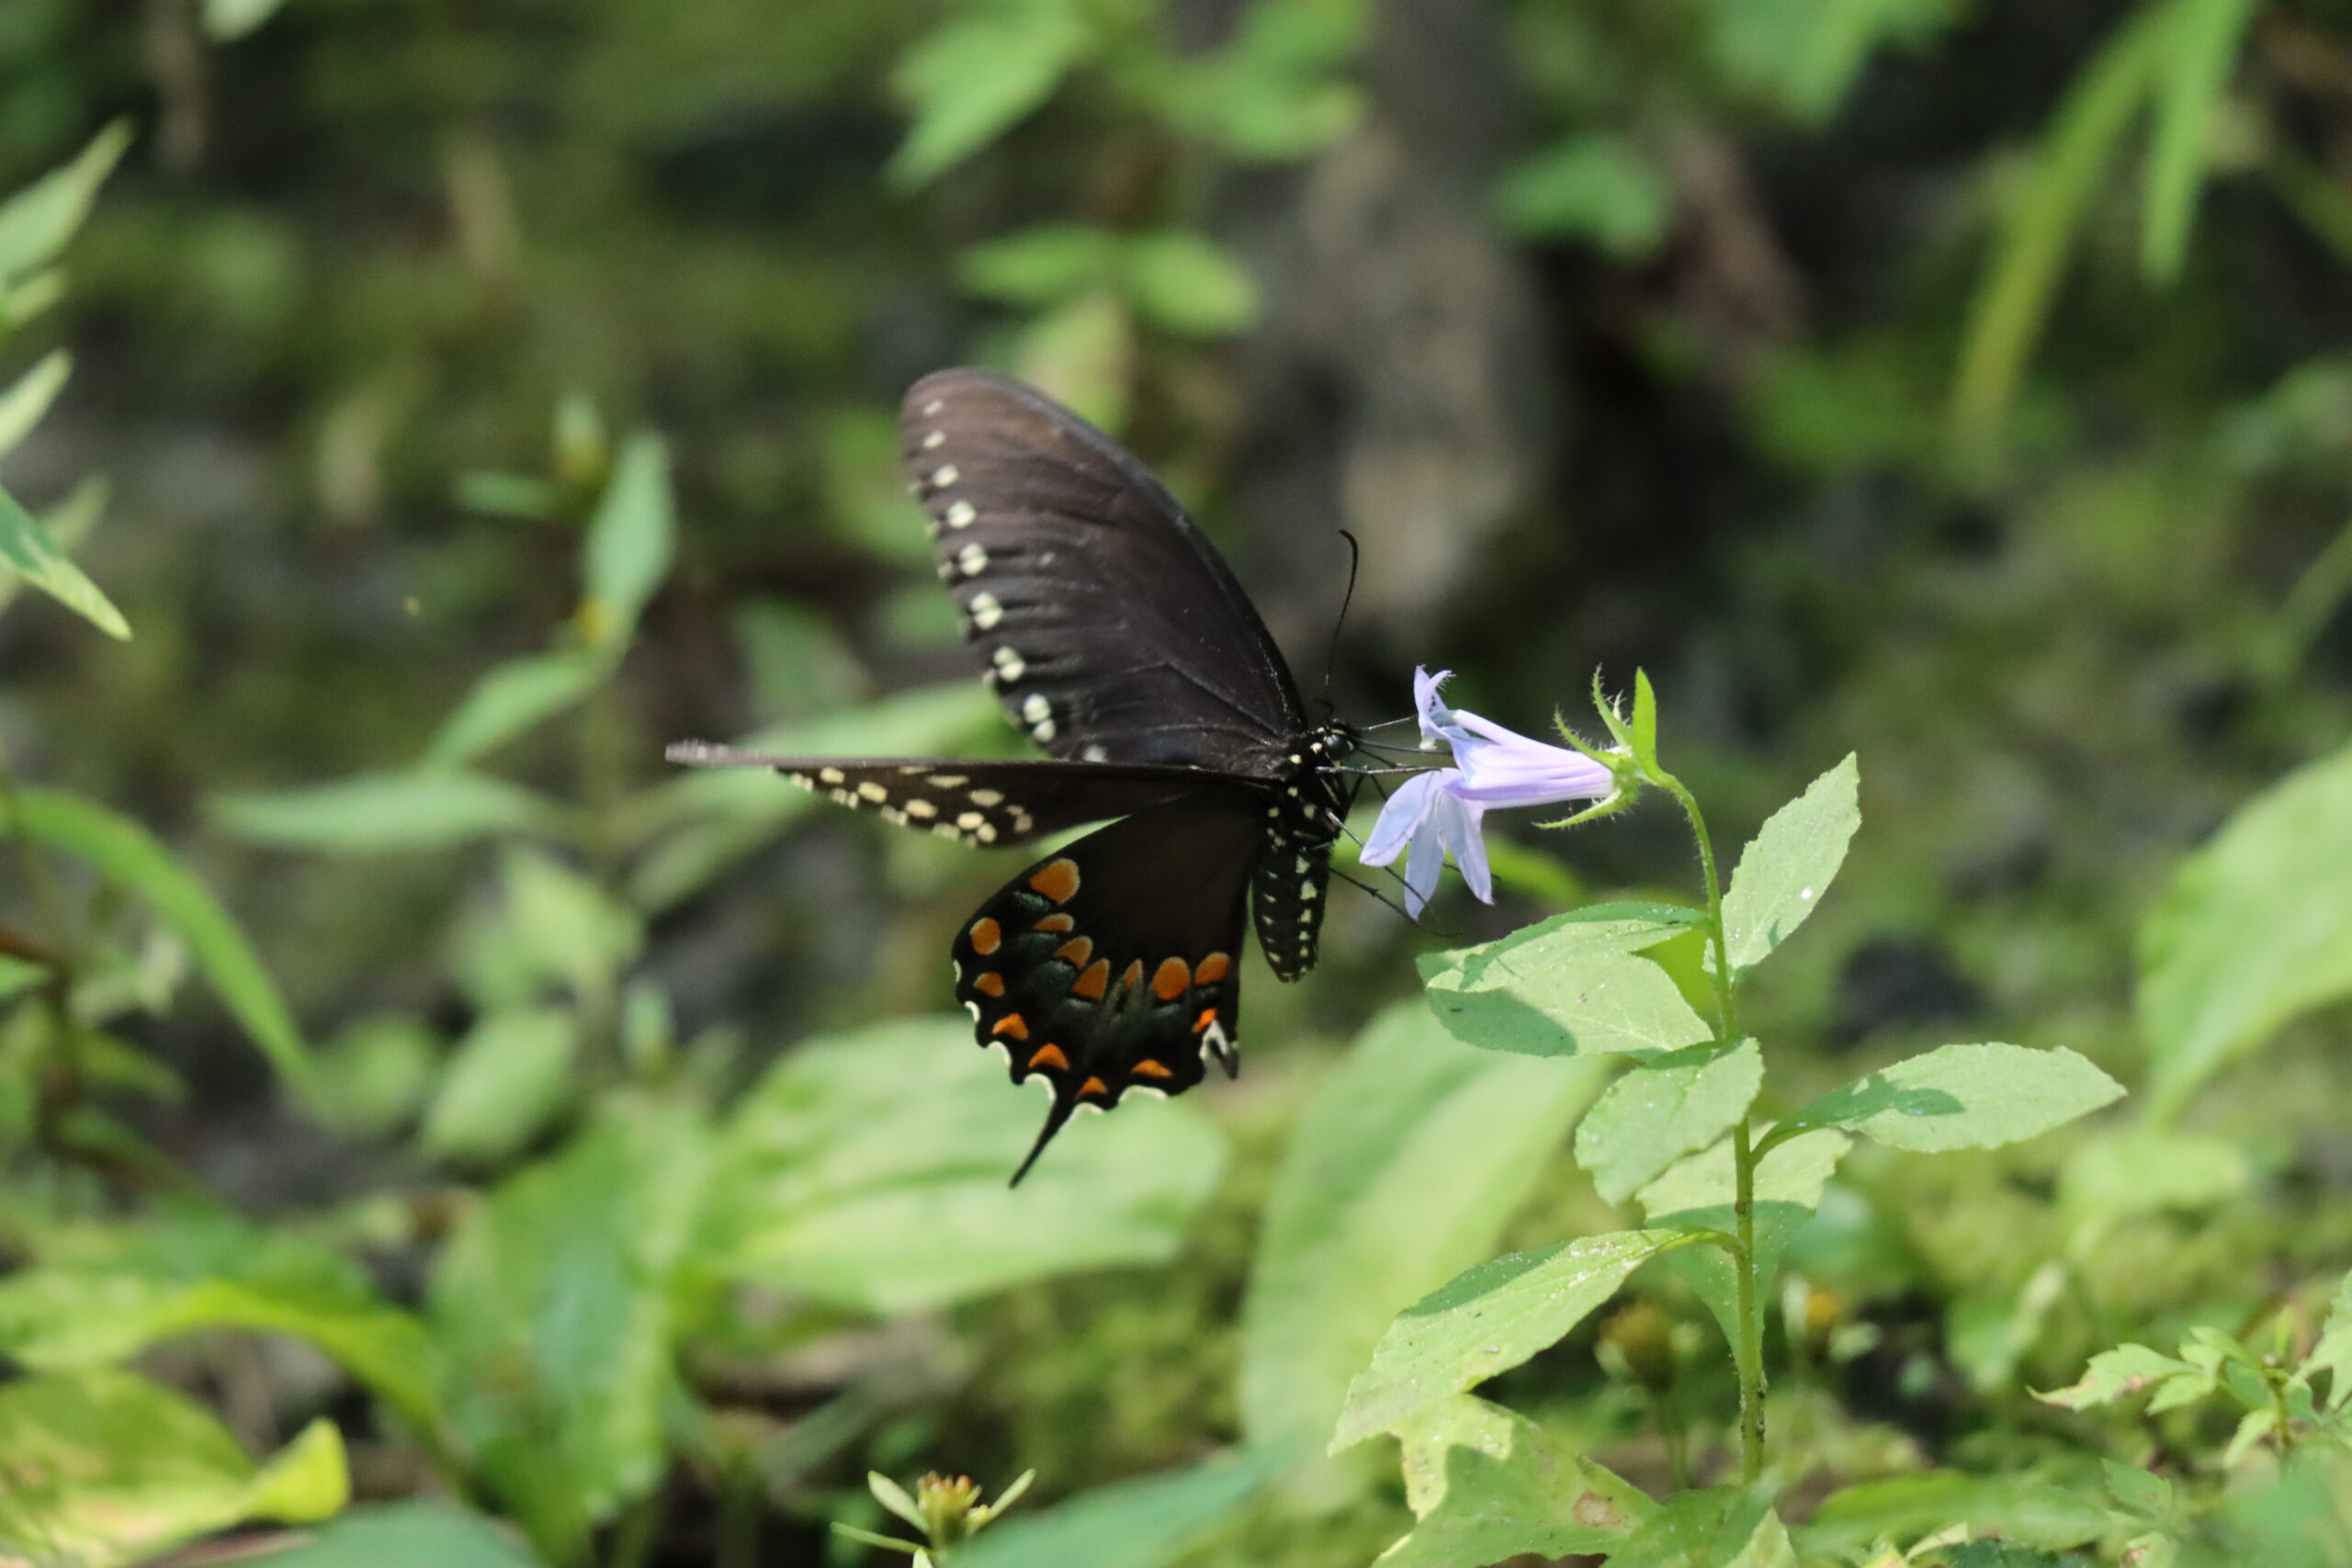
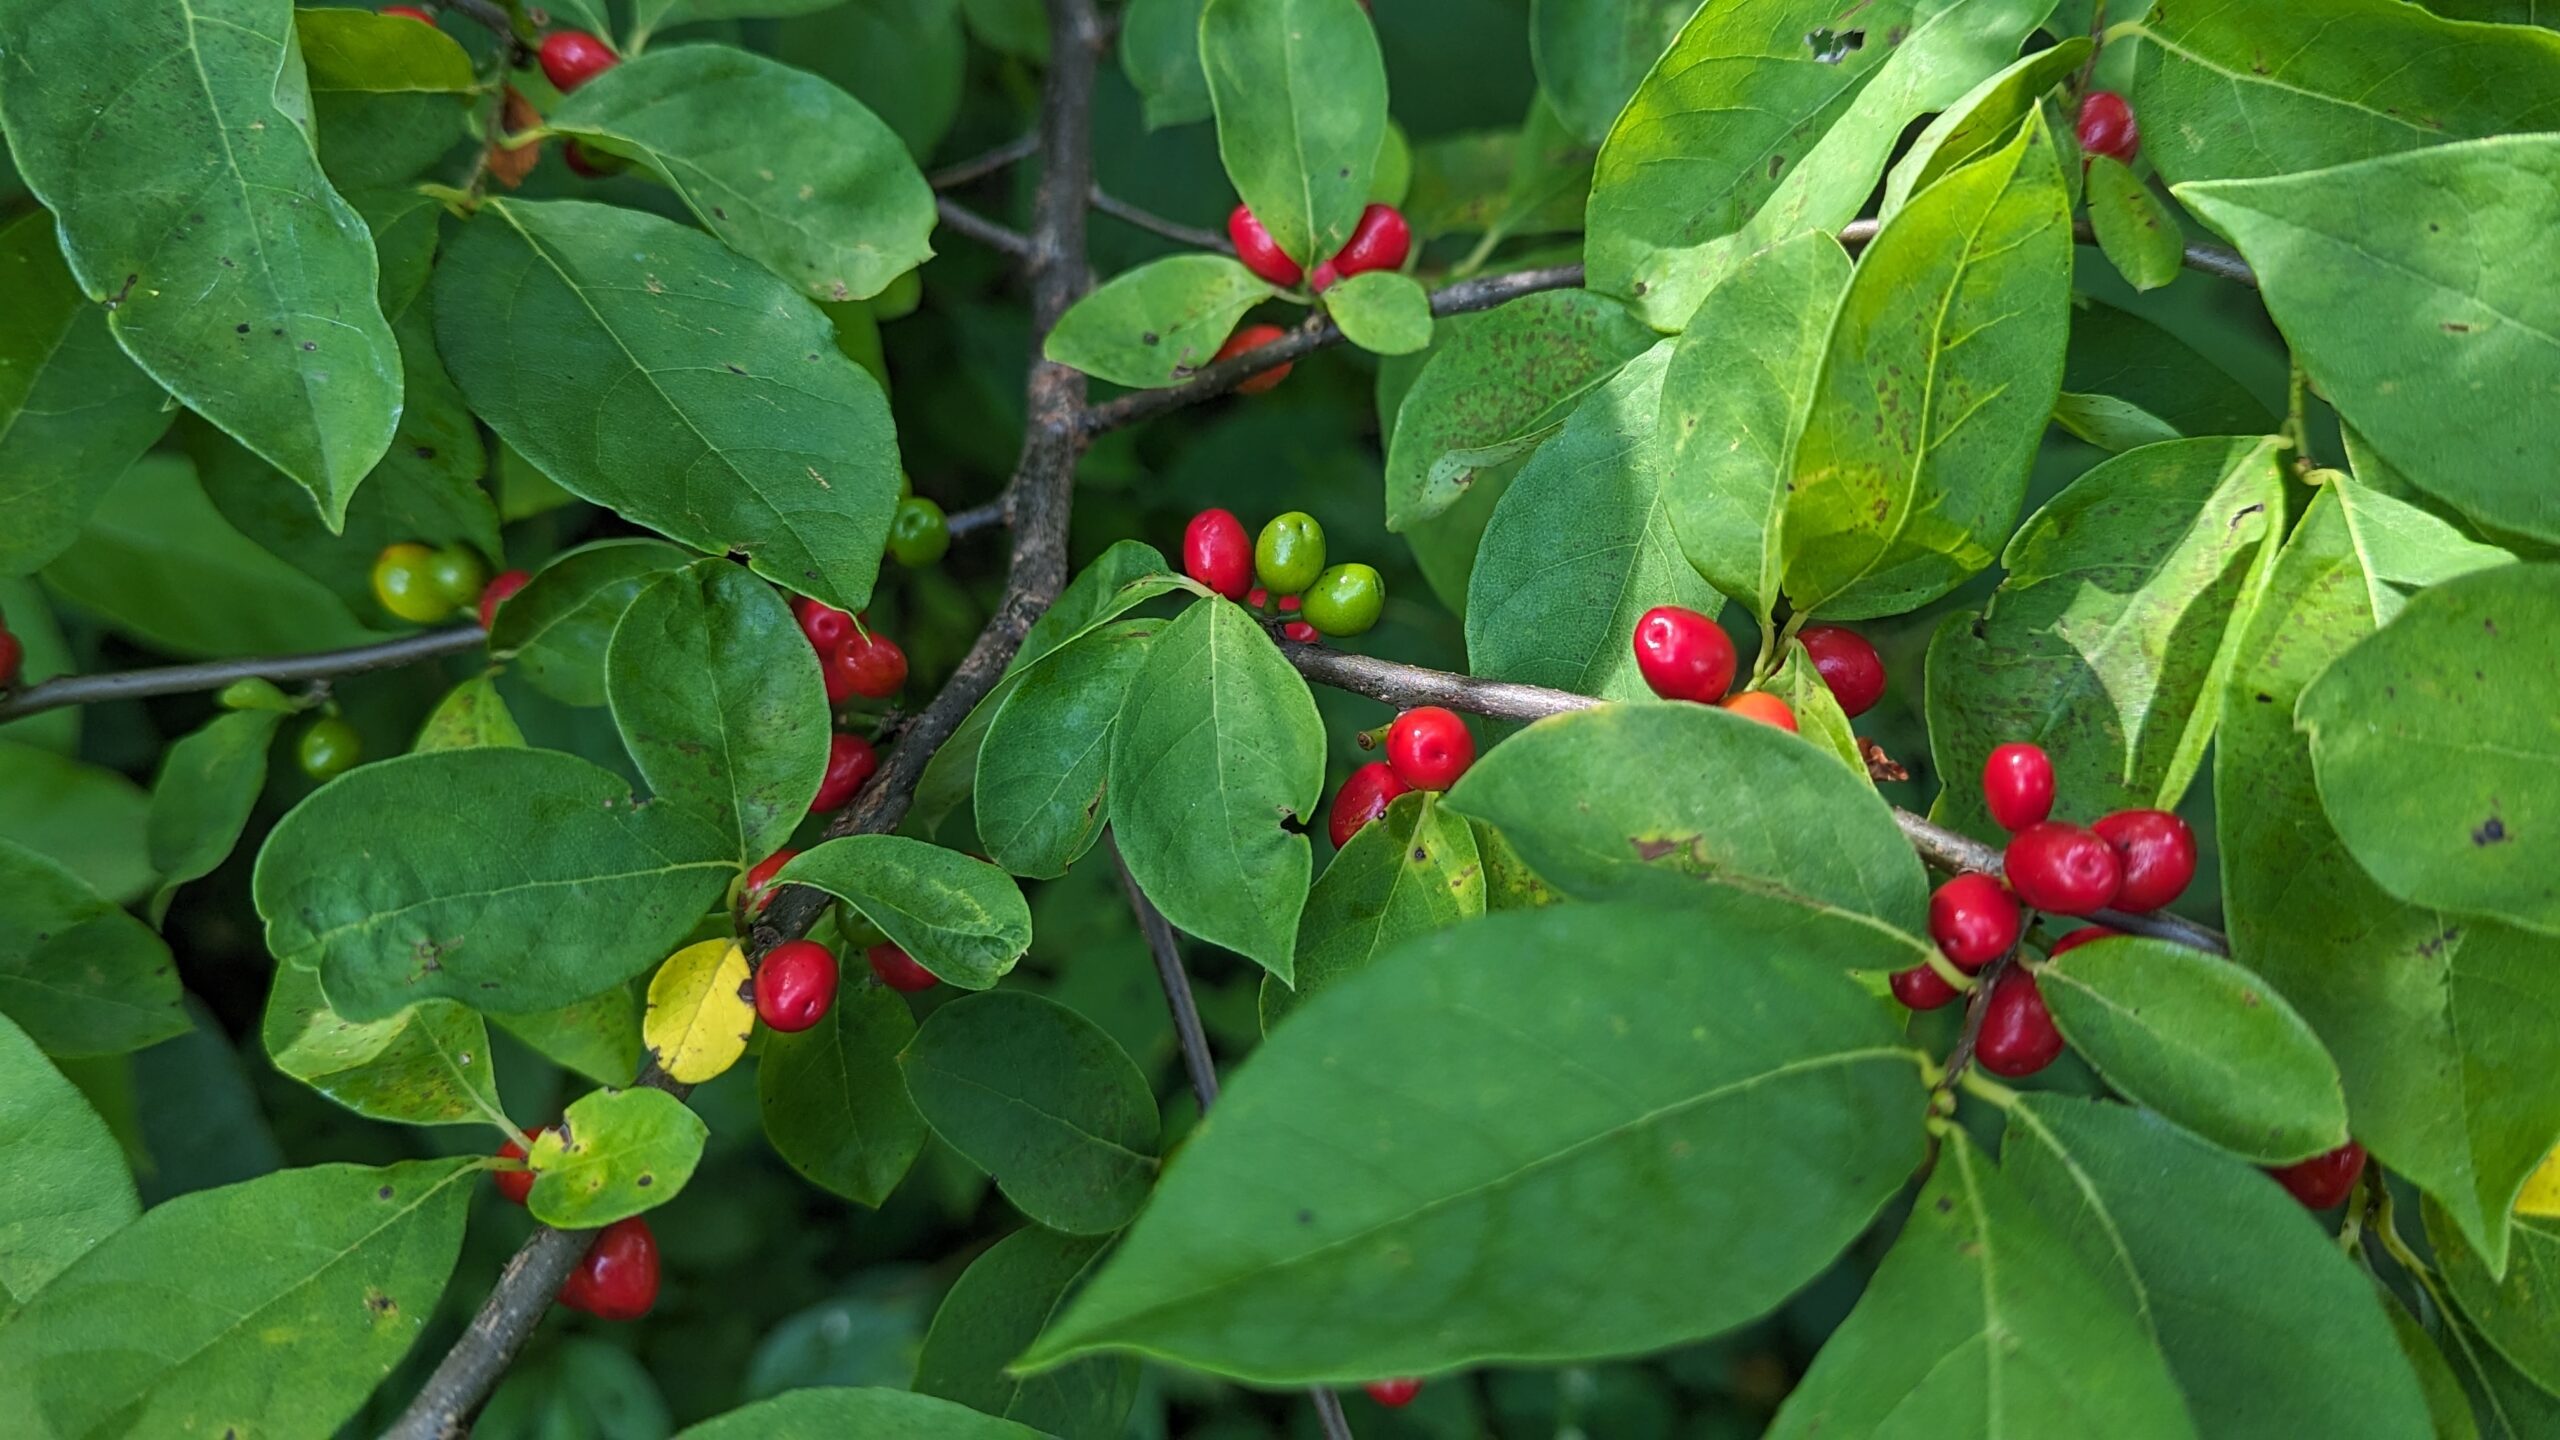
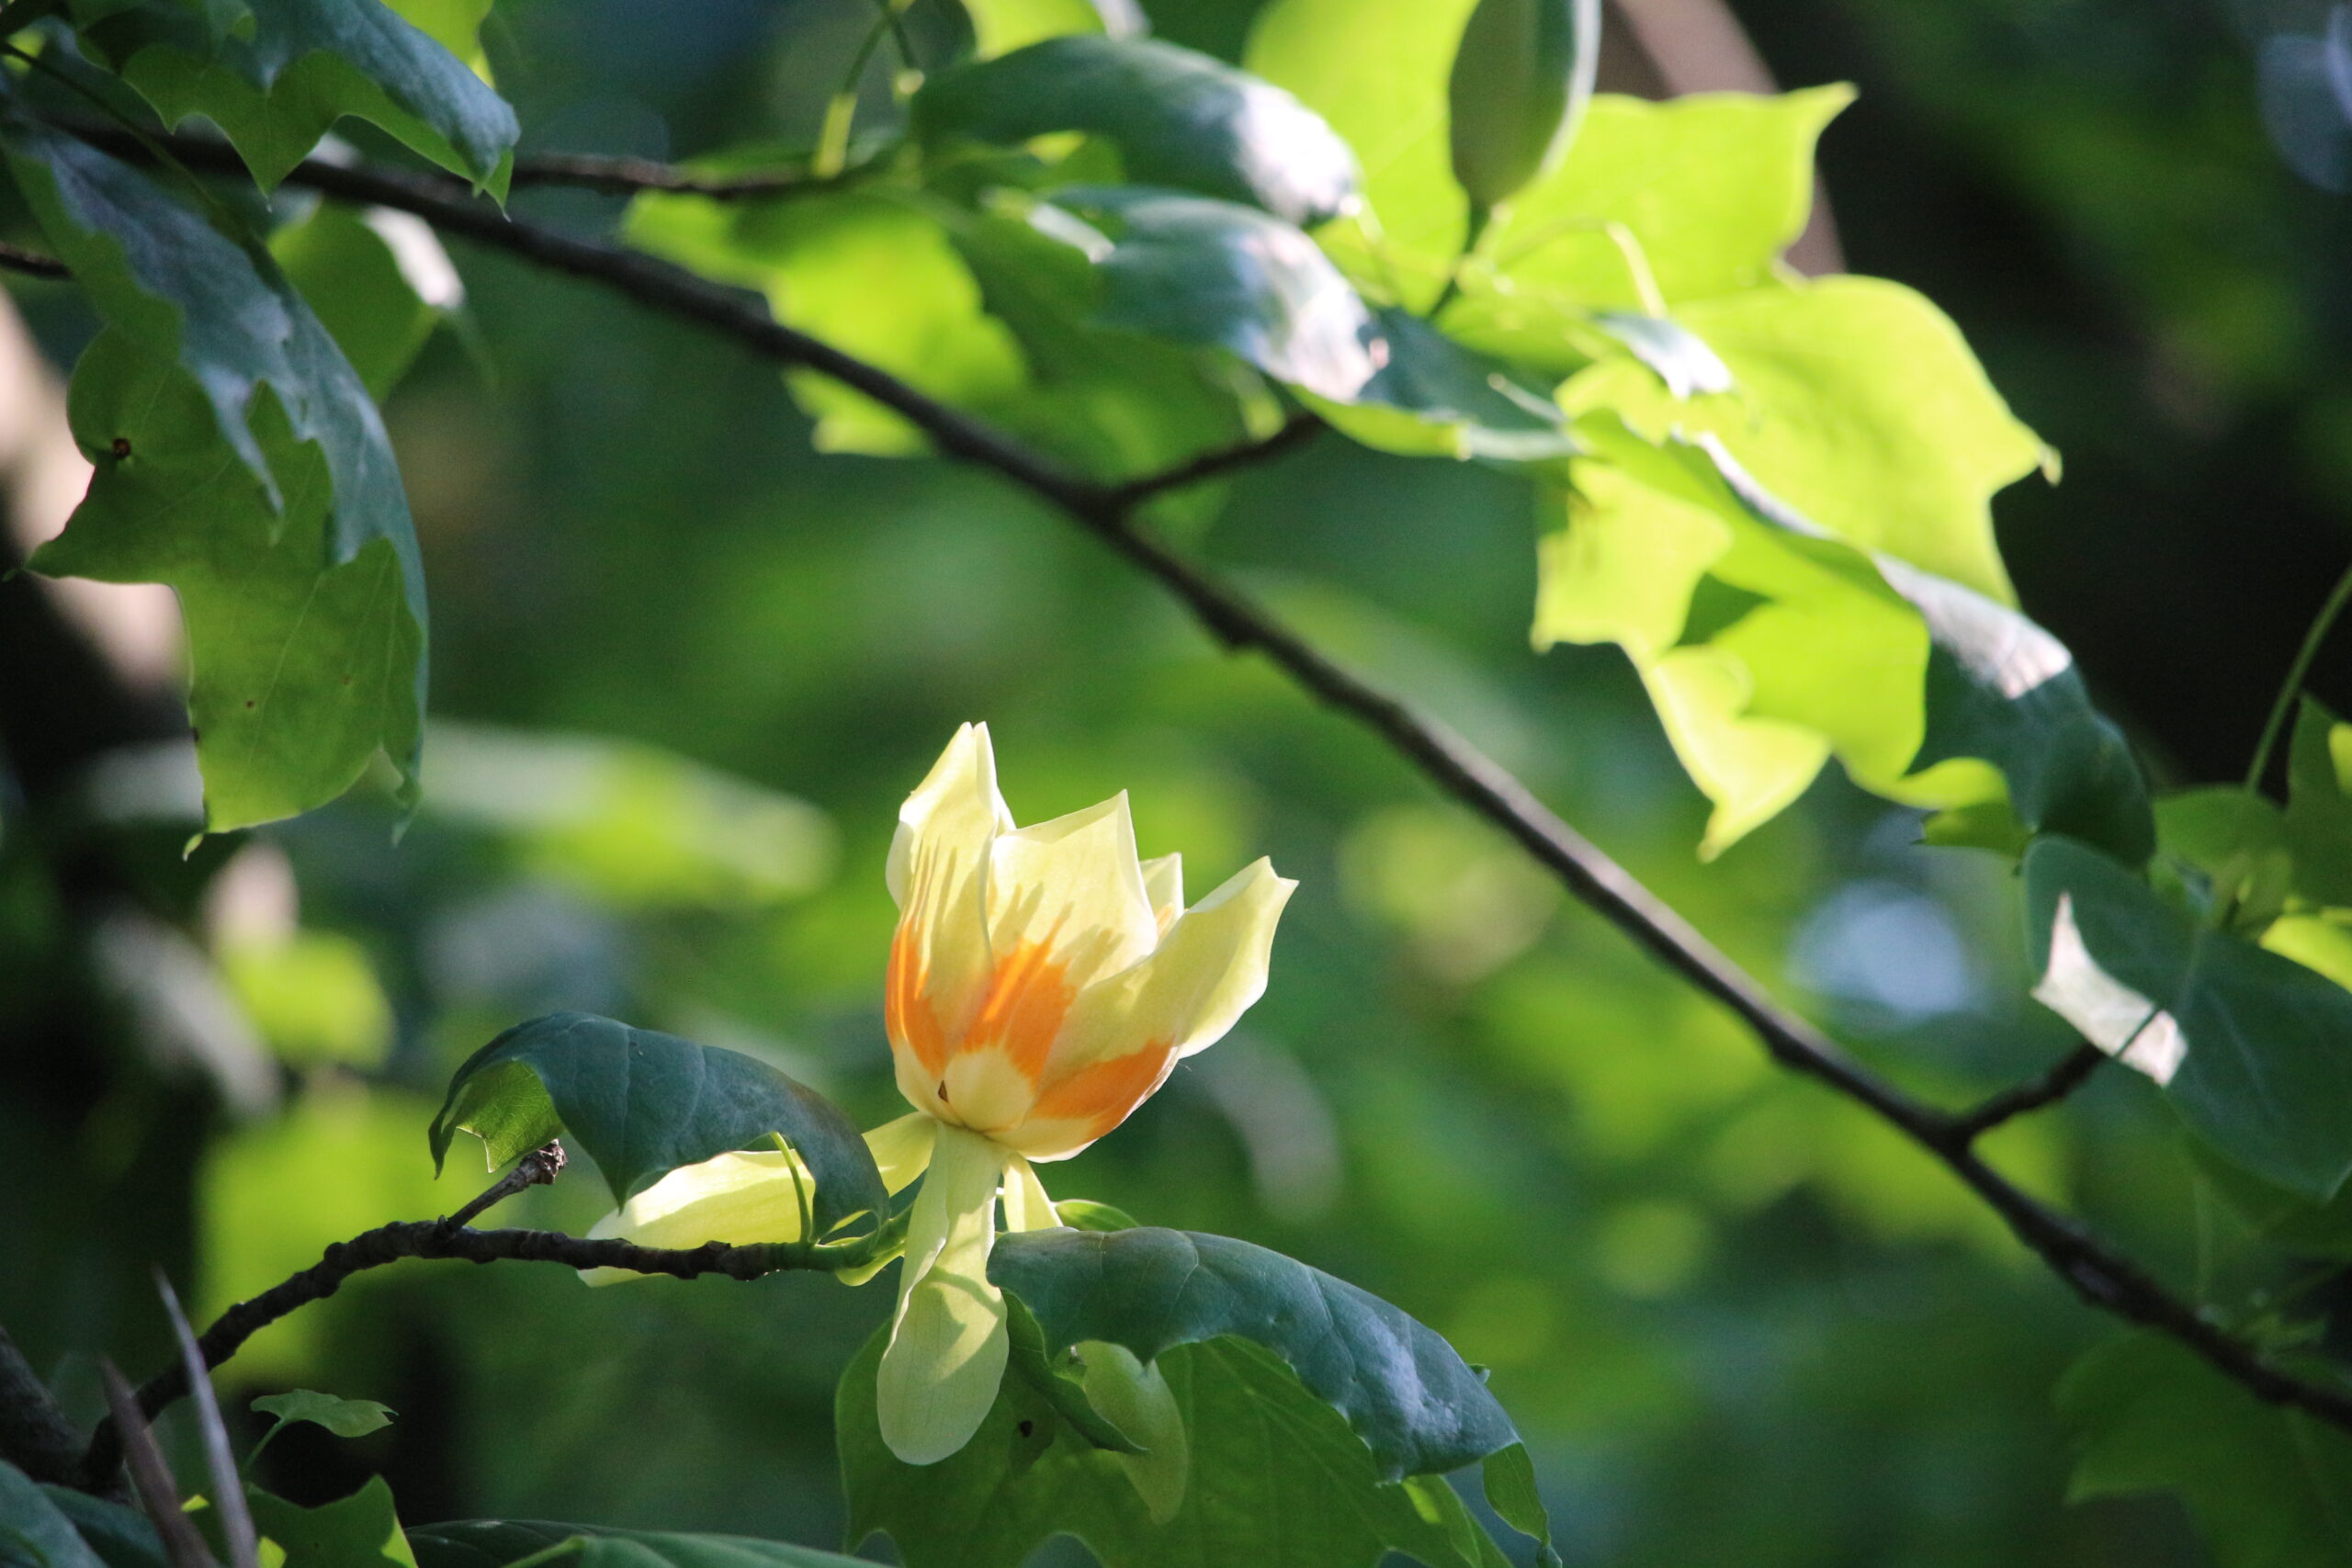
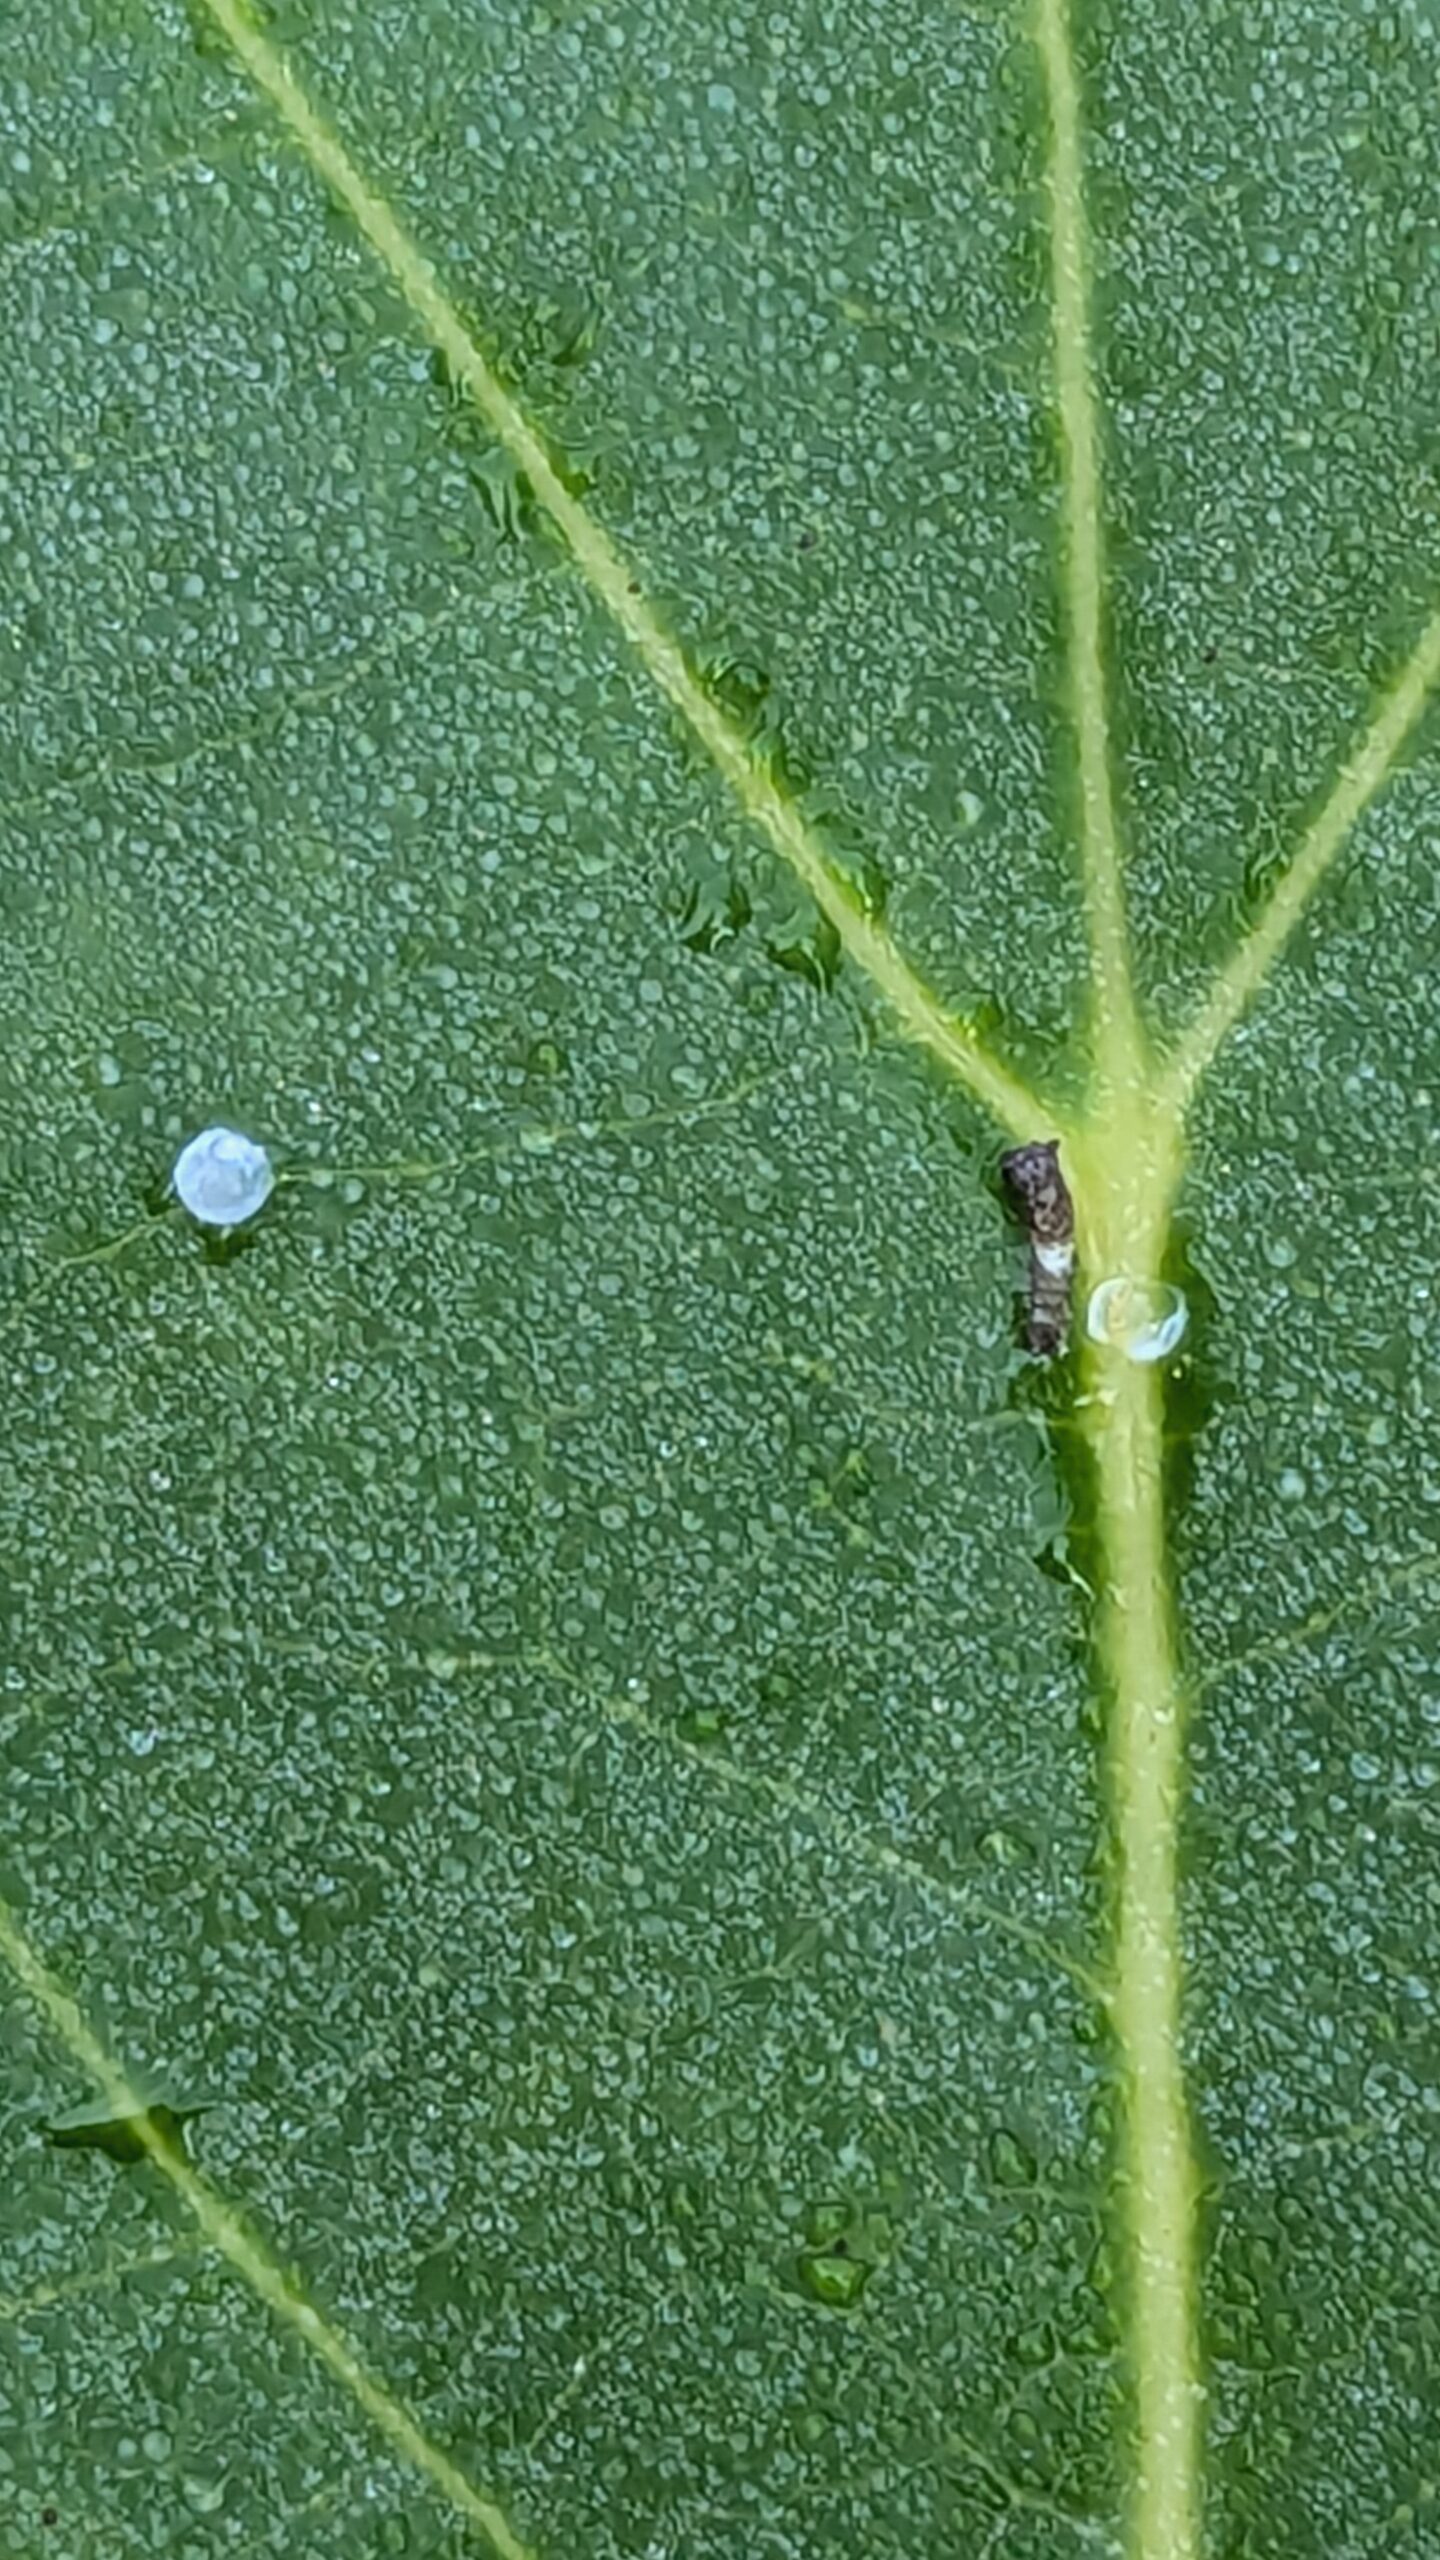
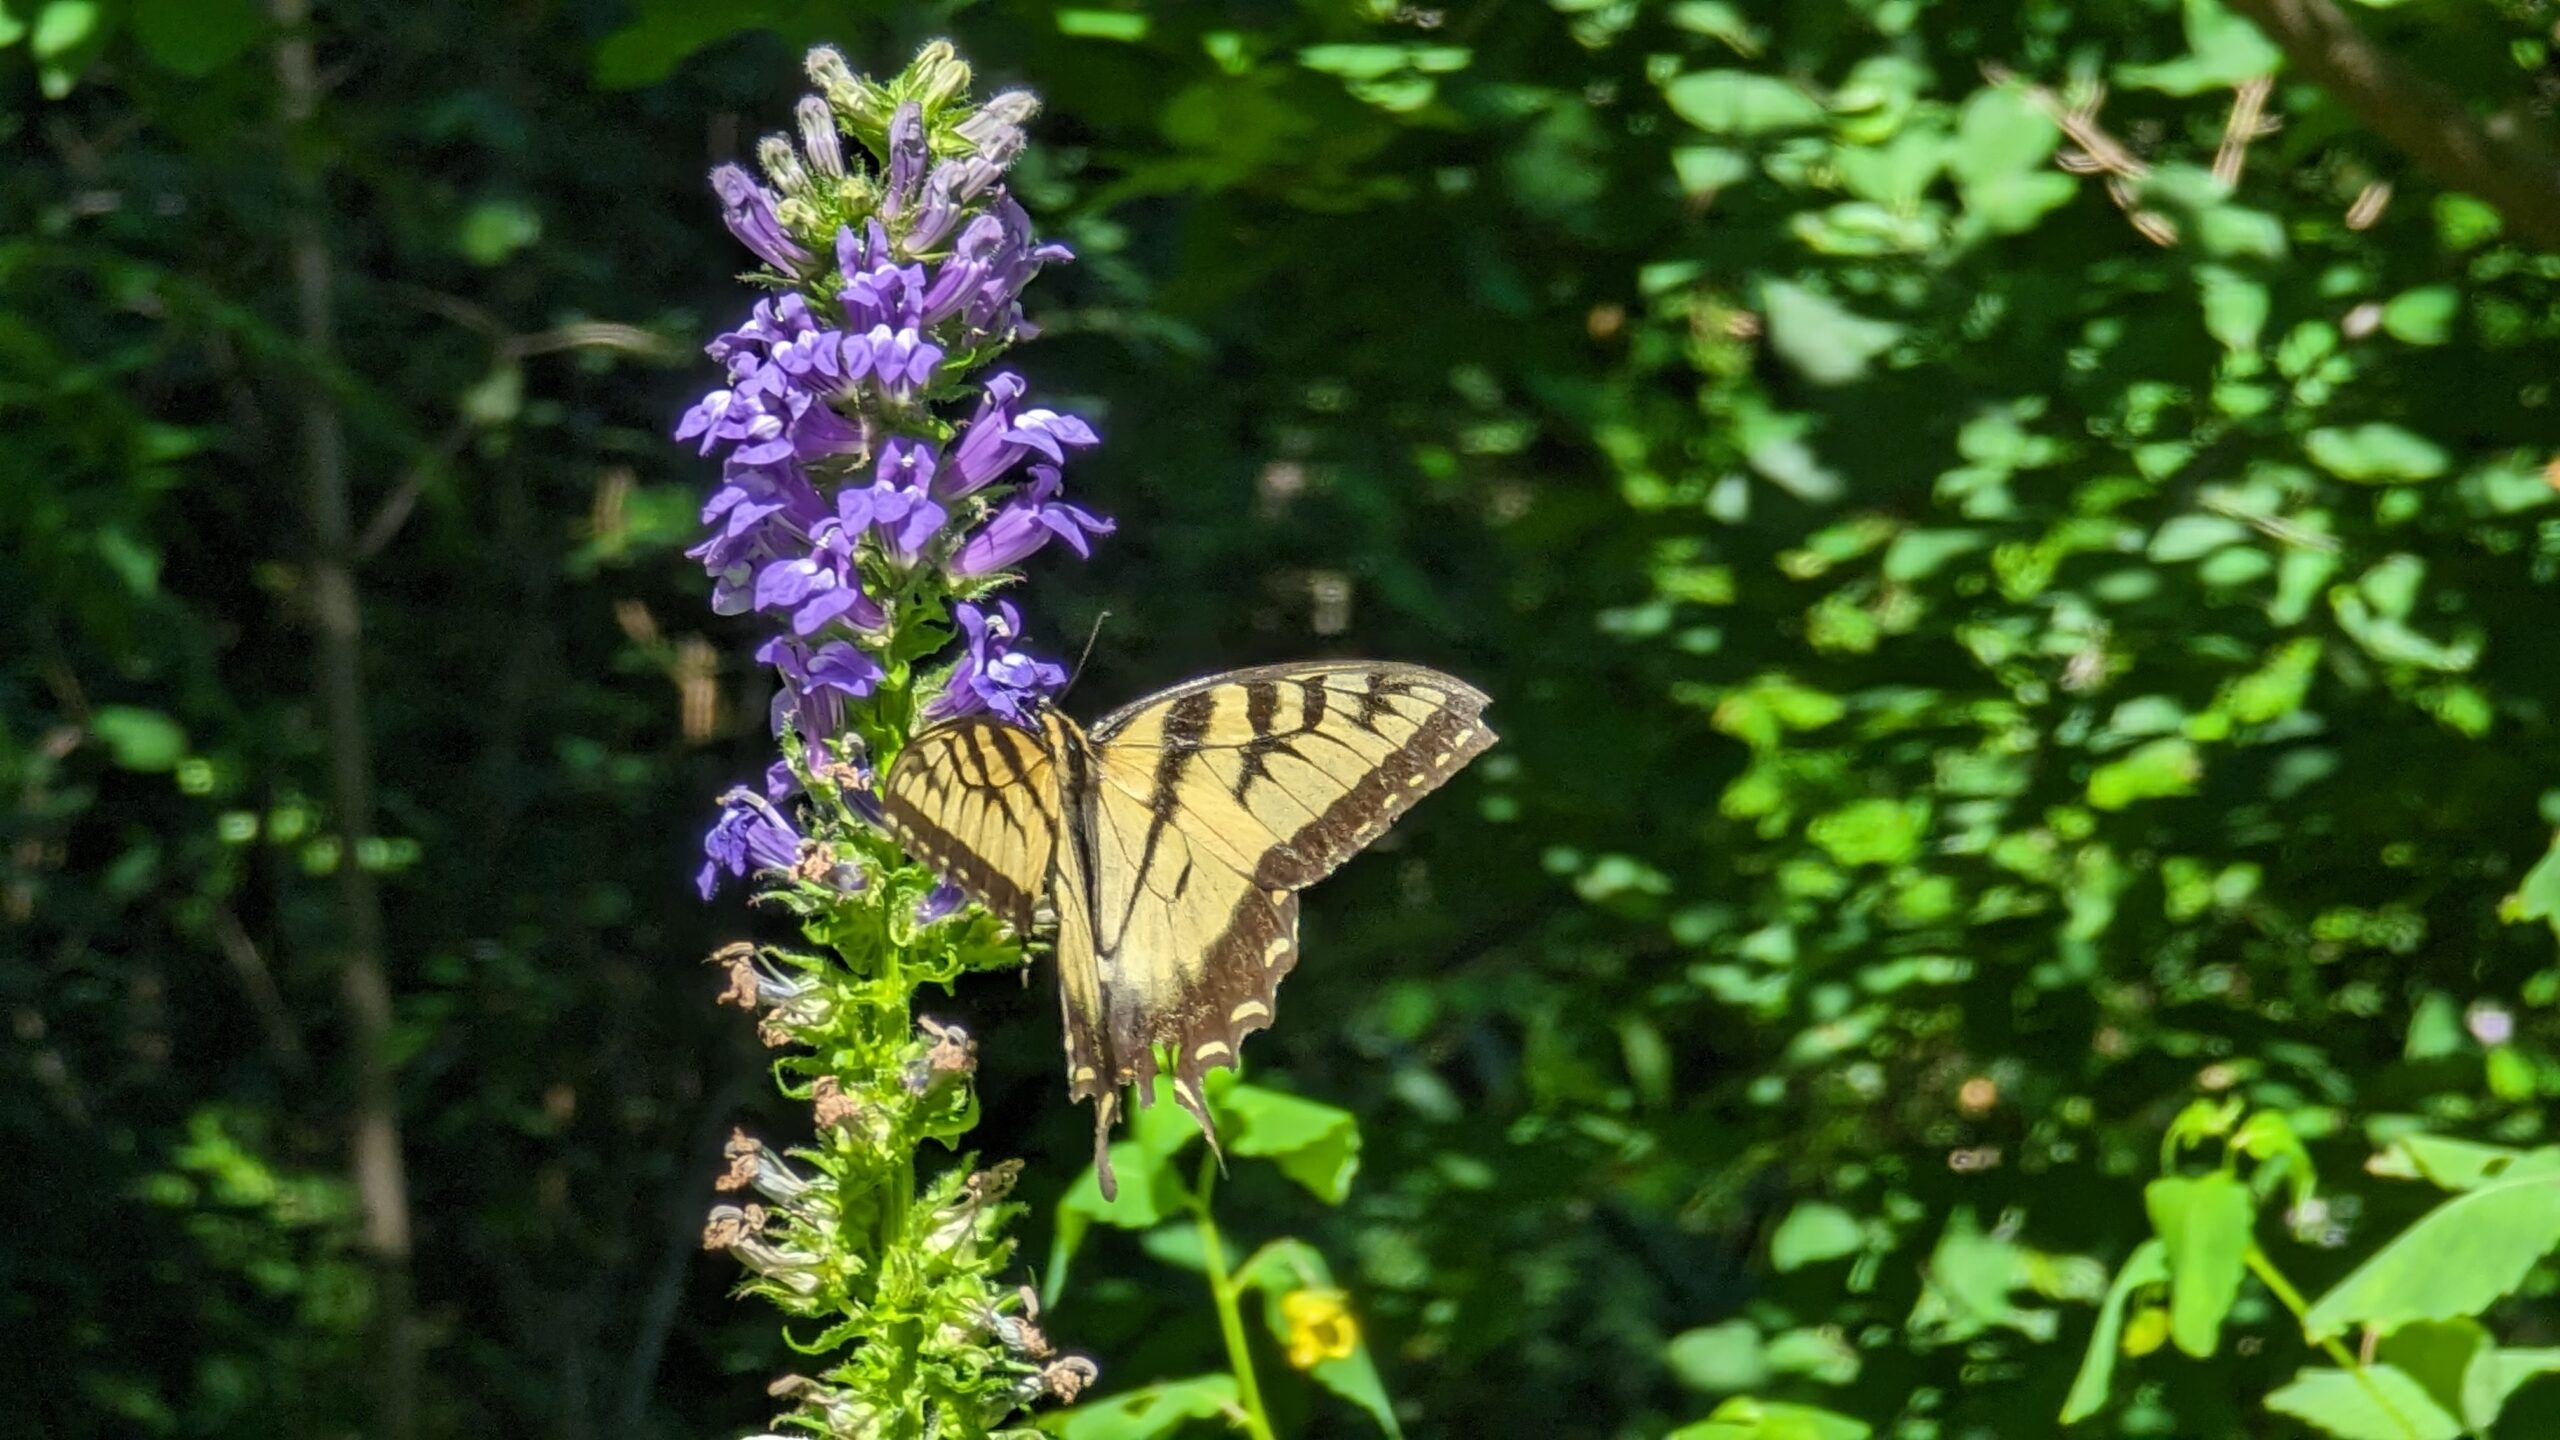
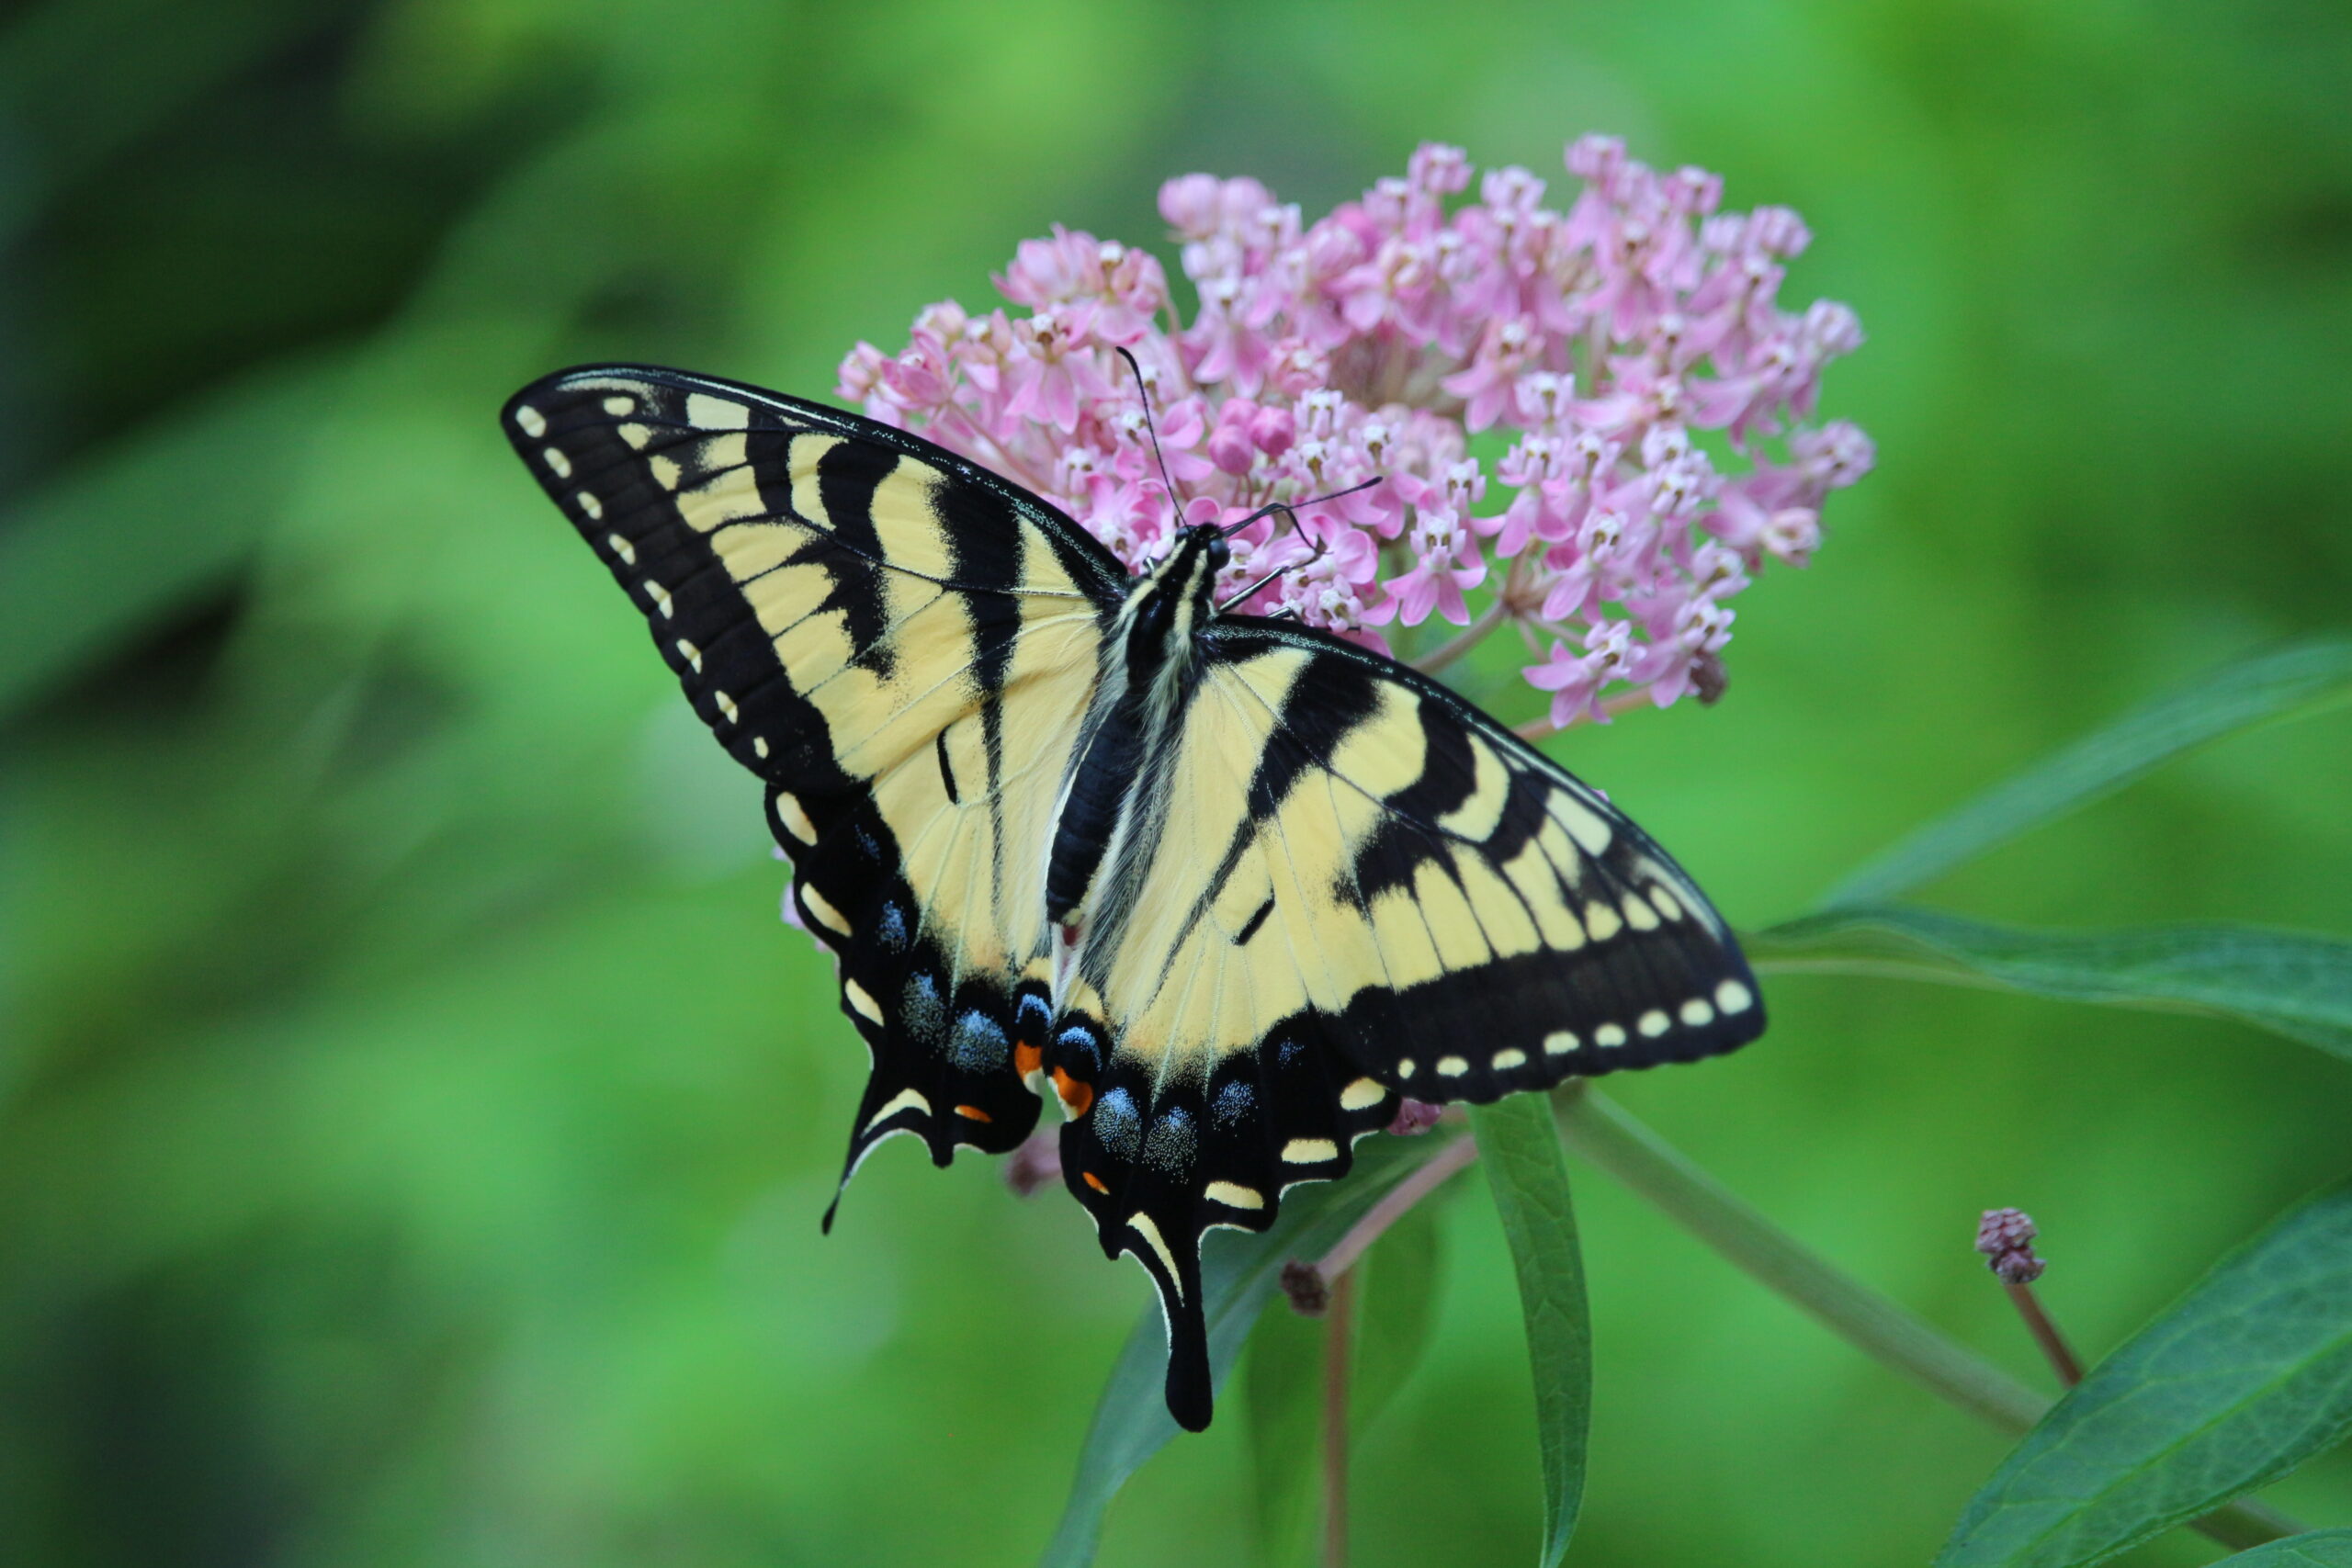
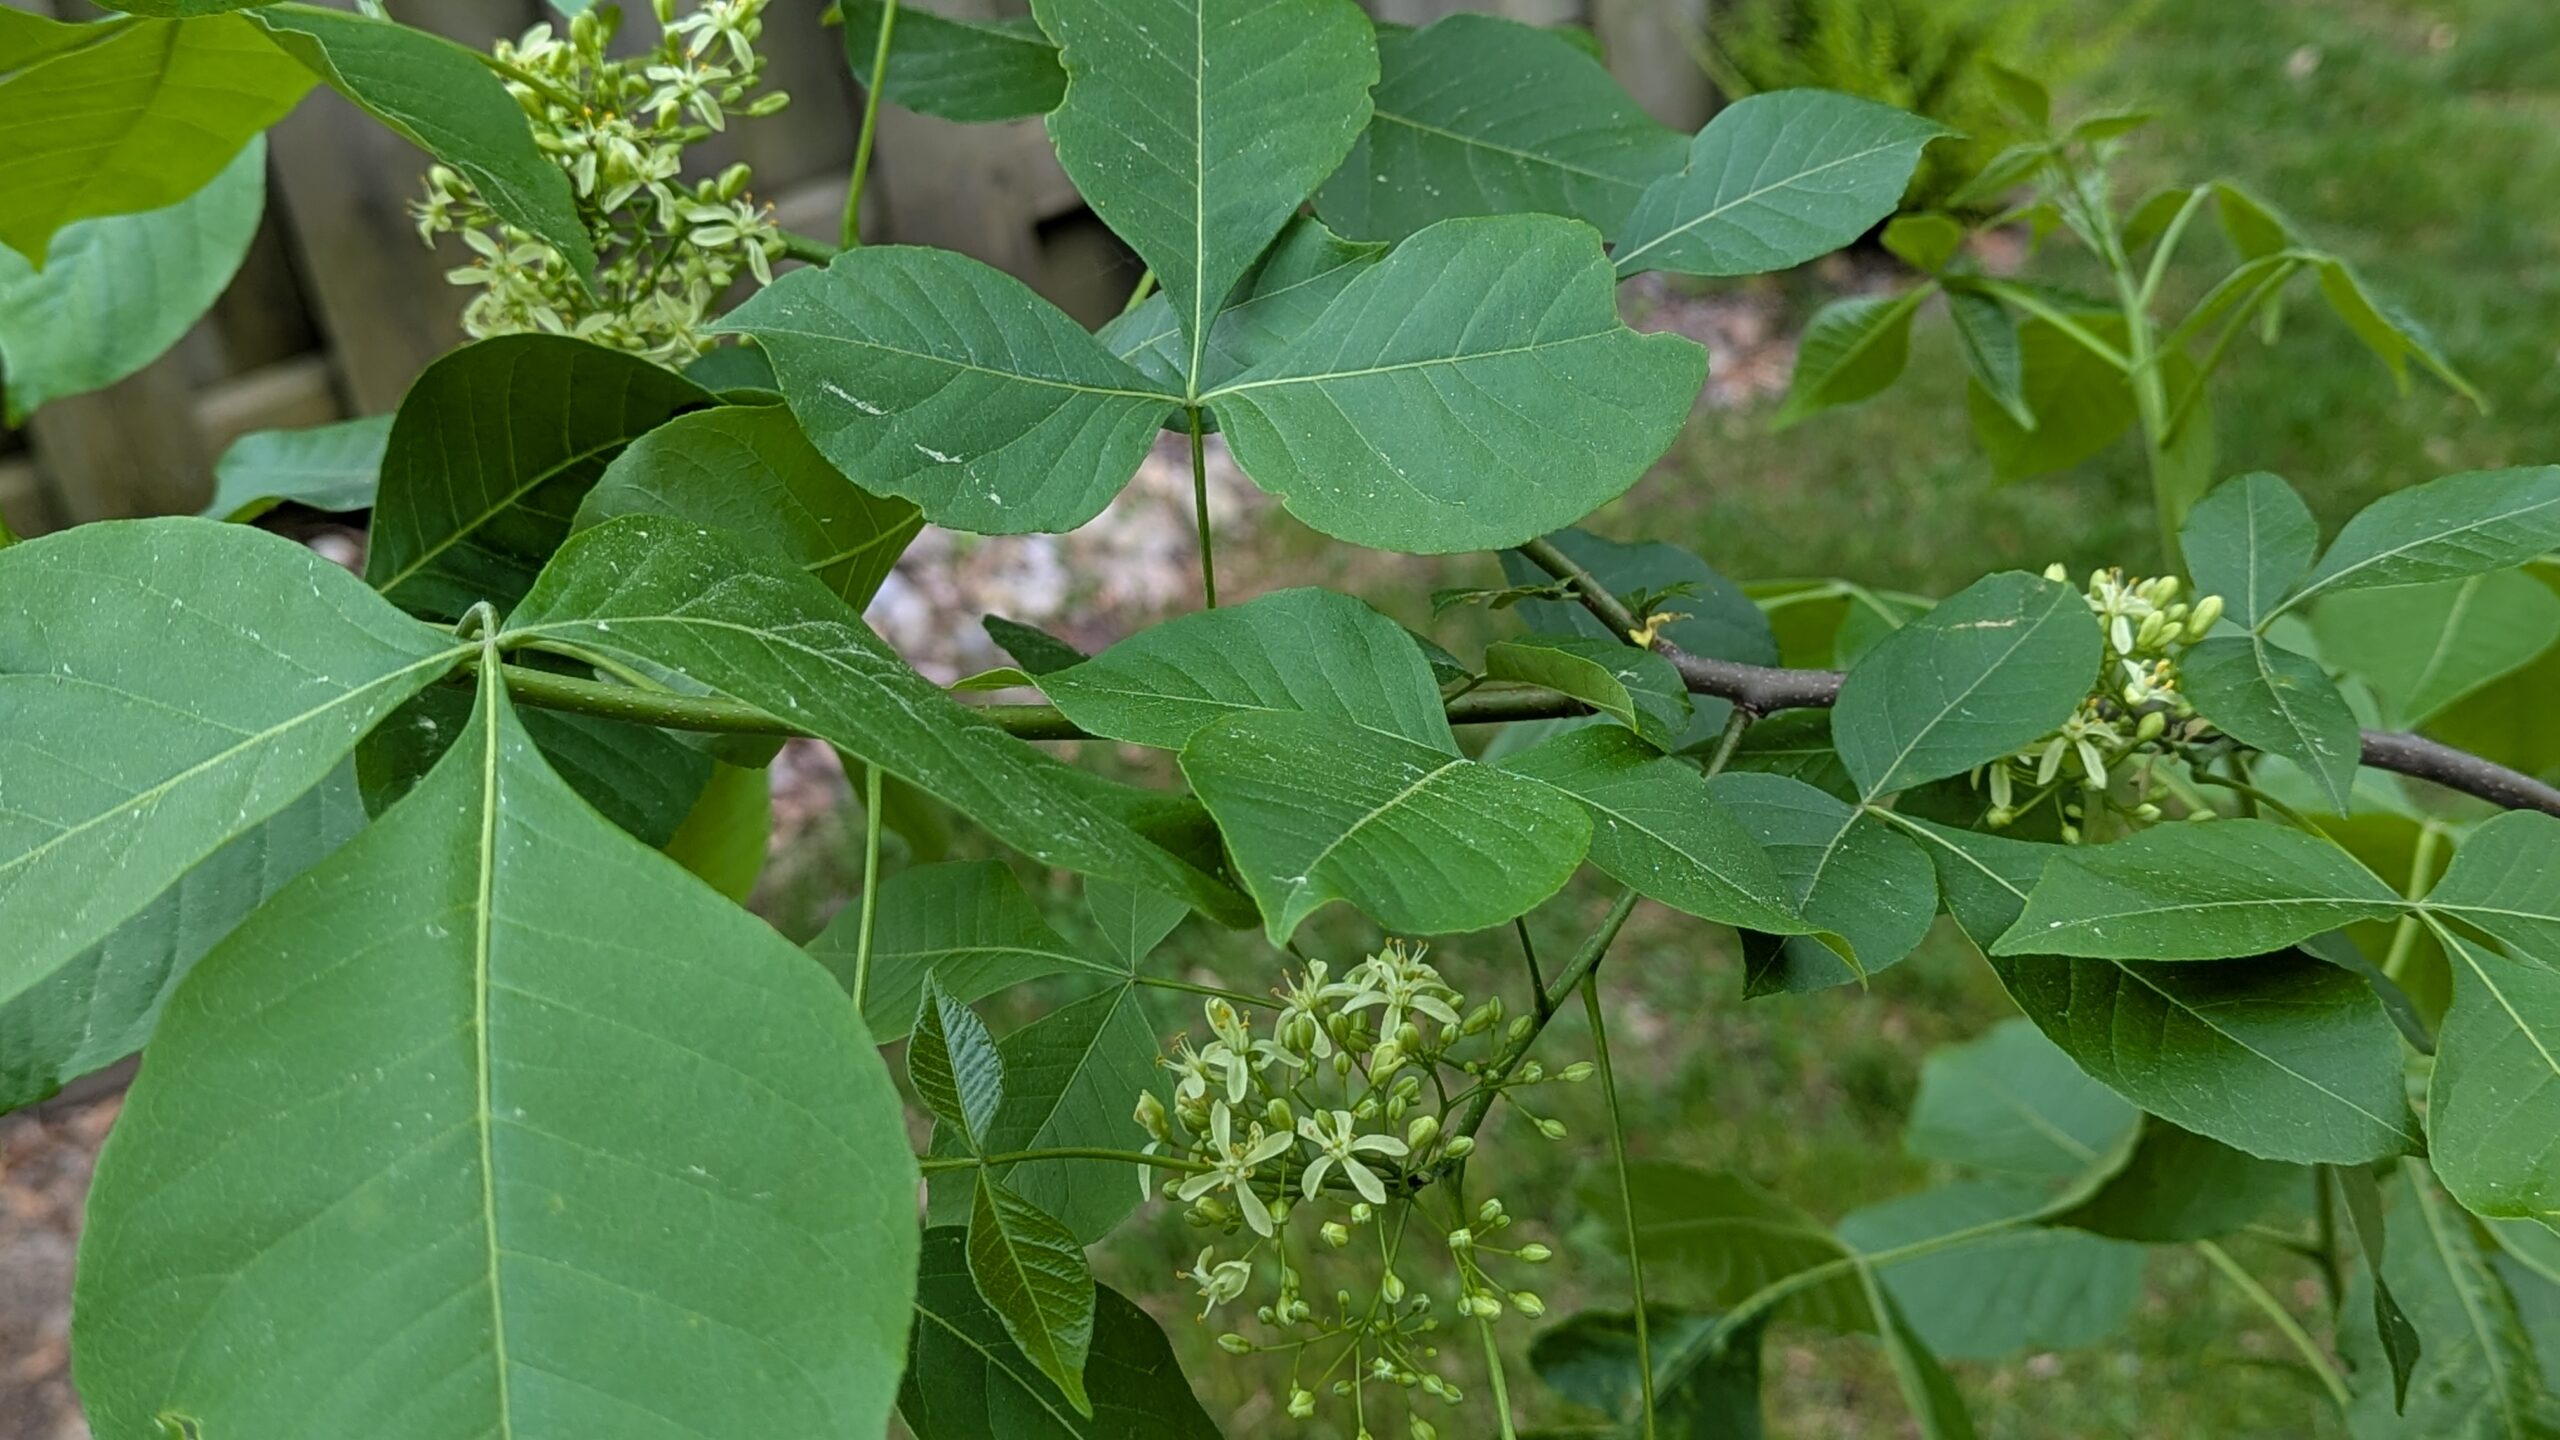
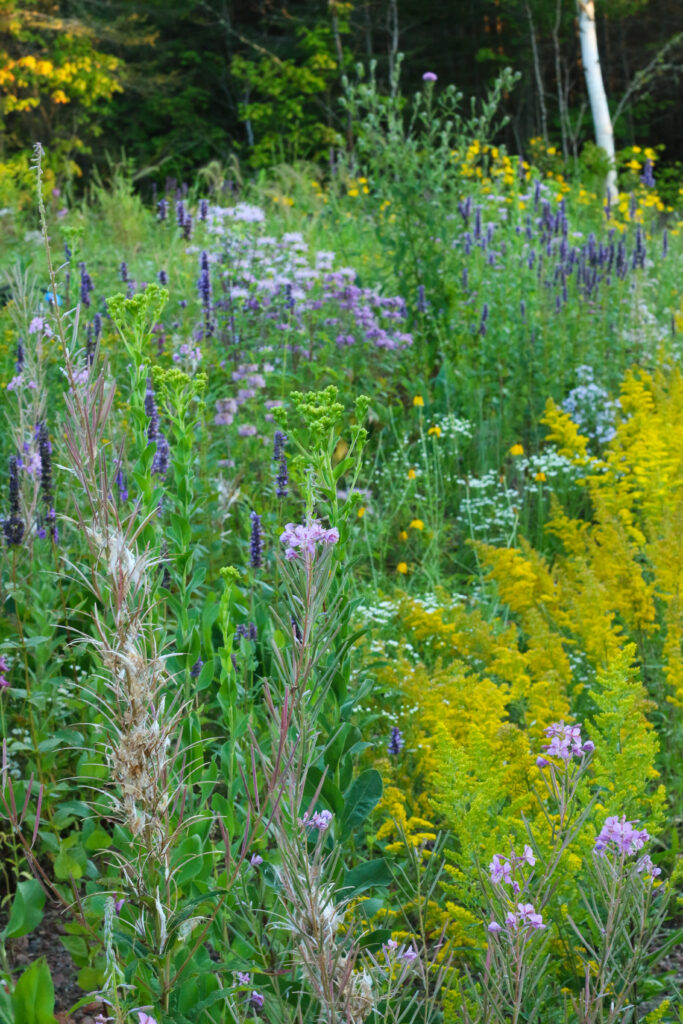
Elaine opened the nursery in July 2024 to grow plants native to northern Ontario. They currently grow 50-60 species, including forbs, shrubs, vines, grasses and sedges. As the nursery grows, they plan to add more species. Note that they sell only native or near-native species (no nativars or non-natives) and they grow everything from seed.


Interestingly, Whispers of the North does not have a greenhouse on site. They grow everything outside – just like Mother Nature. They do this deliberately to ensure that their plants are hardy to the northwestern Ontario environment.


Elaine informs me that they are still developing the space, and a large part of the space will be seed beds and demonstration gardens, along with a small pond.
Last year they held a few workshops on site, and will be expanding their workshop selection in the coming year as well. They have also partnered with an ENGO and do some workshops with them.
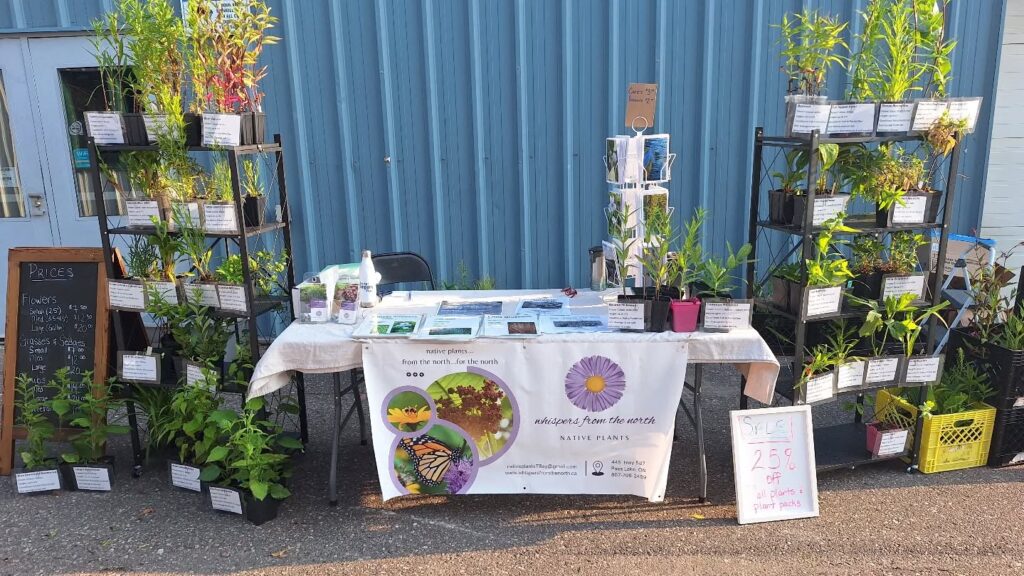
The nursery is open to the public in June and July (Tuesdays and Thursdays from 1-9PM). They are also set up at the Thunder Bay Country Market on Wednesdays (3:30-6:30) and Saturdays (8:00 AM to 1 PM). To make life easier for you, you can simply order online and pick up at the Thunder Bay Country Market, or drop into the market where they’ll have plants for sale.
Elaine and her nursery have been involved in a fascinating local project – the development of Dementia Gardens: A Place to Grow. This will be native plant/pollinator gardens that will also have community programs and a respite day program for people living with dementia (they anticipate starting that in 2027).
For more information on this northern native plant nursery, you can check out their
Web Site: www.whispersfromthenorth.ca
Facebook Page: @whispersfromthenorth
or Instagram: @nativeplantstbay
Elaine can be reached via email at nativeplantsTBay@gmail.com or by calling (807) 708-2499.

And this summer make sure you check out their plants either at the nursery or at the Thunder Bay Country Market.